
Skip to content

Category: Growing Guides

  • Beginner Herb Garden Setup: A Simple Plan for Fresh Herbs at Home

    Beginner Herb Garden Setup: A Simple Plan for Fresh Herbs at Home

    ← All garden guides5 min read
    In this guide
    1. Grow herbs you already enjoy
    2. Put the herbs where you will use them
    3. Choose pots or one small bed
    4. Check the herbs a few times each week
    5. Make the herb garden look tidy
    6. Related Beginner Garden Guides
    7. Next Step
    8. FAQ
    9. Sources and verification

    Before you act

    A herb garden you will actually use

    1. Start with your kitchen: List the herbs you use most, then find an easy-to-reach place with the right light.
    2. Keep the first group small: Choose three herbs that need similar light and watering.
    3. Learn from the first week: Notice how quickly the pots dry before you add more herbs.
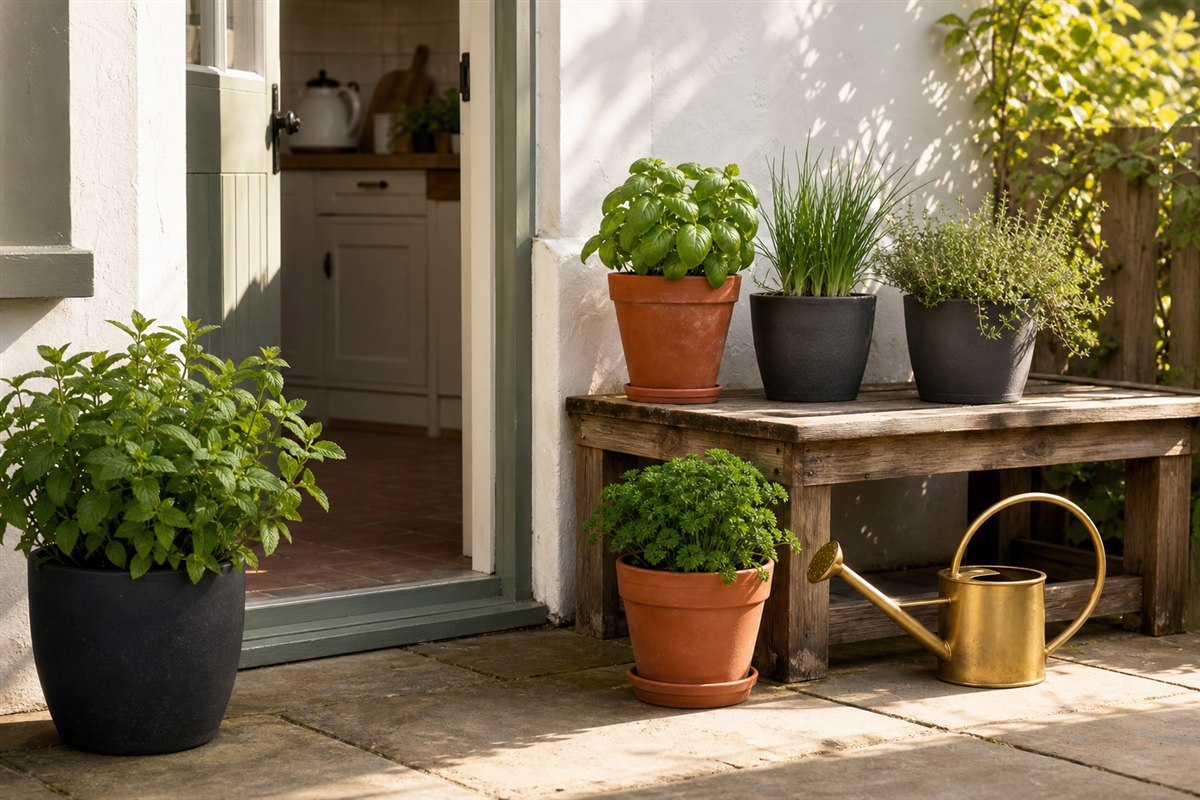
    Basil, parsley, chives, thyme, and mint in separate containers beside a kitchen door
    Reference: keep frequently used herbs close to the kitchen, group similar care needs, and contain spreading mint separately.

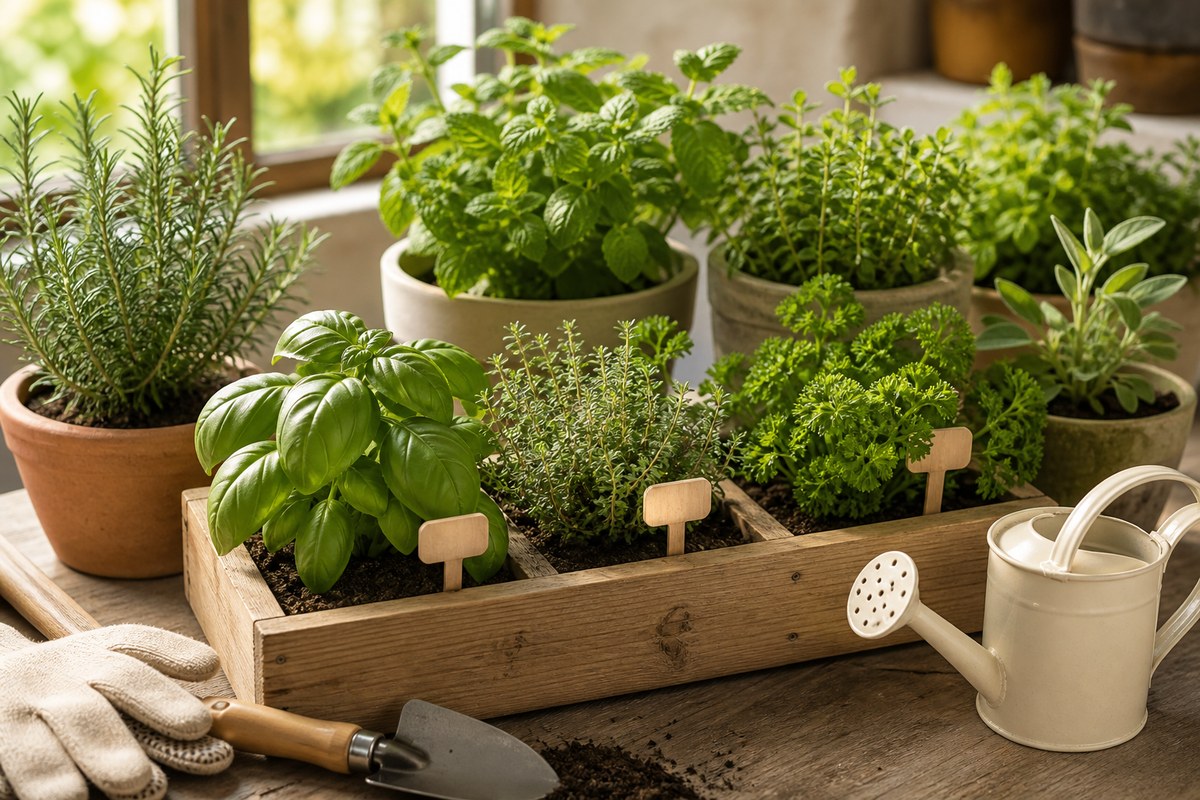
    You can grow a useful herb garden in a few pots, a window box, or one corner of a raised bed. The best place is usually somewhere you pass often and can reach easily with water.

    Start with three to five herbs you already use. Check the sunlight, give each plant enough room, and keep mint in its own pot so its spreading roots do not take over.

    Grow herbs you already enjoy

    A kitchen cutting board with fresh basil and chives beside two separate pots of those herbs; a hand picks a basil leaf for a salad.

    Think about the herbs you buy or cook with most often. Those are the best ones to grow first.

    A small group is enough to learn how quickly the pots dry, how much sun the herbs receive, and how often you want to harvest.

    Put it into practice

    • Choose three to five herbs first.
    • Grow the herbs you cook with most.
    • Avoid buying every herb at once.
    • Check whether each herb fits your light conditions.

    Put the herbs where you will use them

    Two small herb pots beside an open kitchen patio door, with a watering can within easy reach and daylight falling on the leaves.

    A spot near the kitchen, patio door, or usual walking path makes herbs easier to water and pick. Avoid a far corner that you rarely see.

    Read each plant label and watch the sunlight during the day. Move pots if the space is too dark, too hot, or too windy.

    Put it into practice

    • Track sun exposure.
    • Keep herbs near water access.
    • Place frequently used herbs close to the kitchen.
    • Protect containers from extreme wind where possible.

    Choose pots or one small bed

    Basil, chives and mint growing in three separate terracotta pots.

    Pots are useful because you can move them and give herbs with different needs separate soil and water. A small raised bed works well when you have a yard and want the herbs to stay in one place.

    Every pot needs drainage holes and enough room for roots. Very small pots dry quickly and may need watering more than once on hot days.

    Put it into practice

    • Use drainage-friendly containers.
    • Group herbs with similar water needs.
    • Avoid overcrowding.
    • Use labels so you remember what is planted.

    Check the herbs a few times each week

    A close view of a hand checking the surface of potting mix in a potted thyme plant, with pruning snips and a small harvested sprig resting beside it.

    Push a finger into the soil before watering. Water when the plant needs it, pick small amounts often, and remove damaged leaves.

    Many herbs grow more leaves when harvested regularly, but do not remove most of a young plant at once. Follow the plant label when you are unsure.

    Put it into practice

    • Check soil moisture before watering.
    • Harvest small amounts regularly.
    • Rotate containers if one side gets more light.
    • Write down what grows well.

    Make the herb garden look tidy

    Three modest matching terracotta herb pots with matching blank wooden labels, aligned neatly on a plain shelf.

    Group the pots on a tray, shelf, or small table and repeat one or two pot colors. Add clear labels so you can identify every herb.

    Leave enough space to reach the soil and turn each pot. A few healthy herbs look better than a crowded group that is difficult to water.

    Put it into practice

    • Use matching labels.
    • Repeat one container style.
    • Group herbs near seating or cooking areas.
    • Keep tools and watering supplies nearby.

    Herb Choice Planner

    Choose herbs from how you cook

    Open the use case that fits your kitchen. This keeps the first herb garden small, useful, and easier to maintain.

    Herb choice path
    1Pick meals
    2Choose 3 herbs
    3Place near use
    Everyday cooking Pasta, salads, eggs, roasted vegetables
    • Start with herbs you already buy fresh.
    • Keep them near the kitchen door or window.
    • Harvest small amounts often to keep growth tidy.
    Tea and drinks Mint tea, lemonade, summer drinks
    • Grow mint in its own container.
    • Keep drink herbs easy to cut and rinse.
    • Choose a larger pot so leaves stay fresh longer.
    Garnish and scent A pretty patio that should still be useful
    • Use woody herbs for structure and scent.
    • Add labels so the setup looks intentional.
    • Group pots on one tray for a cleaner look.

    Quick rule: The best starter herbs are the ones you will harvest this week, not the longest wish list.

    Related garden guides

    What to do next

    Choose another beginner guide, or use the free Garden Starter Planner to turn what you learned into a first-week plan.

    FAQ

    What herbs should beginners grow first?

    Start with three to five herbs you already use and that suit your sunlight. Basil, parsley, chives, thyme, or mint may fit, depending on the conditions.

    Can I grow herbs on a balcony?

    Yes. Check the sunlight, balcony rules, pot weight, wind, and drainage before choosing the herbs.

    Do herbs need separate pots?

    Not always. Group herbs only when they like similar soil and watering. Keep mint in its own pot because its roots spread quickly.
  • Raised Bed Gardening for Beginners: Start With One Simple Bed

    Raised Bed Gardening for Beginners: Start With One Simple Bed

    ← All garden guides5 min read
    In this guide
    1. Choose the best place for the bed
    2. Make the first bed easy to reach
    3. Choose a simple first crop
    4. Buy only what the bed needs
    5. Keep a few notes during the first season
    6. Related Beginner Garden Guides
    7. Next Step
    8. FAQ
    9. Sources and verification

    Before you act

    One reachable raised bed

    1. Mark the bed on the ground: Make sure you can reach the middle without stepping on the soil.
    2. Check the basics before buying: Confirm the sunlight, water access, path width, and amount of soil you will need.
    3. Walk around the outline for a week: Move it now if it blocks a path or is awkward to water.
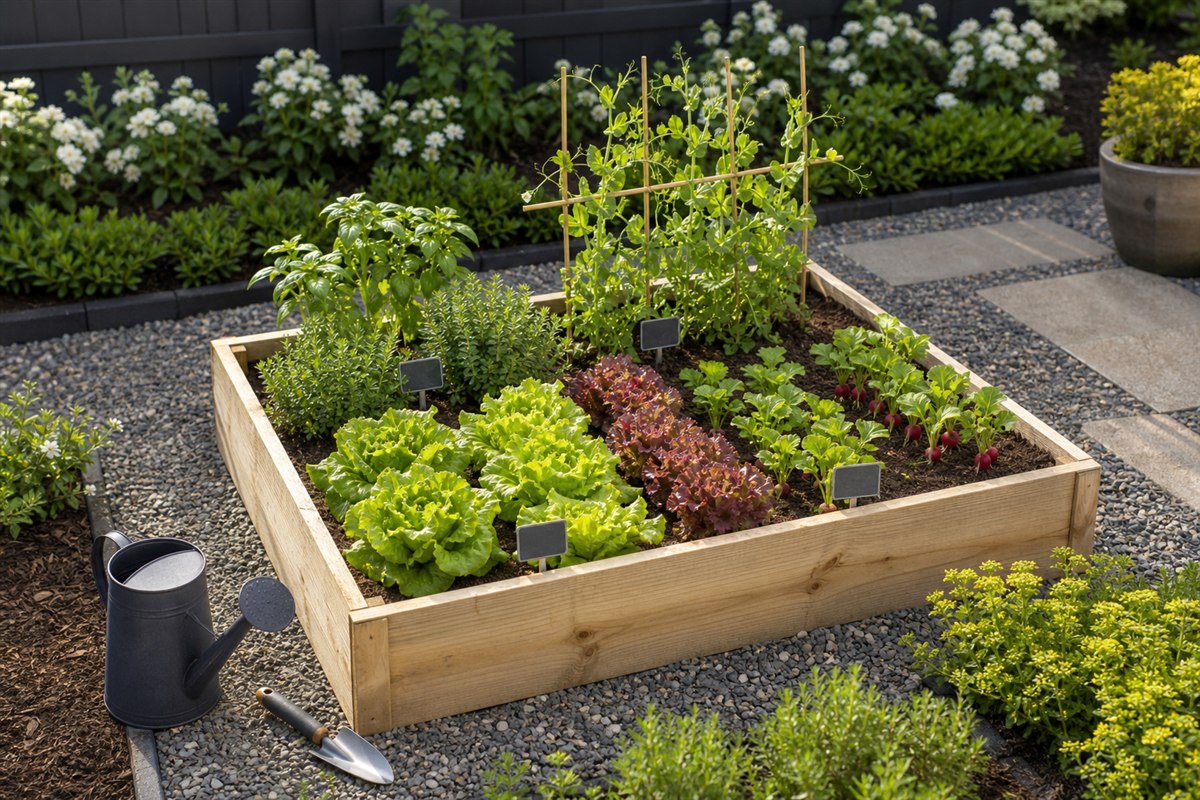
    Reachable raised bed with clear paths, spaced vegetables, herbs, peas, and basic hand tools
    Reference: a first bed should be narrow enough to reach without stepping into the soil and surrounded by usable paths.

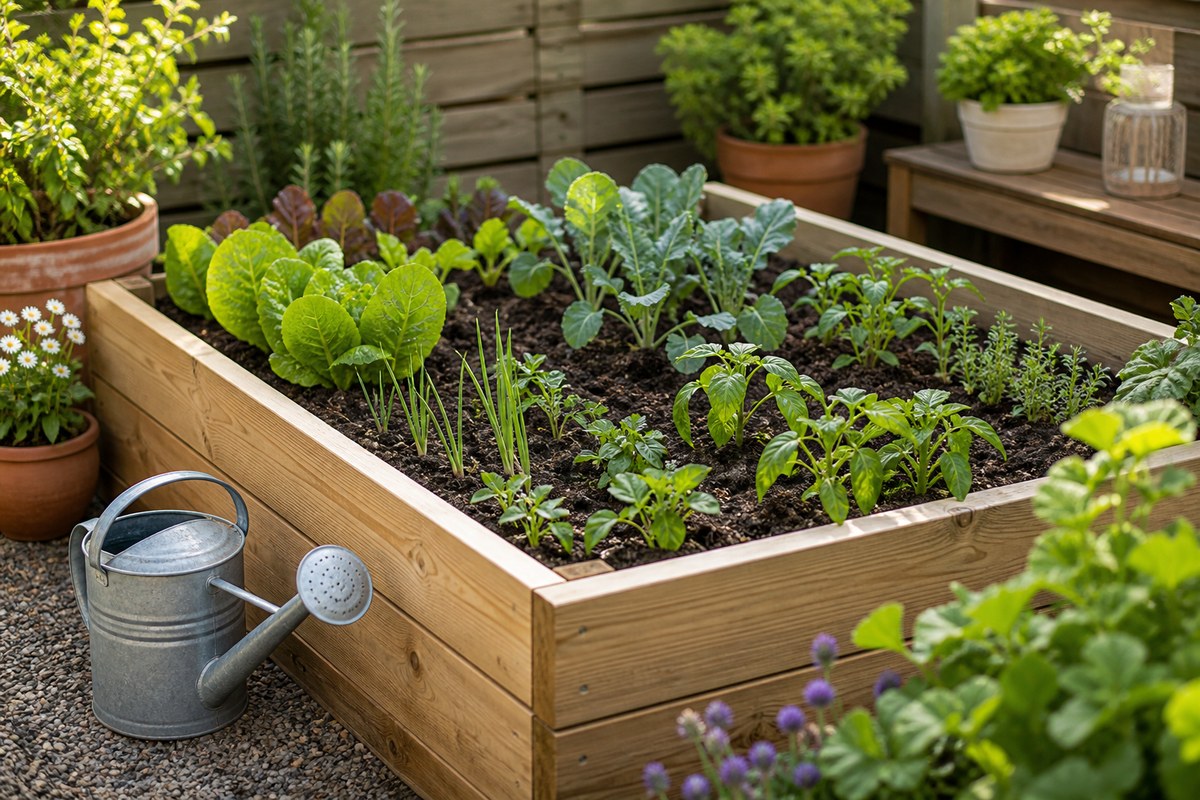
    A raised bed gives your first garden a clear shape. It can hold herbs, flowers, salad leaves, or a few vegetables in one easy-to-see place.

    Begin with one bed. Put it near water, make sure the plants will get enough sun, and keep the middle within reach. You can add another bed next year if you enjoy caring for the first one.

    Choose the best place for the bed

    A single empty low raised bed positioned near an outdoor tap with an unobstructed path along both long sides.

    Choose a place you can reach comfortably and see often. Keep it close enough to a hose or watering can so watering does not become a difficult job.

    Watch the sunlight before deciding. Many vegetables and herbs need plenty of direct sun, while some leafy vegetables and flowers can grow with less.

    Put it into practice

    • Check sun exposure.
    • Keep water access close.
    • Leave room to walk around the bed.
    • Avoid areas with poor drainage or heavy tree roots.

    Make the first bed easy to reach

    A gardener kneeling outside a narrow raised bed and comfortably reaching to its centre, never stepping on the soil.

    You should be able to reach the middle without stepping on the soil. Check this from every side you will use before building or buying the bed.

    Also work out how much soil the bed needs. A large or deep bed can cost much more to fill than expected.

    Put it into practice

    • Avoid starting with several beds at once.
    • Choose a width you can reach across.
    • Plan paths before placing the bed.
    • Estimate soil needs before buying materials.

    Choose a simple first crop

    An overhead flat lay of blank seed packets beside loose lettuce seeds, a sprig of parsley and a small flowering seedling; a simple sketch of one bed has three blank planting zones..

    Decide whether the bed is mainly for herbs, salad leaves, flowers, or vegetables. This choice tells you how much spacing, sunlight, and water the plants need.

    Pick only a few kinds of plants in the first season. Choose things you will enjoy eating or seeing, because you are more likely to notice and care for them.

    Put it into practice

    • Herbs for cooking.
    • Lettuce and greens for quick harvests.
    • Flowers for beauty and motivation.
    • A few beginner vegetables.

    Buy only what the bed needs

    A neat practical supply group: four timber boards for one small raised bed, a bag of growing mix and a hose watering wand.

    Start with the bed or building materials, soil made for raised beds, a way to water, labels, and a few seeds or plants.

    A ready-made kit can save time. Building your own may cost less if you already have the right tools and know how to make it stable and safe.

    Put it into practice

    • Raised bed frame or materials.
    • Growing mix suited to raised beds.
    • Watering can, hose, or wand.
    • Gloves and hand trowel.
    • Seeds or starter plants.

    Keep a few notes during the first season

    A gardener writing in an open notebook with blank ruled pages beside a young raised bed; pencil and plant label nearby.

    Write down what you planted, when you watered, what grew well, and which jobs took too much time. A few simple notes will make next season easier and cheaper.

    One struggling plant does not mean the whole bed failed. Look for the cause, change one thing, and keep what worked.

    Put it into practice

    • Track planting dates.
    • Write down watering patterns.
    • Note pest or disease issues without panic.
    • Record what you would repeat.

    Raised Bed Size Checker

    Choose a raised bed size you can actually reach

    A raised bed should make care easier. Use these size checks before buying lumber, soil, or a kit.

    Bed-size decision path
    1Measure reach
    2Choose crop depth
    3Keep sides accessible
    2 x 4 starter bed Tiny yards or first-season testing
    • Good for herbs, greens, and a first test crop.
    • Needs less soil, so mistakes cost less.
    • Works well when space is narrow.
    3 x 6 everyday bed A balanced beginner vegetable bed
    • Large enough for variety without feeling huge.
    • Keep access on both long sides.
    • Plan watering before adding more beds.
    4 x 8 only if reachable Open yards with room on every side
    • Avoid placing a wide bed against a wall.
    • Confirm you can reach the center comfortably.
    • Budget for the soil volume before buying.

    Quick rule: The best first bed is the one you can weed, water, and harvest without stepping into it.

    Related garden guides

    What to do next

    Choose another beginner guide, or use the free Garden Starter Planner to turn what you learned into a first-week plan.

    FAQ

    What size raised bed should a beginner start with?

    Choose a bed that lets you reach the middle without stepping on the soil. One reachable bed is enough for a first season.

    Are raised beds expensive?

    They can be. Keep the cost down by starting with one bed, calculating the soil before shopping, and buying only the basic tools.

    What should I plant first in a raised bed?

    Herbs, salad leaves, compact flowers, radishes, and bush beans can be good first choices when they suit your season and sunlight.