Category: Uncategorized

  • Vertical Gardening Ideas for Beginners: Use Walls, Rails, and Height

    Vertical Gardening Ideas for Beginners: Use Walls, Rails, and Height

    Affiliate disclosure: We earn commissions when you shop through the links below.

    Vertical gardening is not simply hanging many small pots on a wall. A useful vertical garden must hold wet weight, give roots enough soil, distribute water evenly, and remain reachable. Choose the support system first, then match plants to its real depth and exposure.

    System chooser

    Use the simplest structure that fits the plant

    Root room and maintenance matter more than how many pockets fit on the wall.

    Trellis + deep baseBest for climbing beans, peas, cucumbers, or flowering vines when the base container has enough soil.
    Wall troughsUseful for compact herbs and flowers when fixings, drainage, and watering access are reliable.
    Freestanding tiersA flexible renter-friendly option for salad leaves, strawberries, or flowers without drilling a wall.

    1. Check the support and wet weight

    Soil becomes much heavier after watering. Confirm the wall material, rated fixings, railing rules, and total wet weight before installation. Never hang a planter where it could fall onto a person, neighboring property, or a public path. Renters should prefer freestanding shelves or towers unless written permission allows drilling.

    Leave a small gap behind planters where the product instructions require ventilation. Protect walls and floors from runoff, but do not block drainage holes.

    2. Match the plant to the root volume

    Shallow pockets dry quickly and suit only a limited range of compact plants. Deeper troughs give herbs and salad crops a more stable water supply. Climbing crops usually need a deep container at floor level plus a strong support above.

    • Shallow and quick: some lettuces, baby leaves, and compact seasonal flowers.
    • Medium depth: parsley, chives, thyme, compact basil, and strawberries where climate and light fit.
    • Deep base: climbing beans, peas, cucumbers, or vigorous vines selected for a container.

    Check mature height, spread, toxicity, season, and local growing guidance. A plant that can climb is not automatically appropriate for a small container.

    3. Design the watering route

    Top rows often dry faster from wind and heat, while lower rows can become soaked by runoff. Water each level based on its own soil moisture rather than assuming water will distribute evenly. A narrow-spout watering can or simple drip line can help, but the system still needs regular inspection.

    Keep the lowest planter high enough to clean beneath it and the highest planter low enough to inspect without unsafe reaching. If a stool is needed every time, the garden will be harder to maintain.

    4. Choose one beginner layout

    Kitchen herb wall

    Use two or three generous troughs near the kitchen, grouping herbs with similar light and water needs. Put frequently harvested herbs at the easiest reach. Keep mint in its own container because it spreads strongly.

    Salad tier

    Use a freestanding tier with baby leaves and compact herbs. Place the tallest tier where it will not shade all lower crops. Sow small amounts in sequence rather than filling every level on one day.

    Flower and climber corner

    Use one deep base planter with a secured trellis, then a low flowering container beside it. This creates height without covering the entire wall or multiplying tiny pockets.
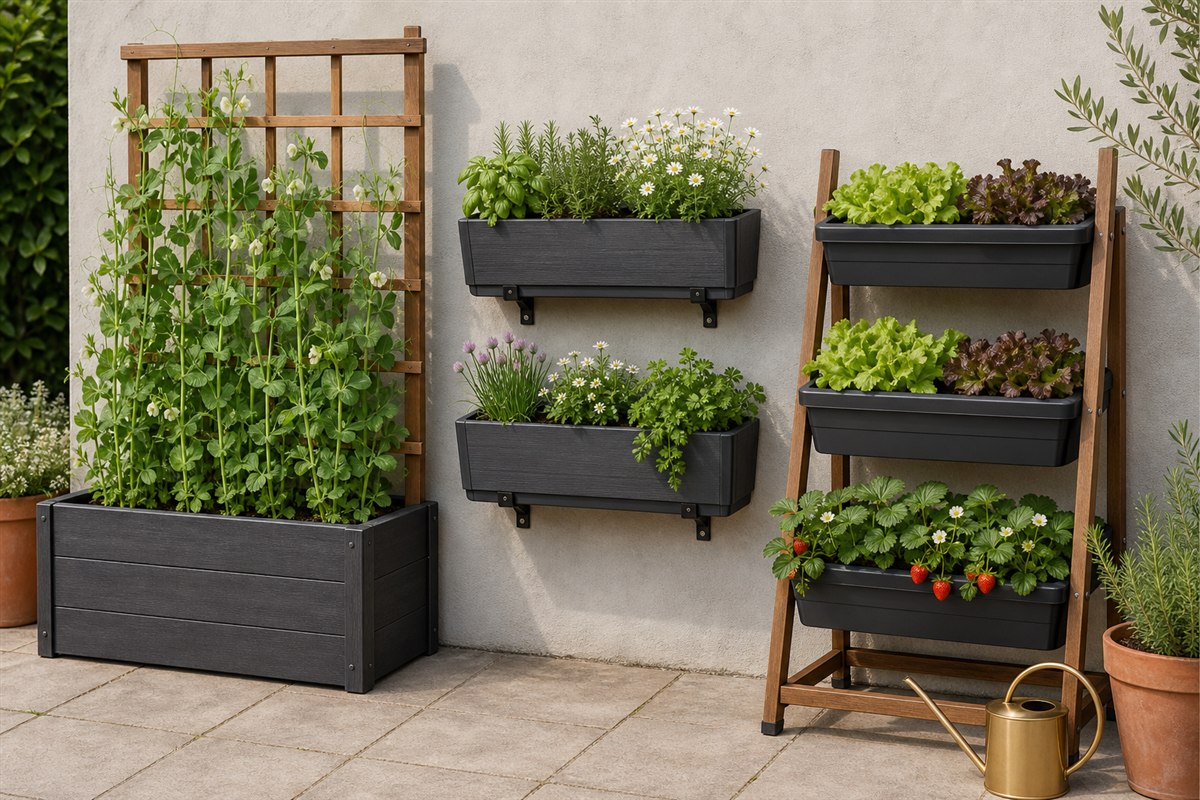
    Trellis planter, wall herb troughs, and freestanding tiered salad planter shown side by side
    Reference: a deep trellis base, generous wall troughs, and a stable freestanding tier solve different vertical-growing needs.

    5. Run the weekly vertical check

    • Touch the soil on every level before watering.
    • Inspect hooks, screws, ties, shelves, and the base for movement.
    • Turn or guide growth before stems block the path.
    • Remove trapped leaves so drainage routes stay open.
    • Check the wall and floor for stains, persistent damp, or overflow.
  • Indoor-Outdoor Plant Decor Ideas That Feel Calm and Collected

    Indoor-Outdoor Plant Decor Ideas That Feel Calm and Collected

    Affiliate disclosure: We earn commissions when you shop through the links below.
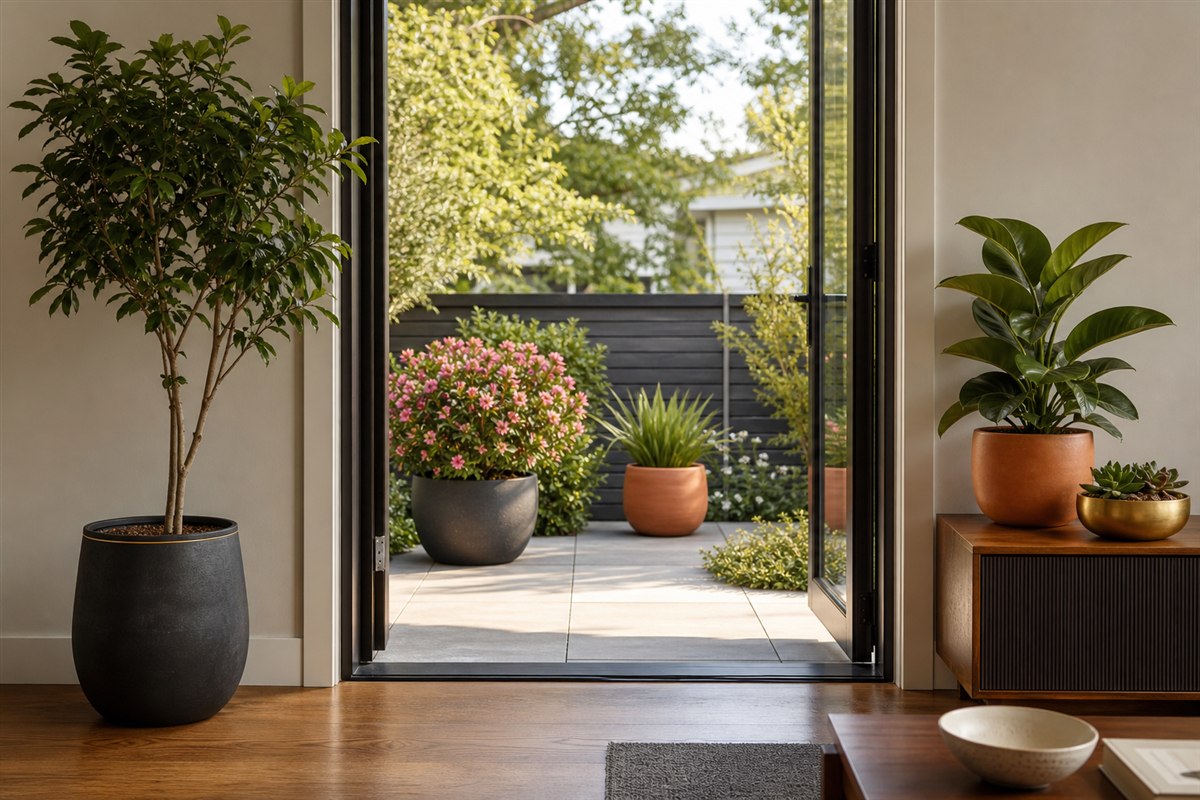
    The easiest way to make home and garden decor feel connected is to repeat a few decisions across the window or doorway. You do not need matching furniture or dozens of plants. One planter family, one foliage shape, and one warm accent can make an indoor room and outdoor corner feel like one calm composition.

    Visual bridge

    Repeat four details, not every object

    Move from the room to the garden with a quiet sequence the eye can follow.
    1. Start with the main sightline

    Sit in the room you use most and look toward the garden, balcony, or window. The outdoor focal point should land inside that view. It might be a flowering container, a small tree, or a bench framed by plants. Move the focal point before adding smaller decor.
    If there is no direct outdoor view, use the same idea at the entrance: a strong plant group near the threshold makes the transition feel deliberate.

    2. Create a readable height rhythm

    Use one tall element, one medium mass, and one low edge. Indoors, that might be a floor plant, a plant on a console, and a low bowl. Outdoors, it could be a compact shrub, a medium planter, and a trailing edge plant. Avoid placing every pot on the floor at the same height.

    Keep visual height away from door swings, curtains, heaters, air vents, and narrow walking routes. Plants still need light and care access after the styling photograph is taken.

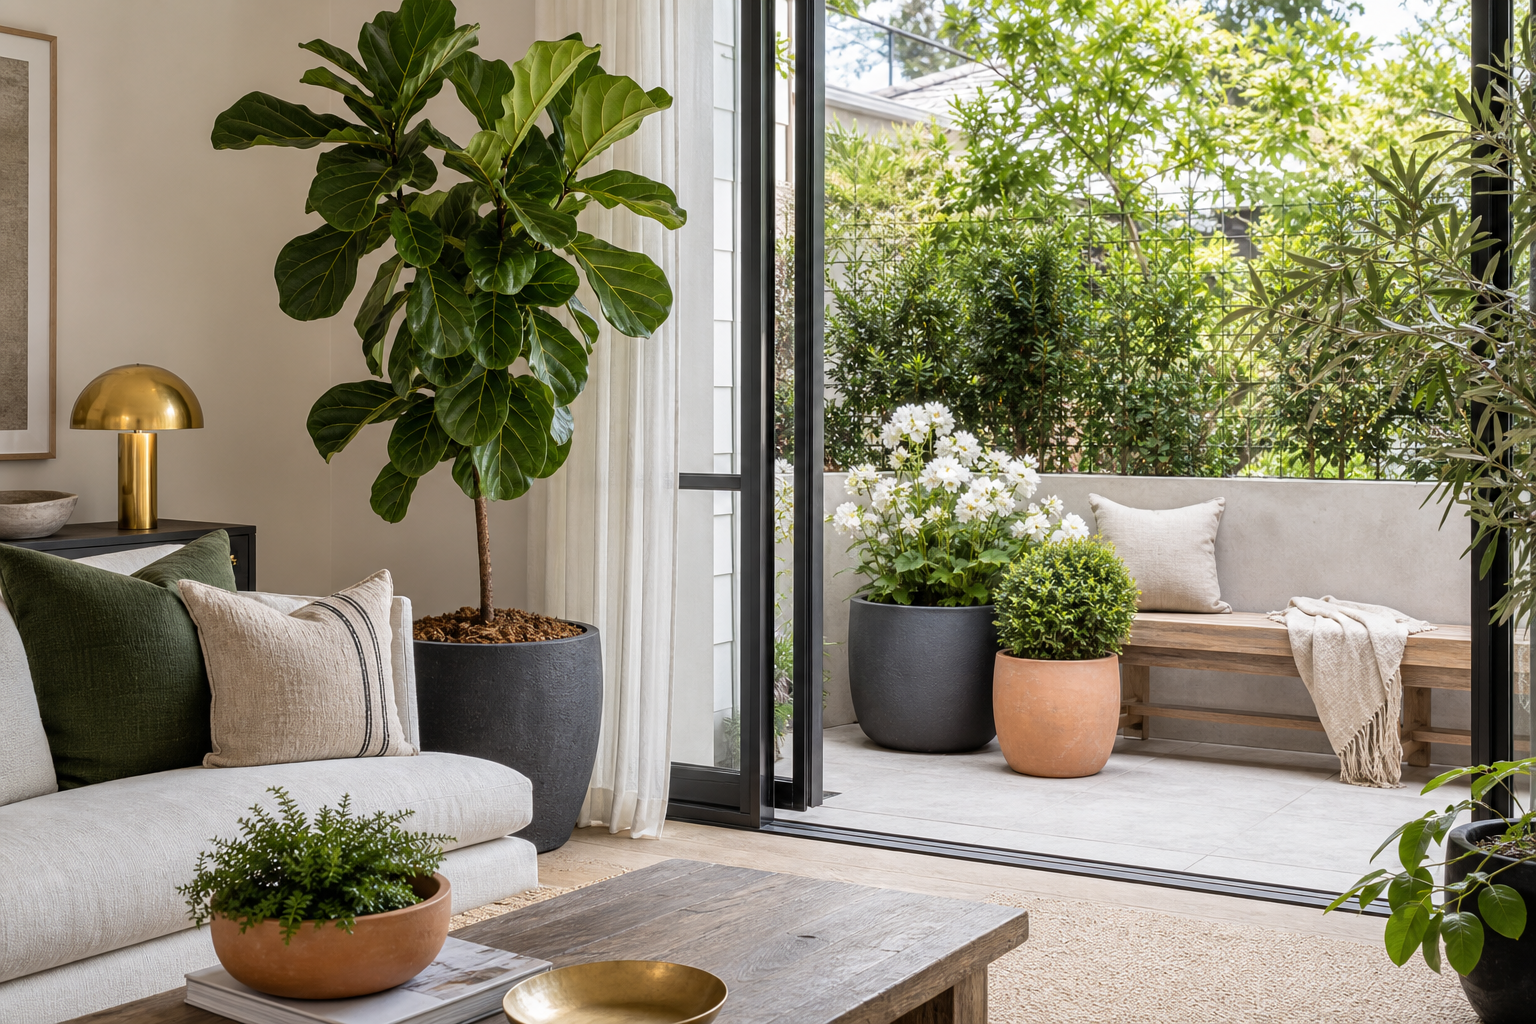
    Indoor and patio plants arranged in tall, medium, and low layers around an open doorway
    Reference: repeat planter materials and plant heights across the doorway while preserving the sightline and walking route.

    3. Style the window without blocking the light

    A crowded windowsill can reduce useful light and make watering awkward. Use fewer, wider-spaced plants and leave the latch, blind, and glass accessible. Outdoors, position the strongest plant group slightly off-center so it frames the view rather than covering it.

    4. Let useful pieces carry the decor

    A good planter, watering can, storage bench, plant shelf, or weather-safe light can be both useful and beautiful. Choose one finish and repeat it. Before buying, ask what job the object performs and where it will live in winter.

    For balconies and patios, confirm wet weight, wind exposure, railing safety, and runoff. For indoor plants, protect surfaces and floors while still allowing excess water to leave the root zone.

    5. Check plant and household safety

    • Verify whether each plant is suitable for pets and children in your household.
    • Confirm that outdoor nursery plants match your growing zone and are not being treated as indoor plants.
    • Keep heavy pots on stable surfaces and away from railing edges.
    • Use weather-rated lighting and keep cords away from water routes.
    • Leave enough room to clean glass, sweep floors, and inspect leaves.

    A simple weekend decor plan

    1. Remove unrelated objects from the main sightline.
    2. Choose one planter material and one accent color already present in the room.
    3. Place one tall anchor, then one medium group, then one low detail.
    4. Live with the arrangement for two days and test watering and walking.
    5. Add only the missing useful piece; do not refill every empty corner.

  • Small Garden Layout Ideas for Beginners: Plan One Useful Zone

    Small Garden Layout Ideas for Beginners: Plan One Useful Zone

    Affiliate disclosure: We earn commissions when you shop through the links below.

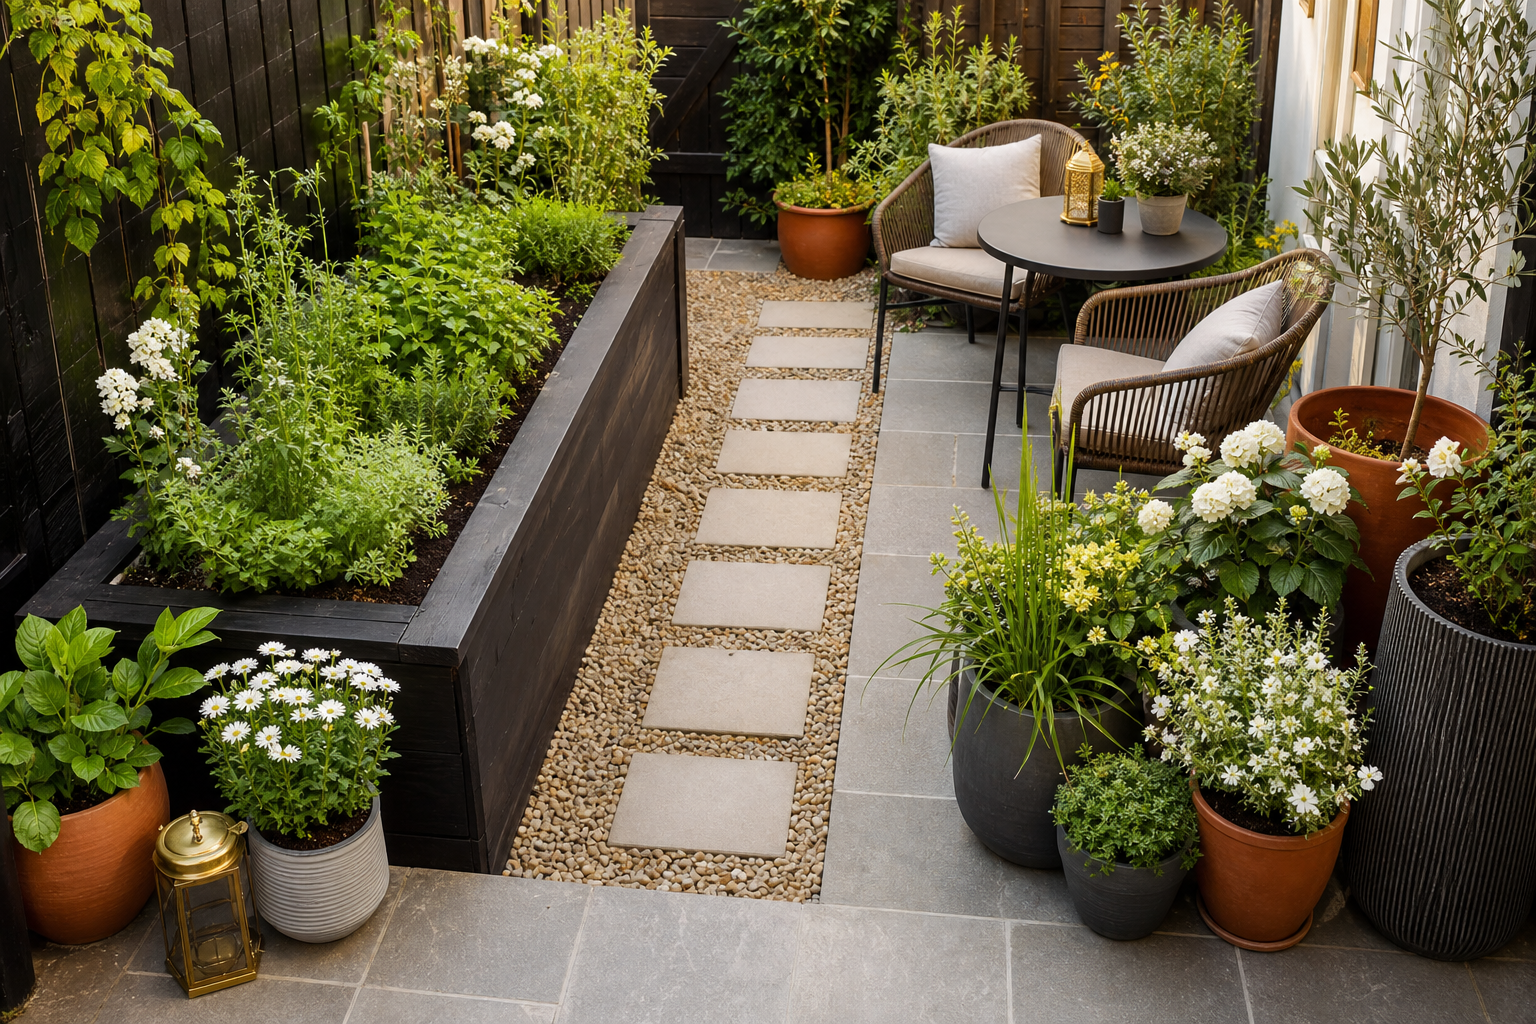
    A small garden feels larger when every area has one job. Before buying plants or furniture, decide where you will walk, where you will pause, and where the main planting will live. That simple order prevents the most common tiny-space problem: useful things competing for the same square meter.

    Layout map

    Give the floor three jobs

    The proportions can change, but the access route should never disappear.

    1. Mark what cannot move

    Stand at the entrance and note doors, drains, taps, steps, bins, air vents, utility boxes, and the route used to carry groceries or a watering can. Watch the space at morning, midday, and late afternoon. A bright wall is not proof that the floor receives enough direct sun for sun-loving vegetables.

    Measure the narrowest point of the walking route, not only the total width of the garden. Keep access to drains and doors. In a rental or shared building, confirm what may be fixed to walls and how runoff must be handled.

    2. Choose one main garden job

    Pick the result that matters most for the next season: herbs near the kitchen, a calm sitting corner, flowers visible from indoors, or a small edible bed. A compact space can support several pleasures, but one priority should decide where the best light and easiest access go.

    • Food first: reserve the brightest reachable area for crops and keep water nearby.
    • Rest first: place the seat where it has shade or comfortable evening light, then frame it with plants.
    • View first: compose the strongest group where it can be seen from the main window.

    3. Build depth with three plant layers

    Use the back or boundary for height, the middle for the main plant mass, and the front edge for low plants that do not spill into the route. Height can come from a trellis, shrub, or tall container, but confirm mature spread so it does not swallow the small garden later.

    Repeat one container color or material two or three times. Repetition makes mixed plants feel intentional and is usually more effective than adding many decorative objects.

    4. Adapt one of these starter layouts

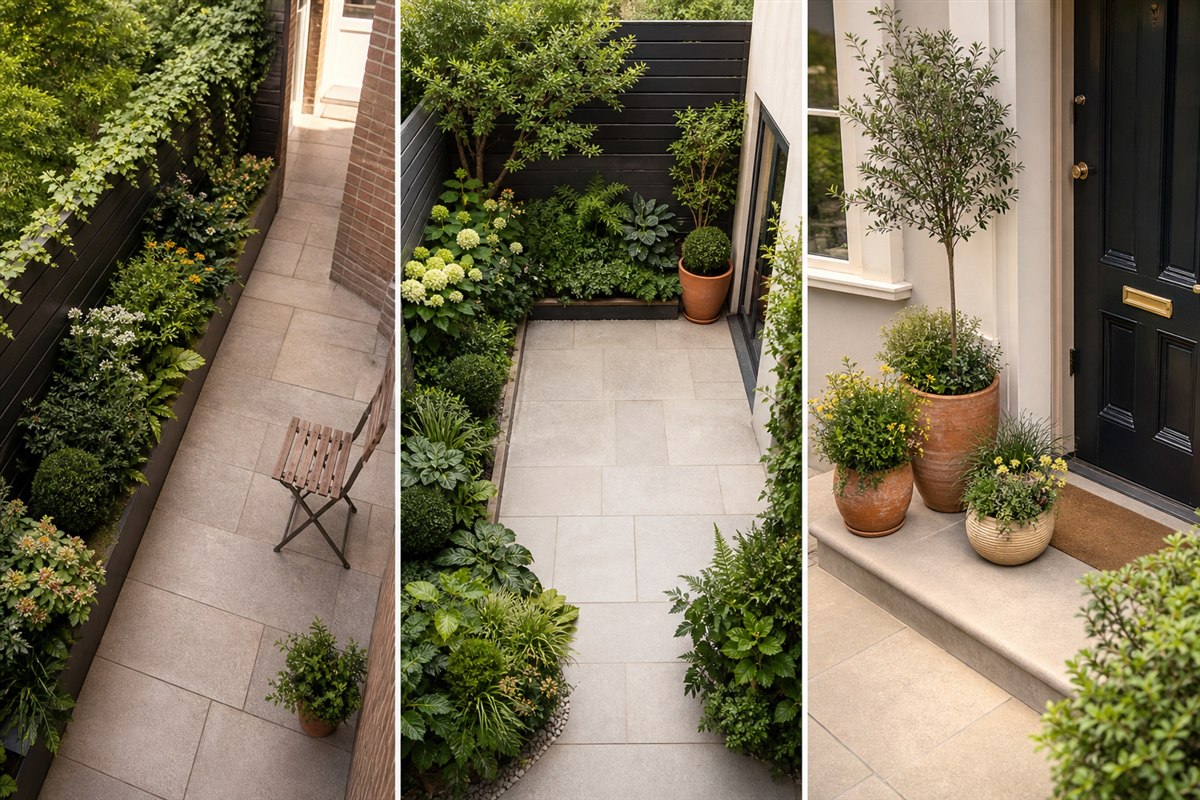
    Narrow patio

    Keep one long edge planted and the opposite edge mostly open. Put the tallest element at the far end so the eye travels through the space. Use a folding chair instead of permanent deep seating when the route is tight.

    Square tiny yard

    Use an L-shaped planting edge with a small open center. One corner can hold a compact bench or focal pot. Avoid placing unrelated pots around all four sides; the broken outline makes the garden feel busier.

    Doorstep or compact terrace

    Group two or three containers beside the door while keeping the door swing and landing completely clear. Choose plants with similar watering needs and use a tray or saucer only where it will not leave roots standing in water.

    Three small-garden layouts showing a narrow edge garden, an L-shaped square yard, and clear doorstep containers
    Reference: the planted edge changes with the shape of the space, but the walking and door route always stays clear.

    5. Test the plan before spending

    • Carry a full watering can through the planned route.
    • Open every door and gate without moving a pot or chair.
    • Reach the back planting area without stepping into soil.
    • Confirm filled container weight, drainage, and surface protection.
    • Leave enough room for each plant at mature size, not shop size.

  • Balcony Garden Setup Guide: A Beginner Plan for Small Outdoor Spaces

    Balcony Garden Setup Guide: A Beginner Plan for Small Outdoor Spaces

    Affiliate disclosure: We earn commissions when you shop through the links below.

    A balcony garden can feel like a tiny outdoor room when it is planned well. It can also become messy and stressful if the containers are too heavy, the plants are hard to water, or the design ignores wind and building rules.

    The best balcony garden setup starts with safety and routine. Once you know the light, weight limits, and watering plan, it becomes much easier to choose plants and styling details.

    This guide walks through a realistic beginner balcony garden setup that can grow over time without turning into a high-maintenance project.

    Check The Rules Before You Buy Anything

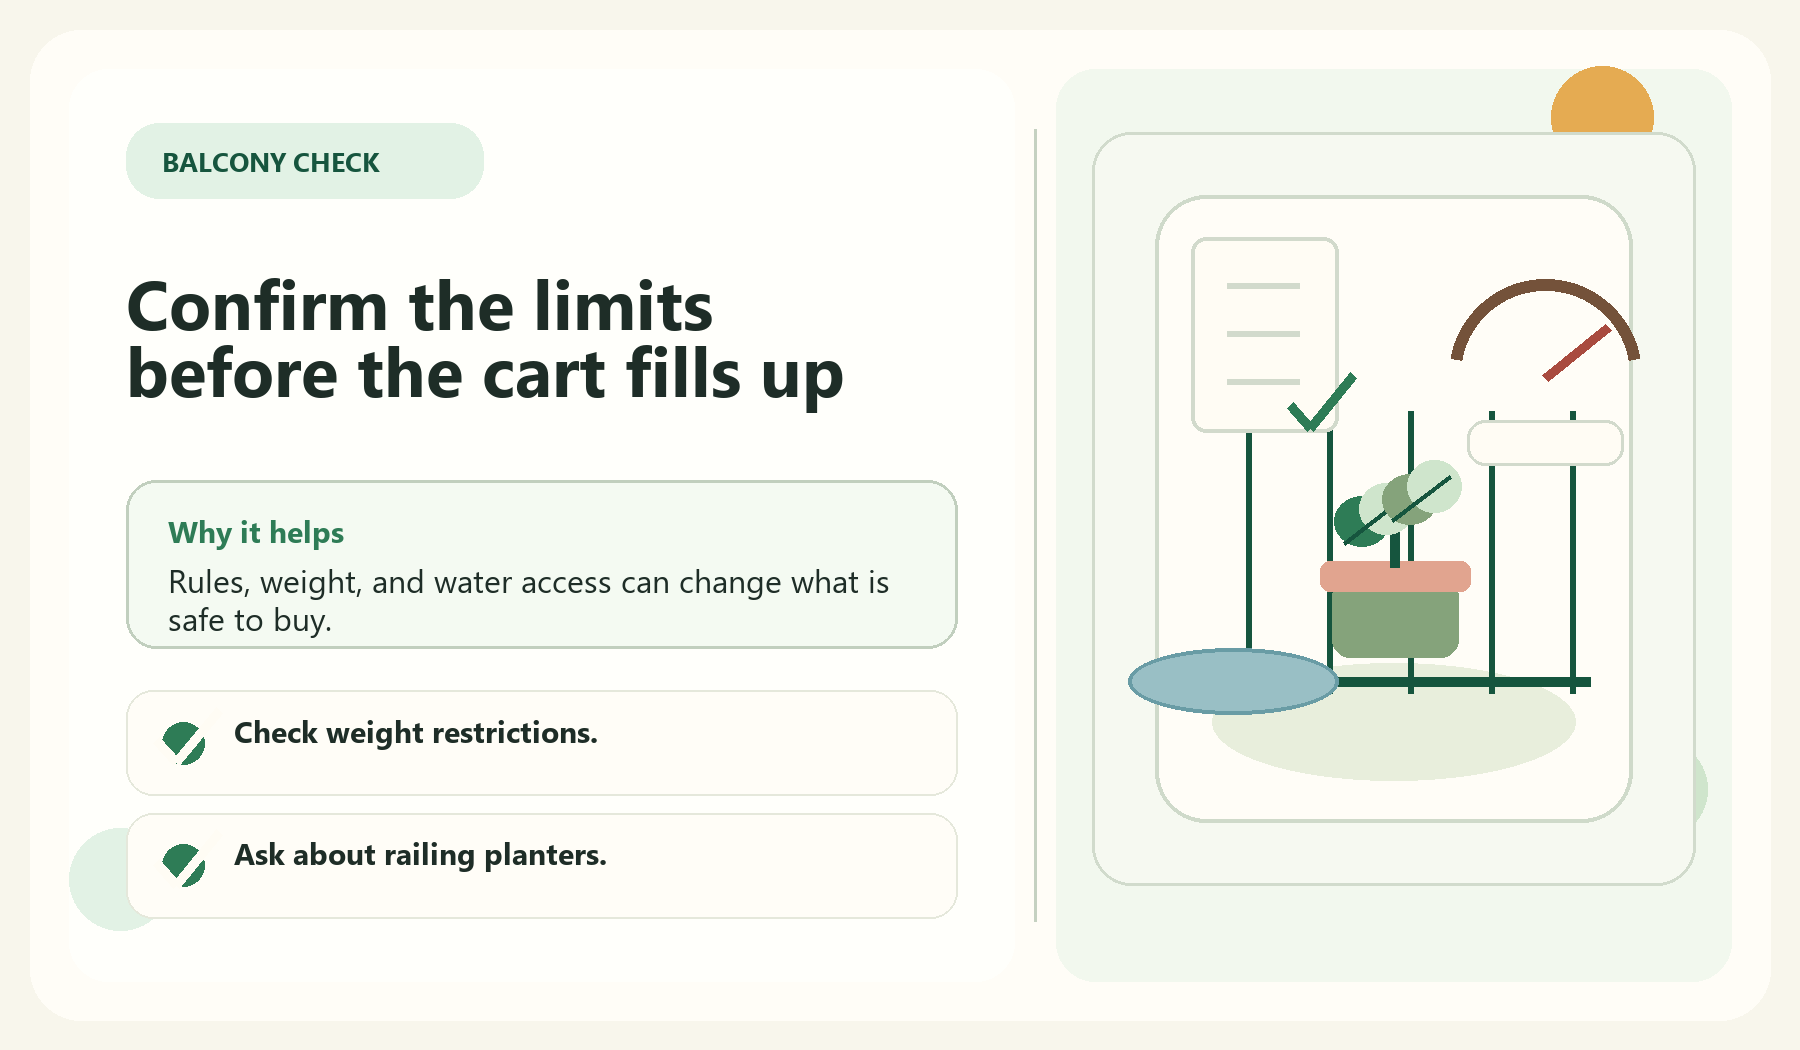
    Confirm the limits before the cart fills up visual guide for Check The Rules Before You Buy Anything

    If you rent or live in a building with shared rules, check what is allowed before hanging planters, railing boxes, trellises, or heavy containers. Some balconies have limits on weight, drainage, or items attached to railings.

    This is not the fun part, but it prevents wasted money. A beautiful setup is only useful if it is safe and allowed to stay there.

    • Check weight restrictions.
    • Ask about railing planters.
    • Confirm drainage rules.
    • Avoid blocking exits or walkways.

    Map Sun, Wind, And Water

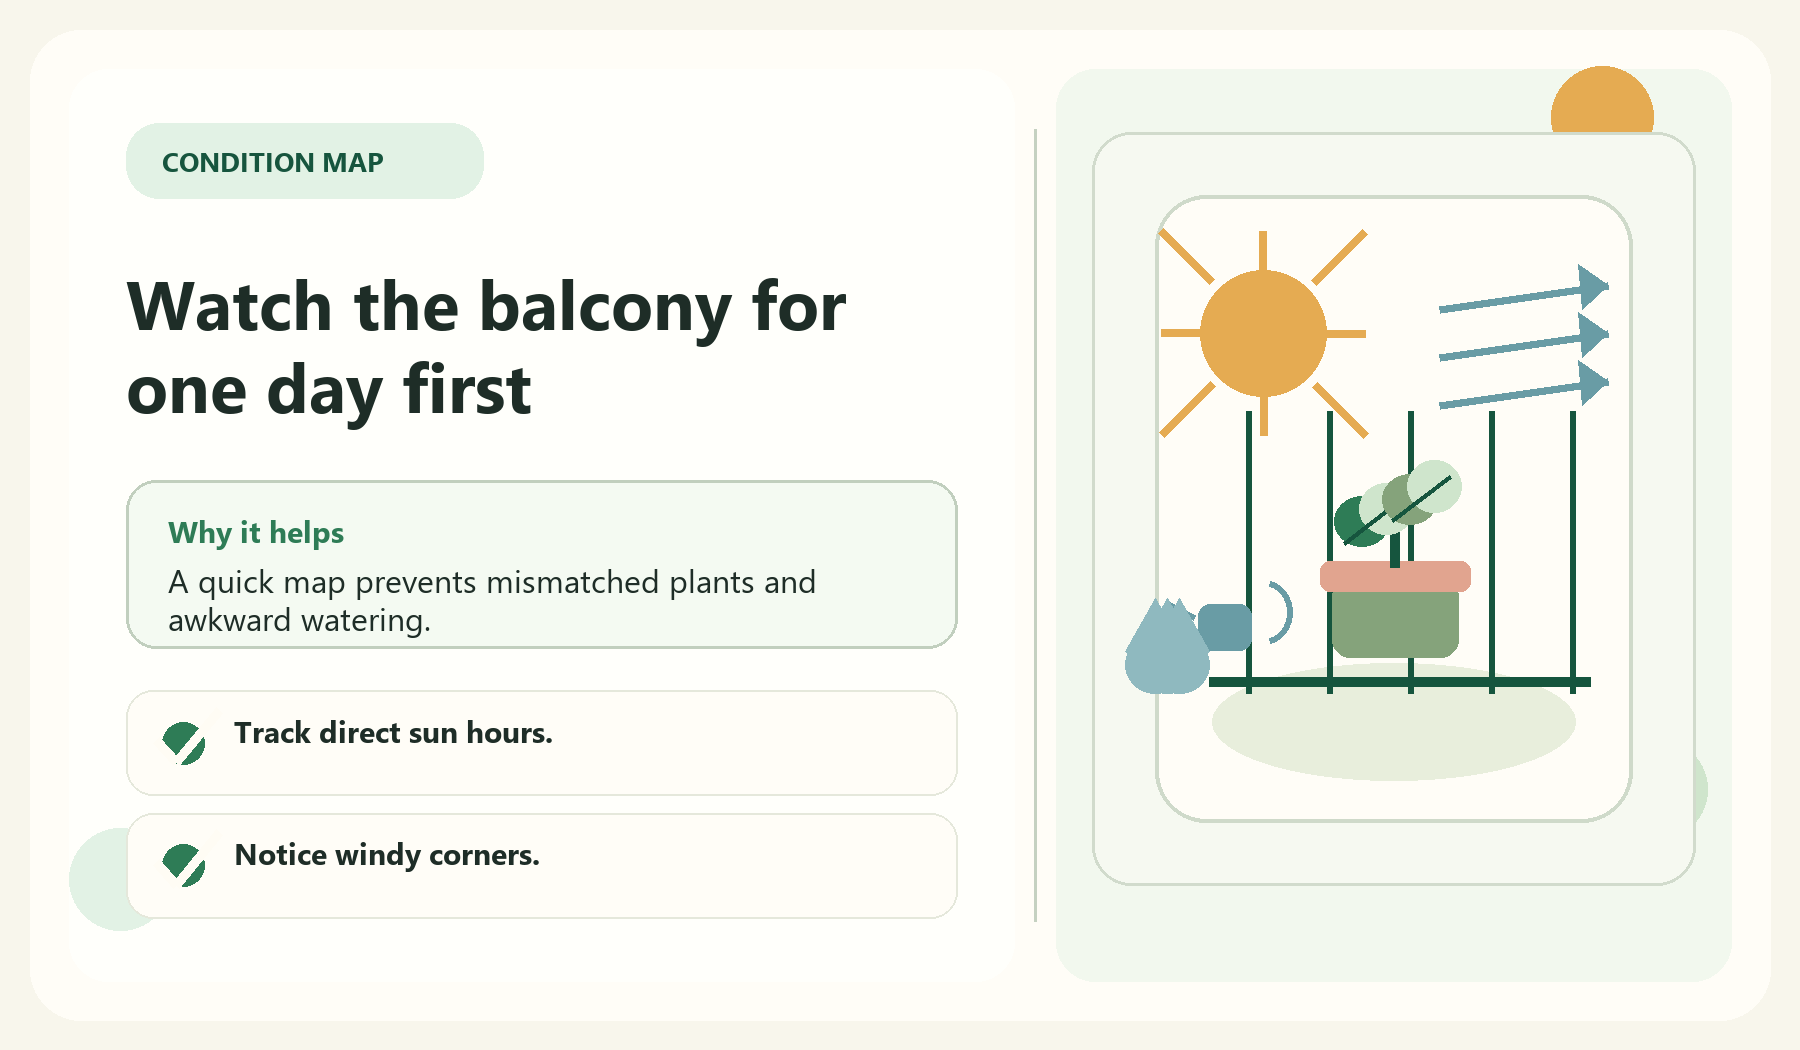
    Watch the balcony for one day first visual guide for Map Sun, Wind, And Water

    Balconies can be brighter, windier, or drier than beginners expect. Watch your space for a full day if possible. Notice morning sun, afternoon heat, strong wind, and where rain reaches.

    Watering also matters. If you have to carry water through the apartment, choose fewer containers at first. A simple setup that you can water easily will beat an ambitious setup that dries out every week.

    • Track direct sun hours.
    • Notice windy corners.
    • Plan where extra water goes.
    • Group plants with similar watering needs.

    Balcony Condition Check

    Check the balcony before choosing plants

    Balconies fail when the plant plan ignores real conditions. Open each check and match your setup to what the space actually gives you.

    Balcony readiness path
    1Watch one day
    2Group by exposure
    3Buy matching plants
    Sun check Balconies with strong afternoon light
    • Track when direct sun hits the floor.
    • Use heat-tolerant herbs or flowers for hot walls.
    • Keep shade-loving plants away from reflective glass.
    Wind check High floors, open railings, or exposed corners
    • Choose heavier pots before tall decor.
    • Keep delicate stems away from the railing edge.
    • Use grouped containers to reduce drying.
    Water check Balconies without an outdoor tap
    • Keep the watering route short.
    • Use saucers where runoff would bother neighbors.
    • Start with fewer pots if water must be carried.

    Quick rule: A balcony garden is easier when the plants match the harshest condition, not the prettiest corner.

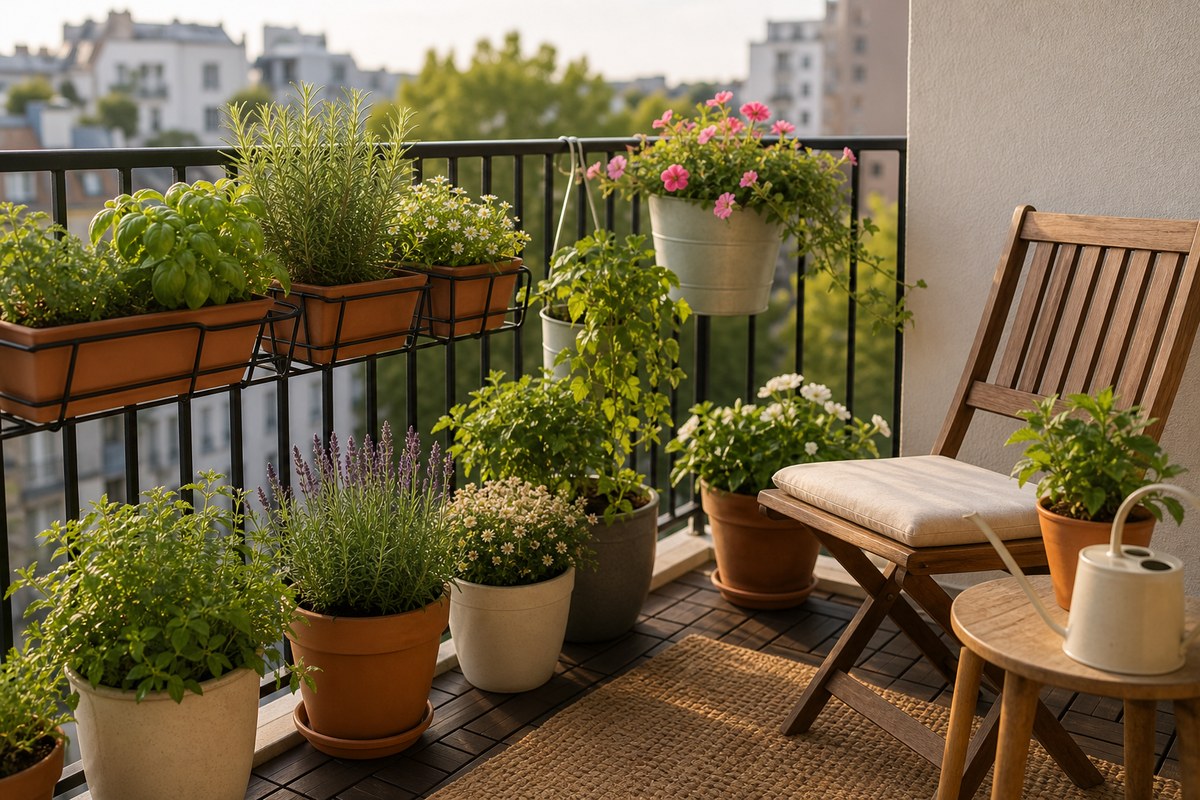
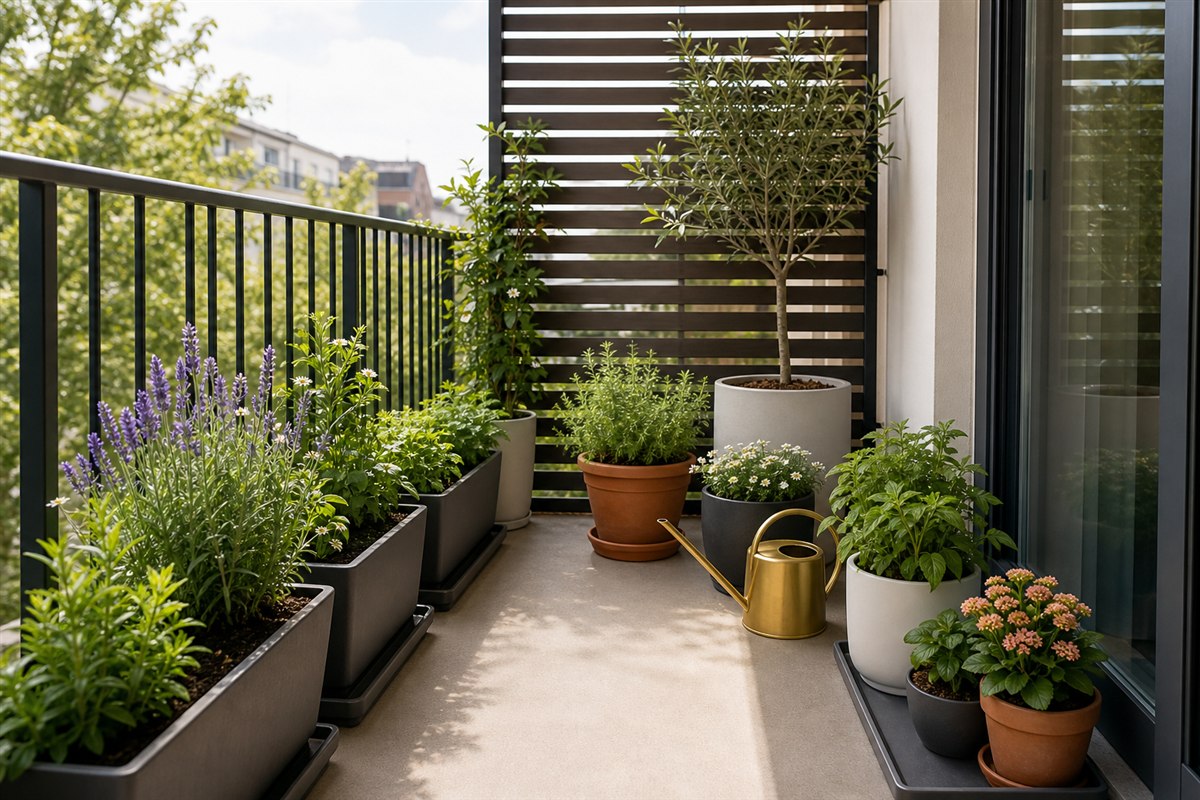
    Balcony garden with planters inside the railing, a wind screen, runoff trays, and a clear walking route
    Reference: place containers safely inside the railing, control runoff, and preserve a route for watering and everyday use.

    Choose One Balcony Garden Style

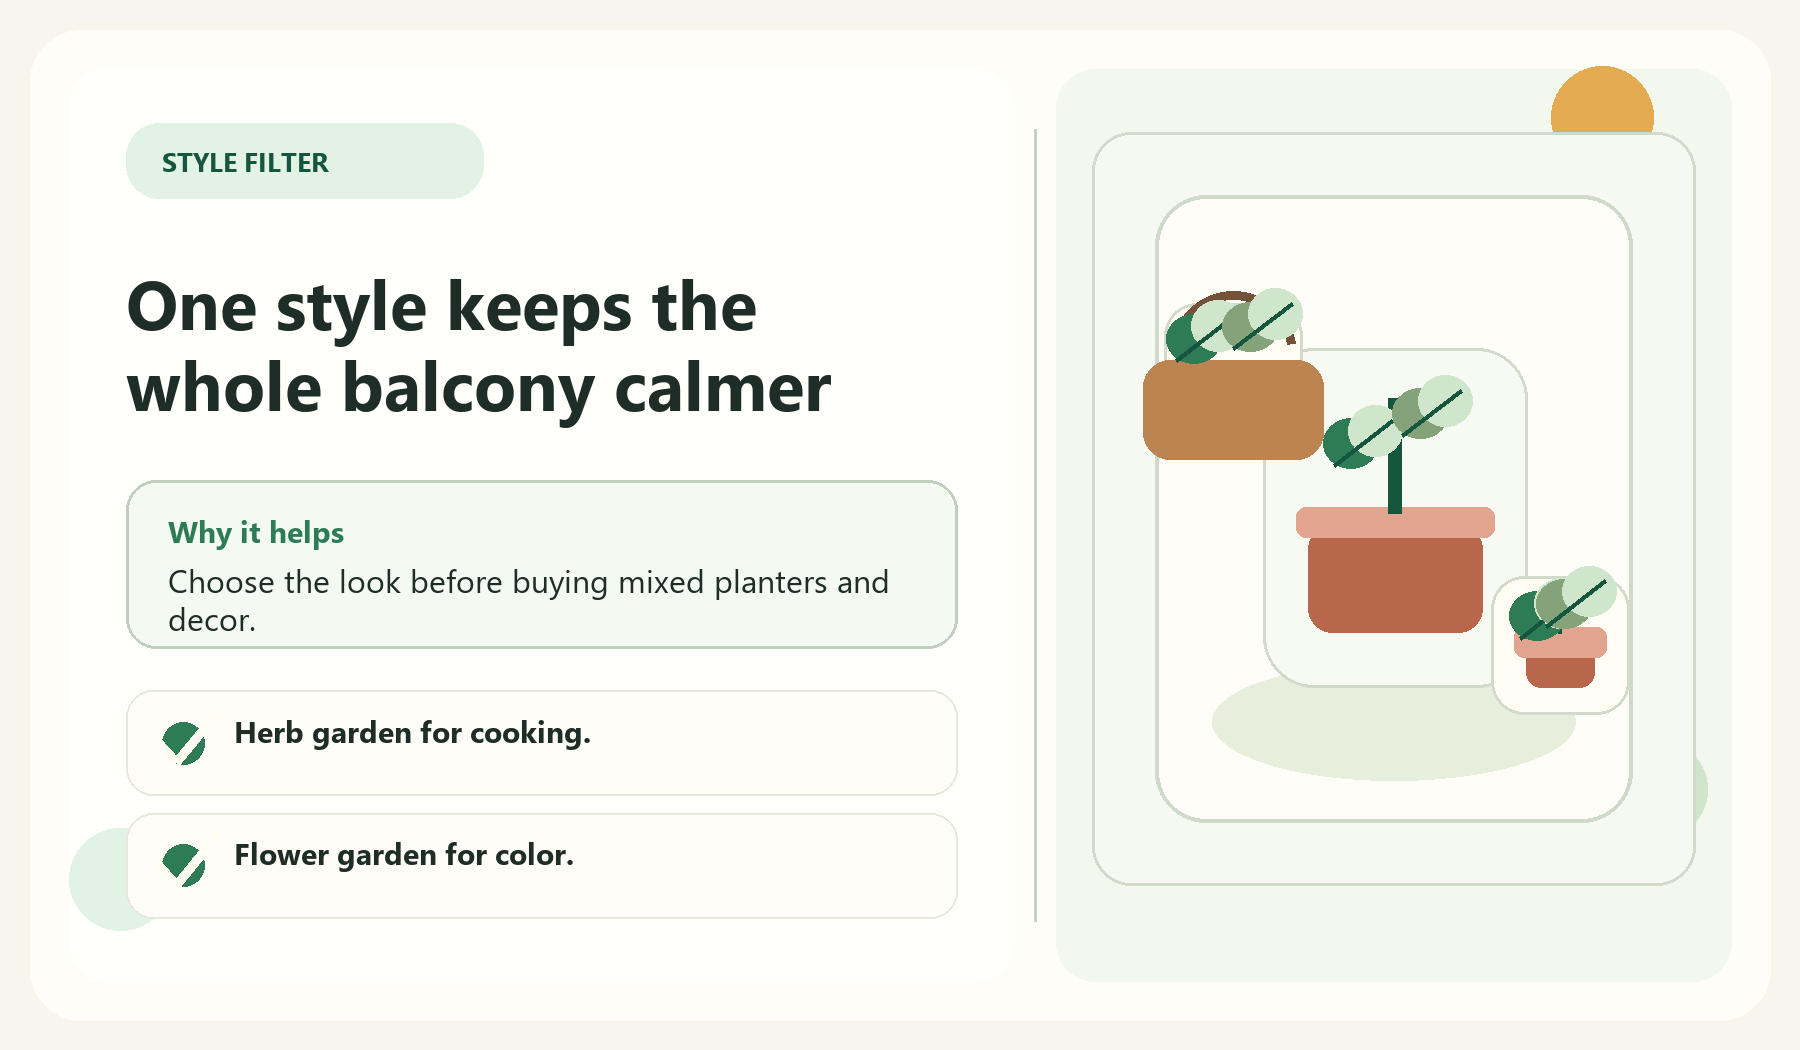
    One style keeps the whole balcony calmer visual guide for Choose One Balcony Garden Style

    A focused balcony garden looks more intentional and costs less. Choose one primary style before shopping. You can create a herb balcony, flower balcony, vegetable balcony, or cozy seating balcony with planters around the edges.

    Beginners often want everything at once. Start smaller. A successful first setup gives you confidence and teaches you what your balcony can handle.

    • Herb garden for cooking.
    • Flower garden for color.
    • Vegetable containers for food.
    • Cozy patio-style balcony.
    • Vertical garden for limited floor space.

    Use Containers That Make Sense

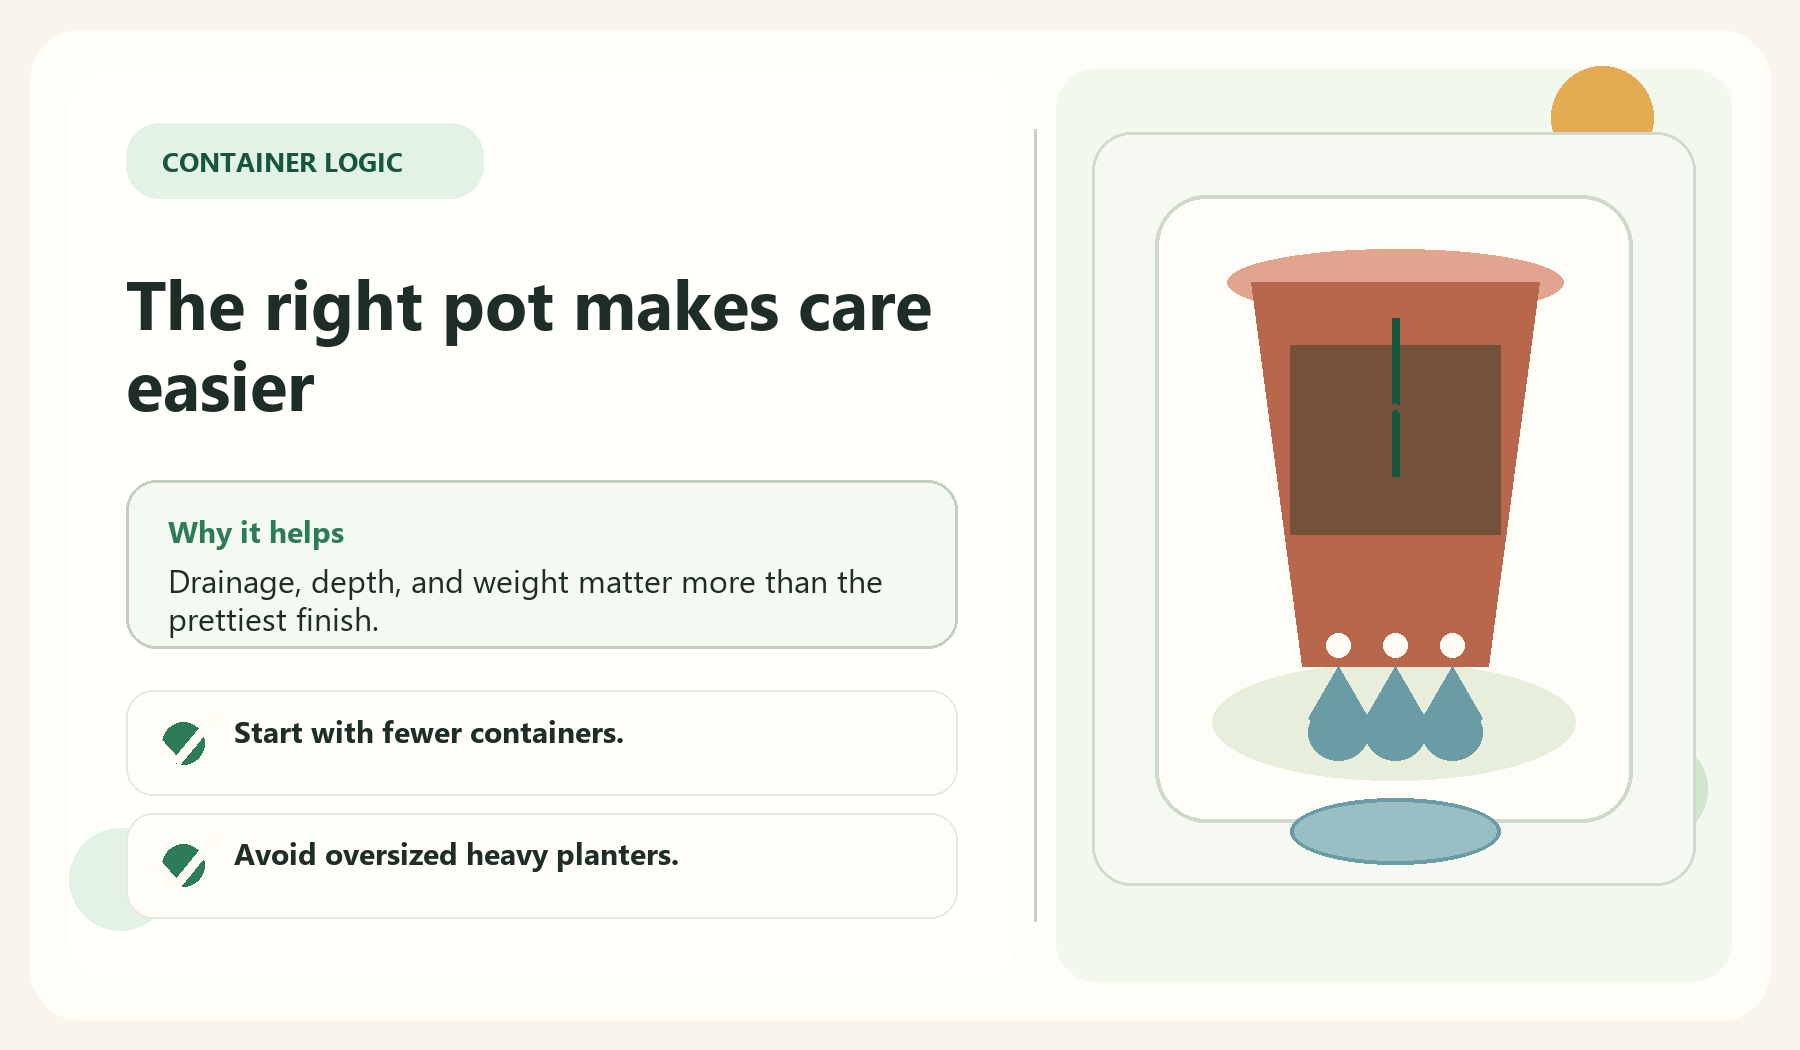
    The right pot makes care easier visual guide for Use Containers That Make Sense

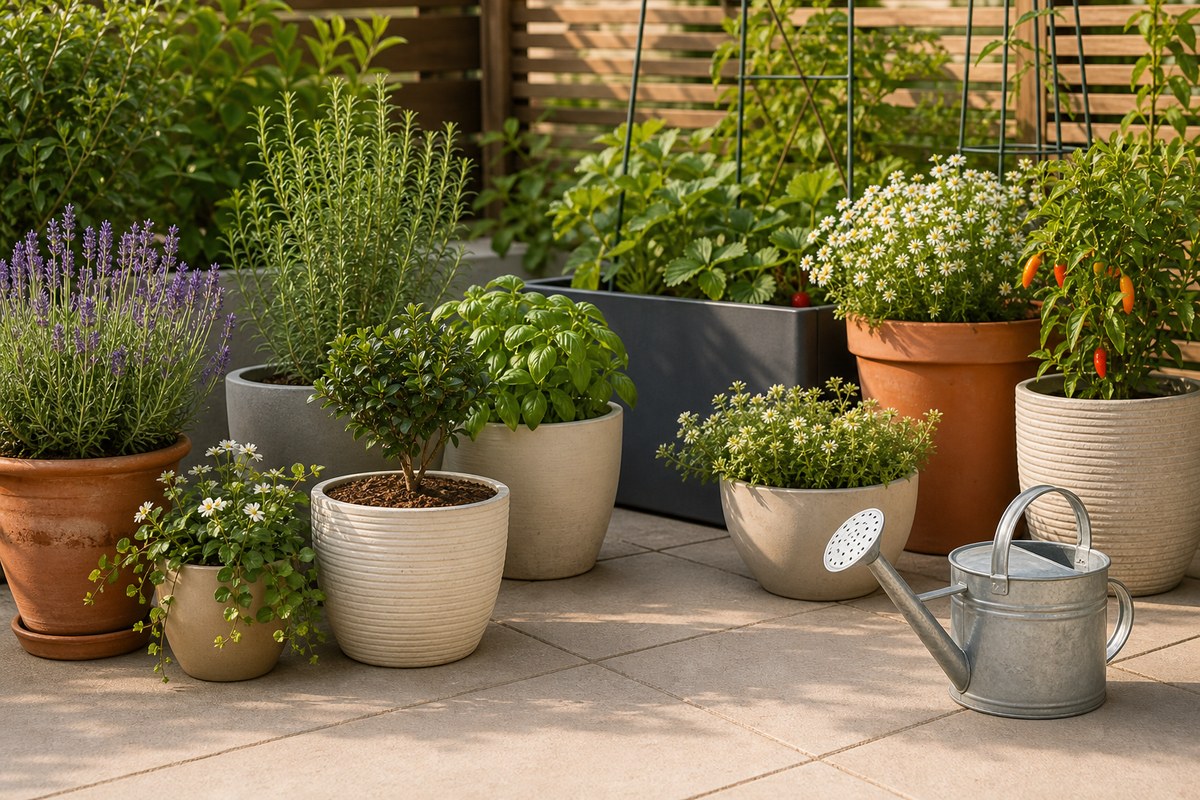
    Balcony containers should be stable, appropriately sized, and easy to move if needed. Lightweight does not mean flimsy. Look for containers that fit the plant, drain correctly, and do not overload the balcony when filled.

    Self-watering containers can help beginners, especially in hot weather, but they are not magic. You still need to understand the plant's needs and check moisture regularly.

    • Start with fewer containers.
    • Avoid oversized heavy planters.
    • Use saucers only where allowed.
    • Choose stable containers for windy areas.

    Add Decor After The Garden Works

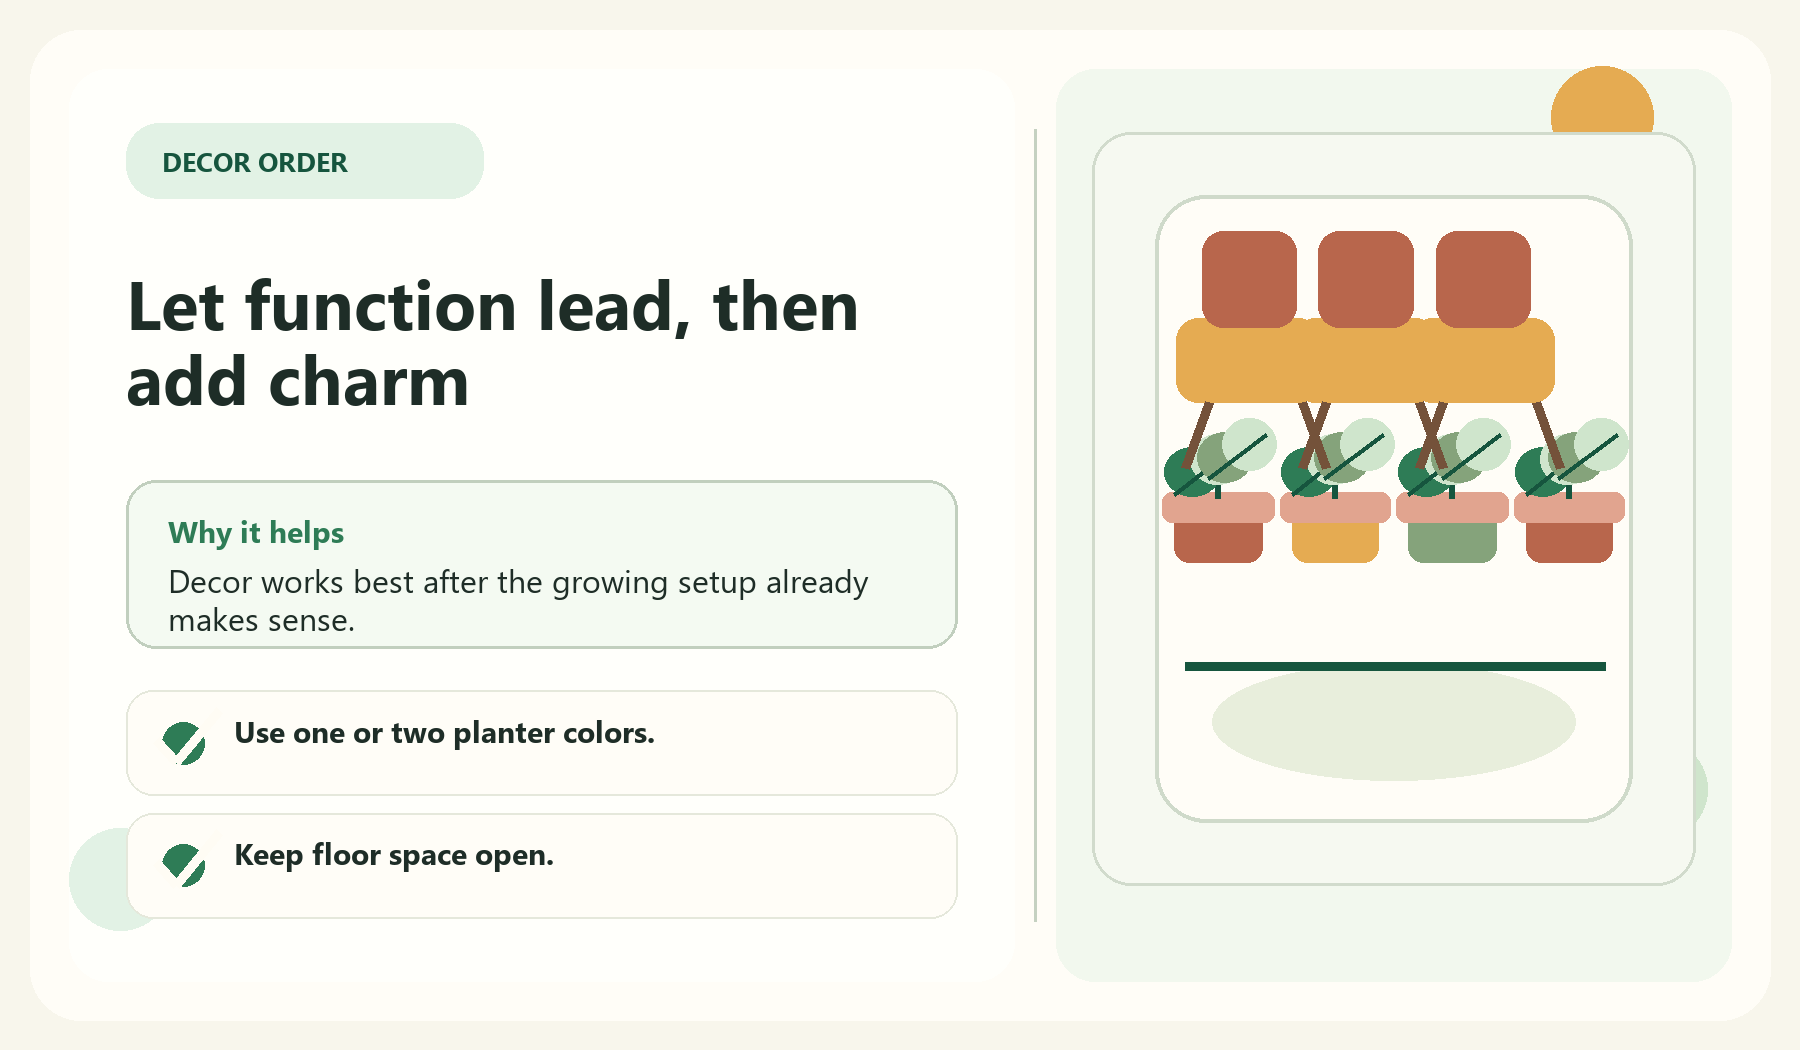
    Let function lead, then add charm visual guide for Add Decor After The Garden Works

    Decor should make the balcony easier to enjoy, not harder to maintain. Add a small chair, outdoor rug, simple lighting, or matching planters after the plant layout is practical.

    A small palette of materials usually looks more elegant than many unrelated pieces. Let the plants be the main feature.

    • Use one or two planter colors.
    • Keep floor space open.
    • Add lights only where safe.
    • Choose decor that can handle weather.

    Next Step

    Browse more beginner-friendly garden guides on GardenEleganceHub. The free Elegant Garden Starter Planner will be added once the email setup is ready.

    FAQ

    Can I start a balcony garden in an apartment?

    Yes, but check building or rental rules first, especially for weight, drainage, railing planters, and attached structures.

    What should I grow first on a balcony?

    Herbs, compact flowers, and a few container-friendly vegetables are practical first choices when they match your light conditions.

    How many containers should a beginner start with?

    Start with a small number you can water easily. Three to five containers can teach you a lot without overwhelming the space.

  • Beginner Herb Garden Setup: A Simple Plan for Fresh Herbs at Home

    Beginner Herb Garden Setup: A Simple Plan for Fresh Herbs at Home

    Affiliate disclosure: We earn commissions when you shop through the links below.

    A herb garden is one of the most satisfying beginner garden projects because it can be small, useful, and beautiful. You do not need a large yard to start. A sunny balcony, patio, windowsill, or small raised bed can be enough for a first herb setup.

    The key is choosing herbs you will use and placing them where watering and harvesting are easy. A forgotten herb pot in an awkward corner is less useful than a simple container near the kitchen door.

    This guide walks through a beginner herb garden setup that keeps the shopping list short and the routine realistic.

    Choose Herbs You Actually Use

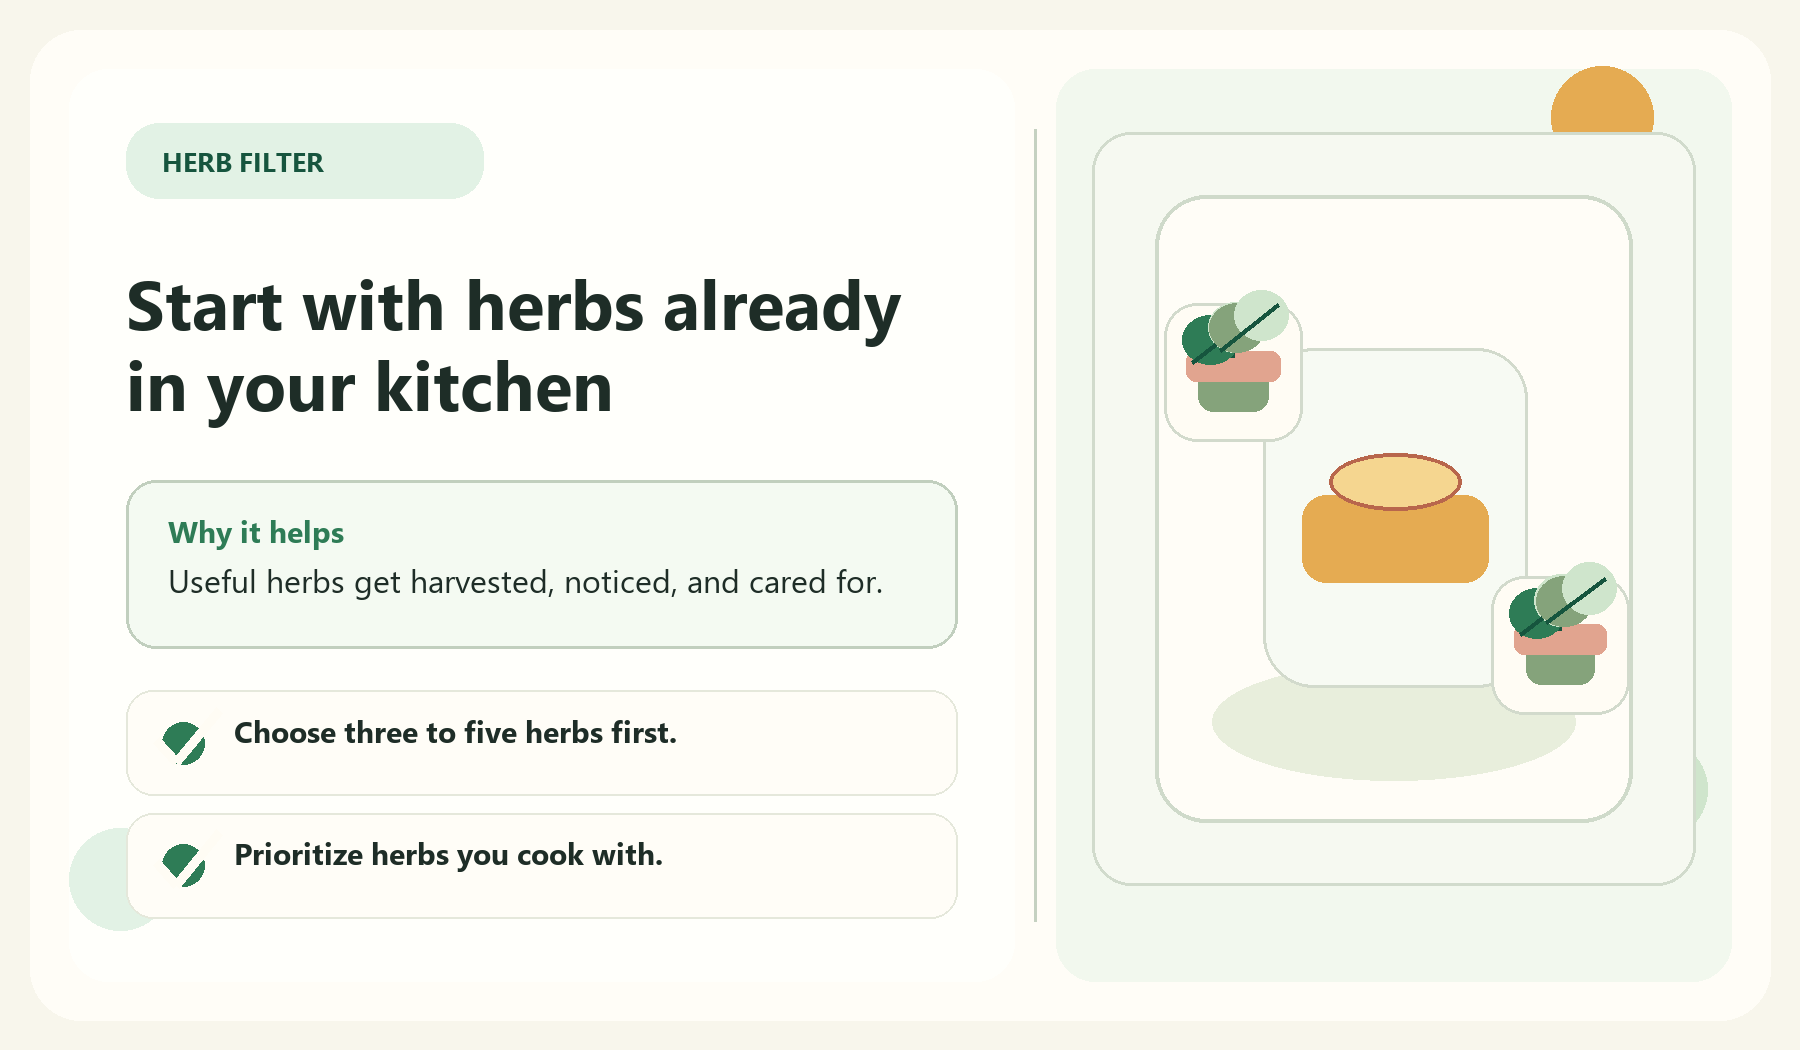
    Start with herbs already in your kitchen visual guide for Choose Herbs You Actually Use

    Start with herbs that match your cooking habits. Growing herbs you already like makes the garden feel rewarding. It also prevents buying too many plants just because they look good at the garden center.

    Beginners do not need a huge herb collection. A few useful herbs can teach you light, watering, harvesting, and container care.

    • Choose three to five herbs first.
    • Prioritize herbs you cook with.
    • Avoid buying every herb at once.
    • Check whether each herb fits your light conditions.

    Herb Choice Planner

    Choose herbs from how you cook

    Open the use case that fits your kitchen. This keeps the first herb garden small, useful, and easier to maintain.

    Herb choice path
    1Pick meals
    2Choose 3 herbs
    3Place near use
    Everyday cooking Pasta, salads, eggs, roasted vegetables
    • Start with herbs you already buy fresh.
    • Keep them near the kitchen door or window.
    • Harvest small amounts often to keep growth tidy.
    Tea and drinks Mint tea, lemonade, summer drinks
    • Grow mint in its own container.
    • Keep drink herbs easy to cut and rinse.
    • Choose a larger pot so leaves stay fresh longer.
    Garnish and scent A pretty patio that should still be useful
    • Use woody herbs for structure and scent.
    • Add labels so the setup looks intentional.
    • Group pots on one tray for a cleaner look.

    Quick rule: The best starter herbs are the ones you will harvest this week, not the longest wish list.

    Pick The Right Location

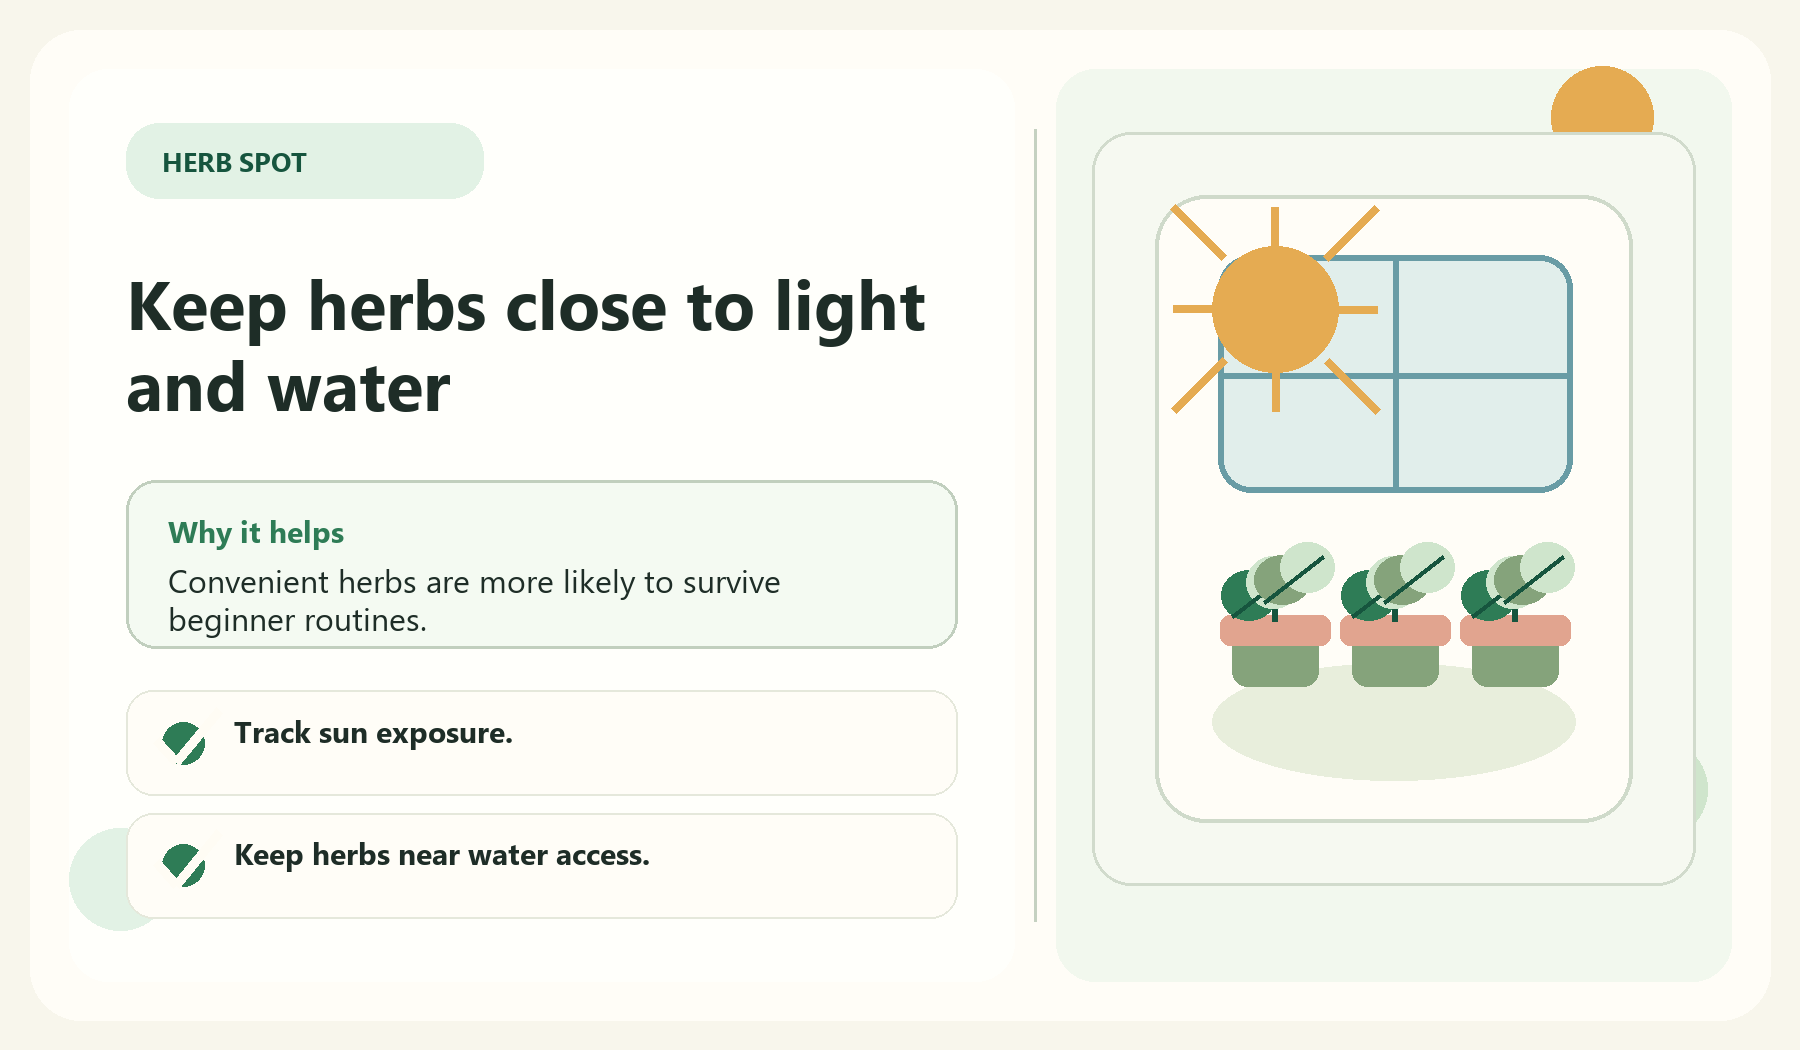
    Keep herbs close to light and water visual guide for Pick The Right Location

    Herbs are easier to use when they are easy to reach. A patio, balcony, or kitchen-adjacent area is often better than a far corner of the yard. Convenience helps you remember to water and harvest.

    Light needs vary, so read plant labels and observe your space. If the location is too dark or too hot, the herb garden will be harder than it needs to be.

    • Track sun exposure.
    • Keep herbs near water access.
    • Place frequently used herbs close to the kitchen.
    • Protect containers from extreme wind where possible.
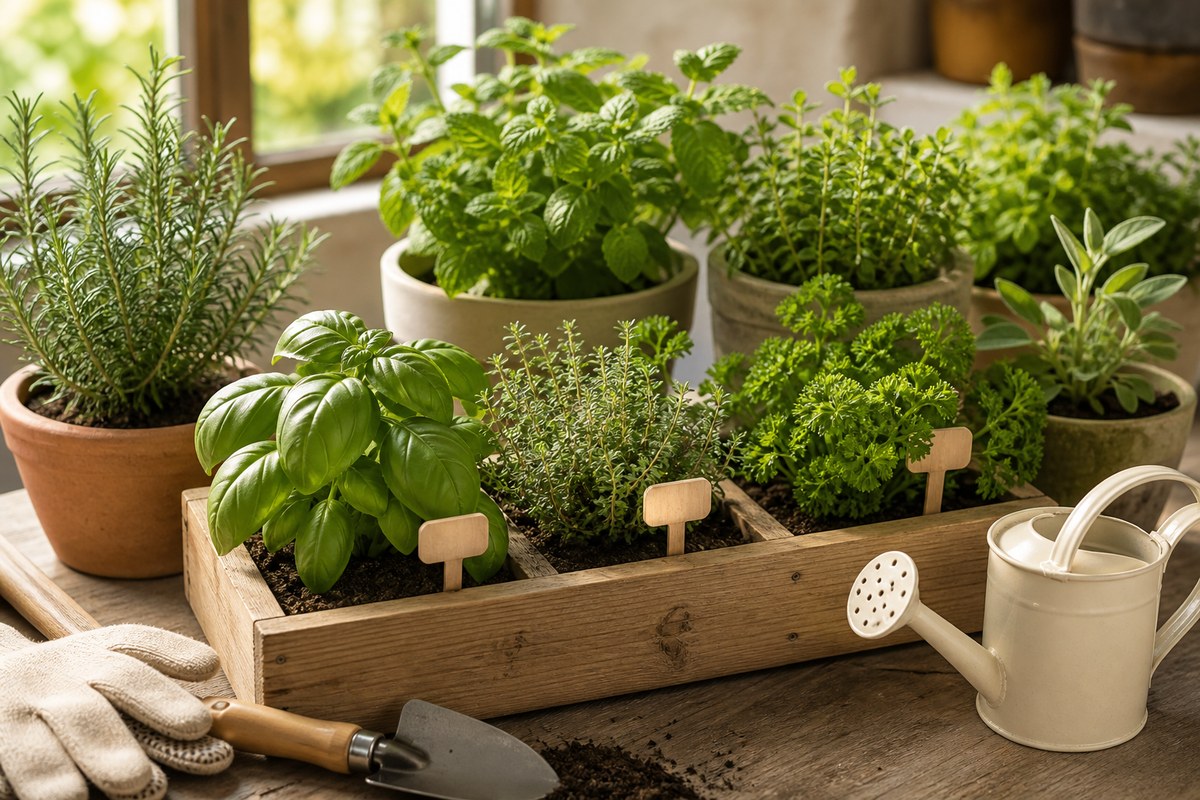
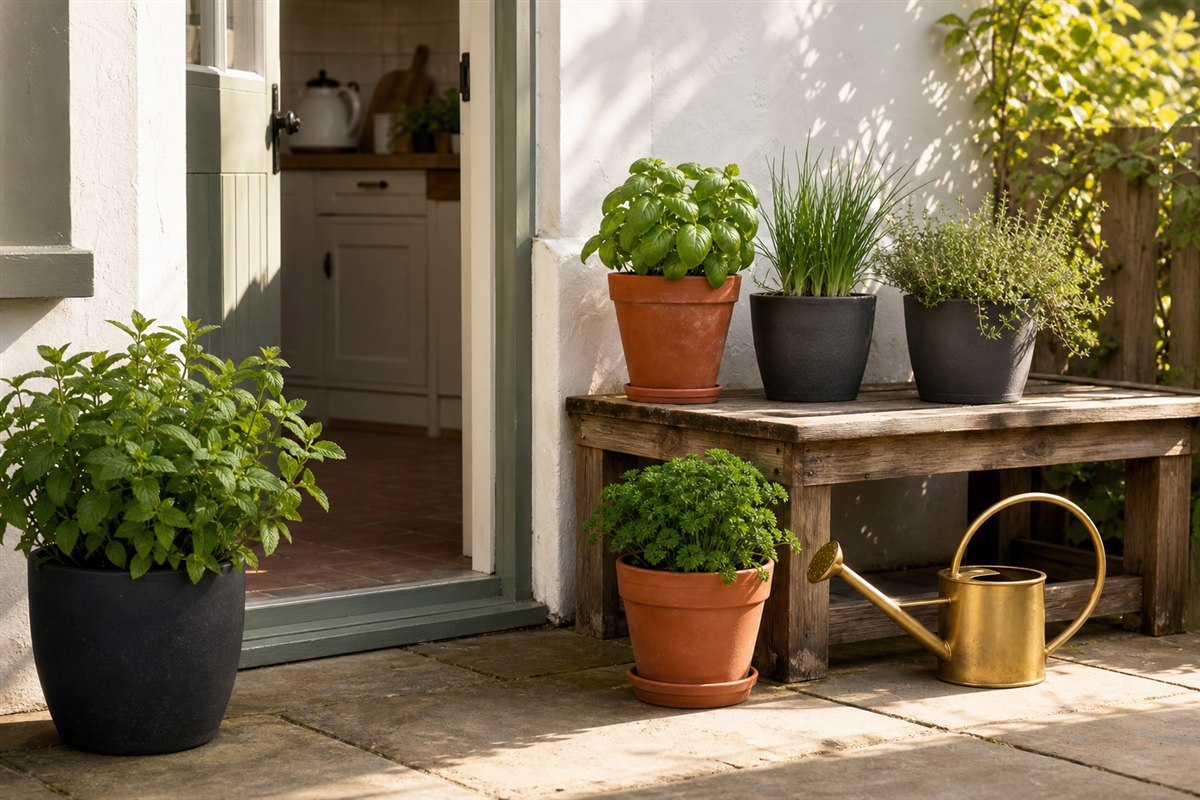
    Basil, parsley, chives, thyme, and mint in separate containers beside a kitchen door
    Reference: keep frequently used herbs close to the kitchen, group similar care needs, and contain spreading mint separately.

    Choose Containers Or A Small Bed

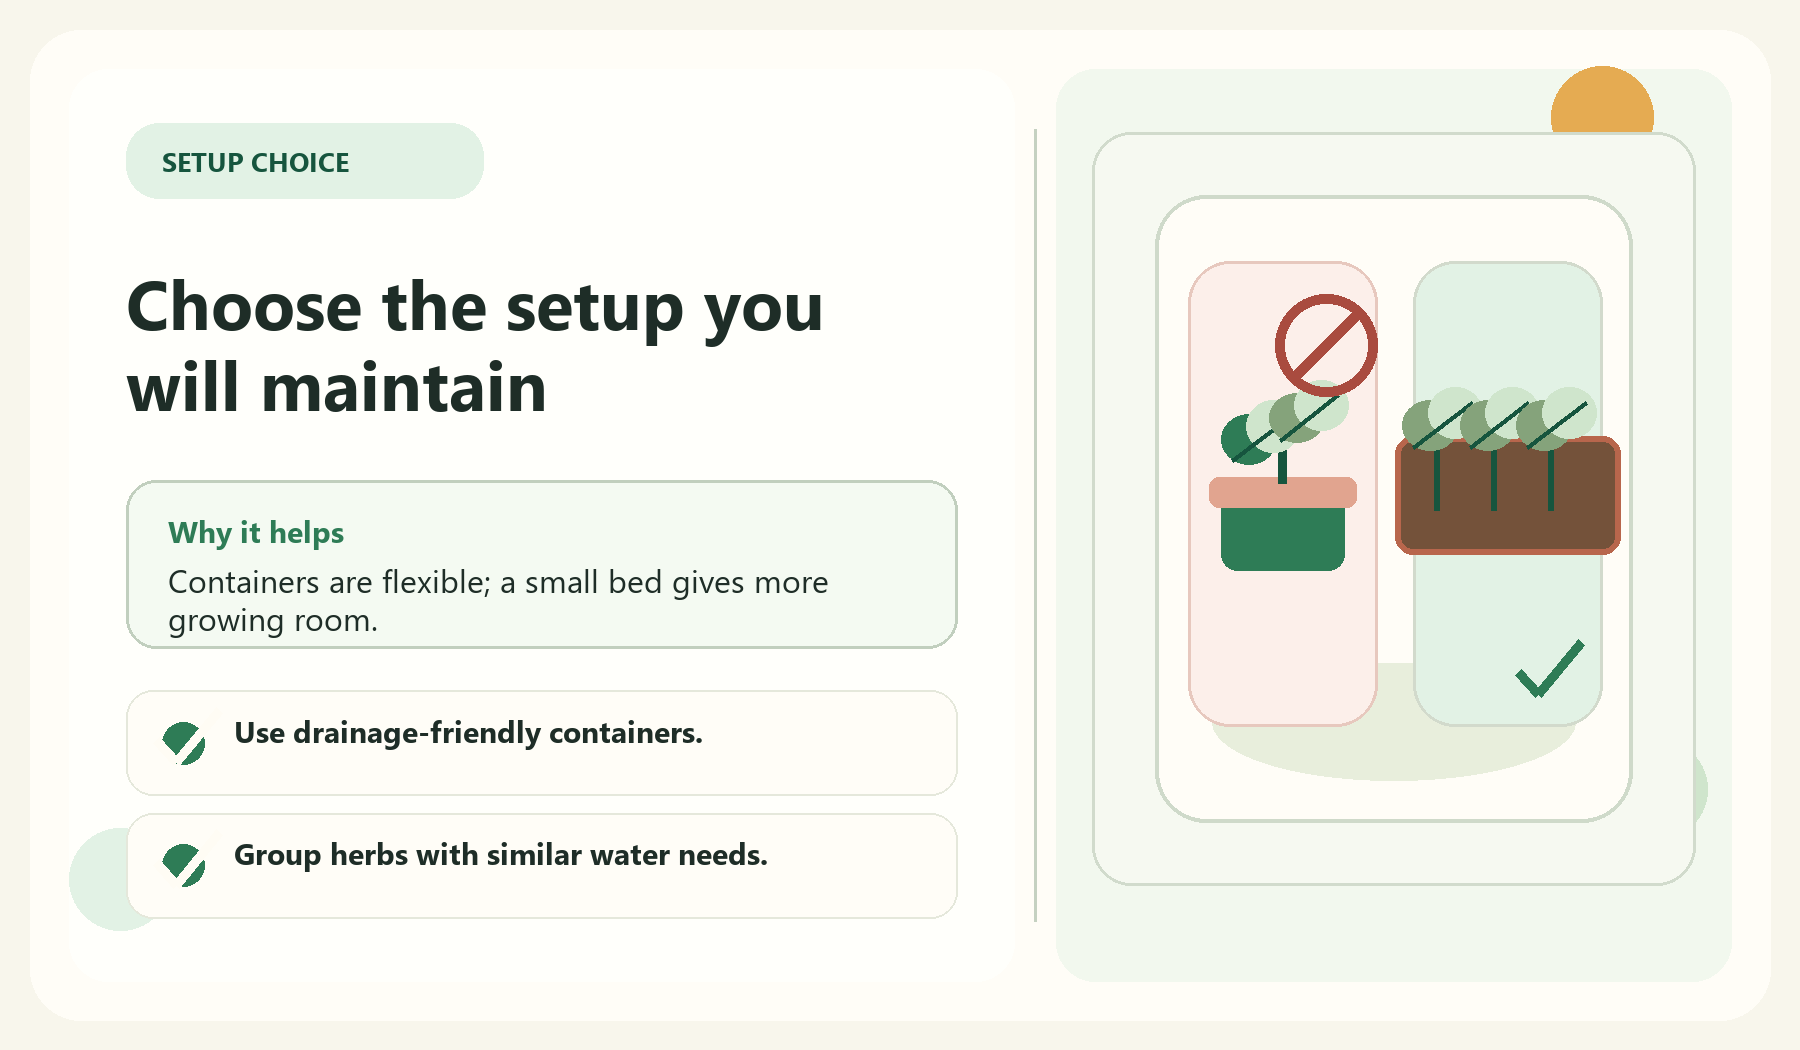
    Choose the setup you will maintain visual guide for Choose Containers Or A Small Bed

    Containers are flexible for beginners because they can move and fit small spaces. A small raised bed can work if you have a yard and want a more permanent setup.

    Use containers with drainage and enough room for roots. Tiny decorative pots may look charming but can dry out quickly and restrict growth.

    • Use drainage-friendly containers.
    • Group herbs with similar water needs.
    • Avoid overcrowding.
    • Use labels so you remember what is planted.

    Create A Simple Care Routine

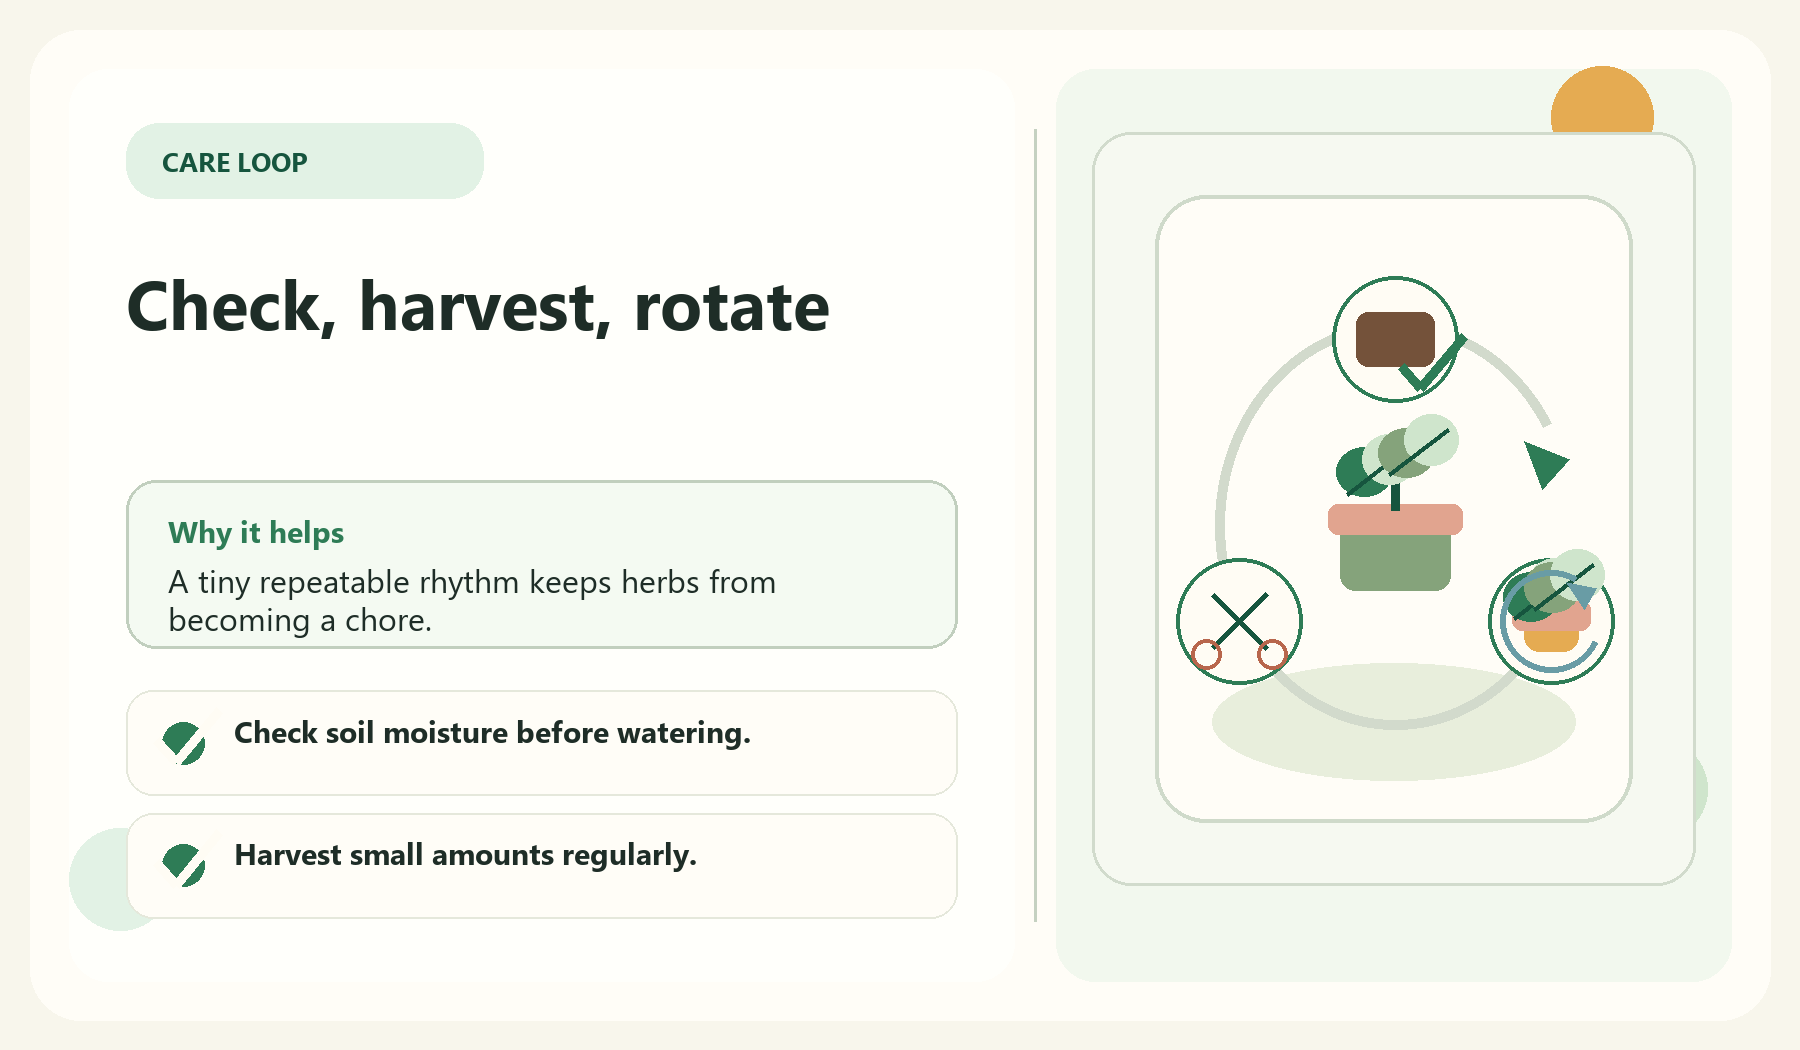
    Check, harvest, rotate visual guide for Create A Simple Care Routine

    A herb garden does not need to be complicated. Check moisture, water when needed, harvest regularly, and remove struggling leaves. A simple routine is more reliable than a perfect plan you will not follow.

    Harvesting can encourage many herbs to stay productive, but avoid cutting too much at once. Learn each herb slowly and keep notes.

    • Check soil moisture before watering.
    • Harvest small amounts regularly.
    • Rotate containers if one side gets more light.
    • Write down what grows well.

    Make It Look Elegant

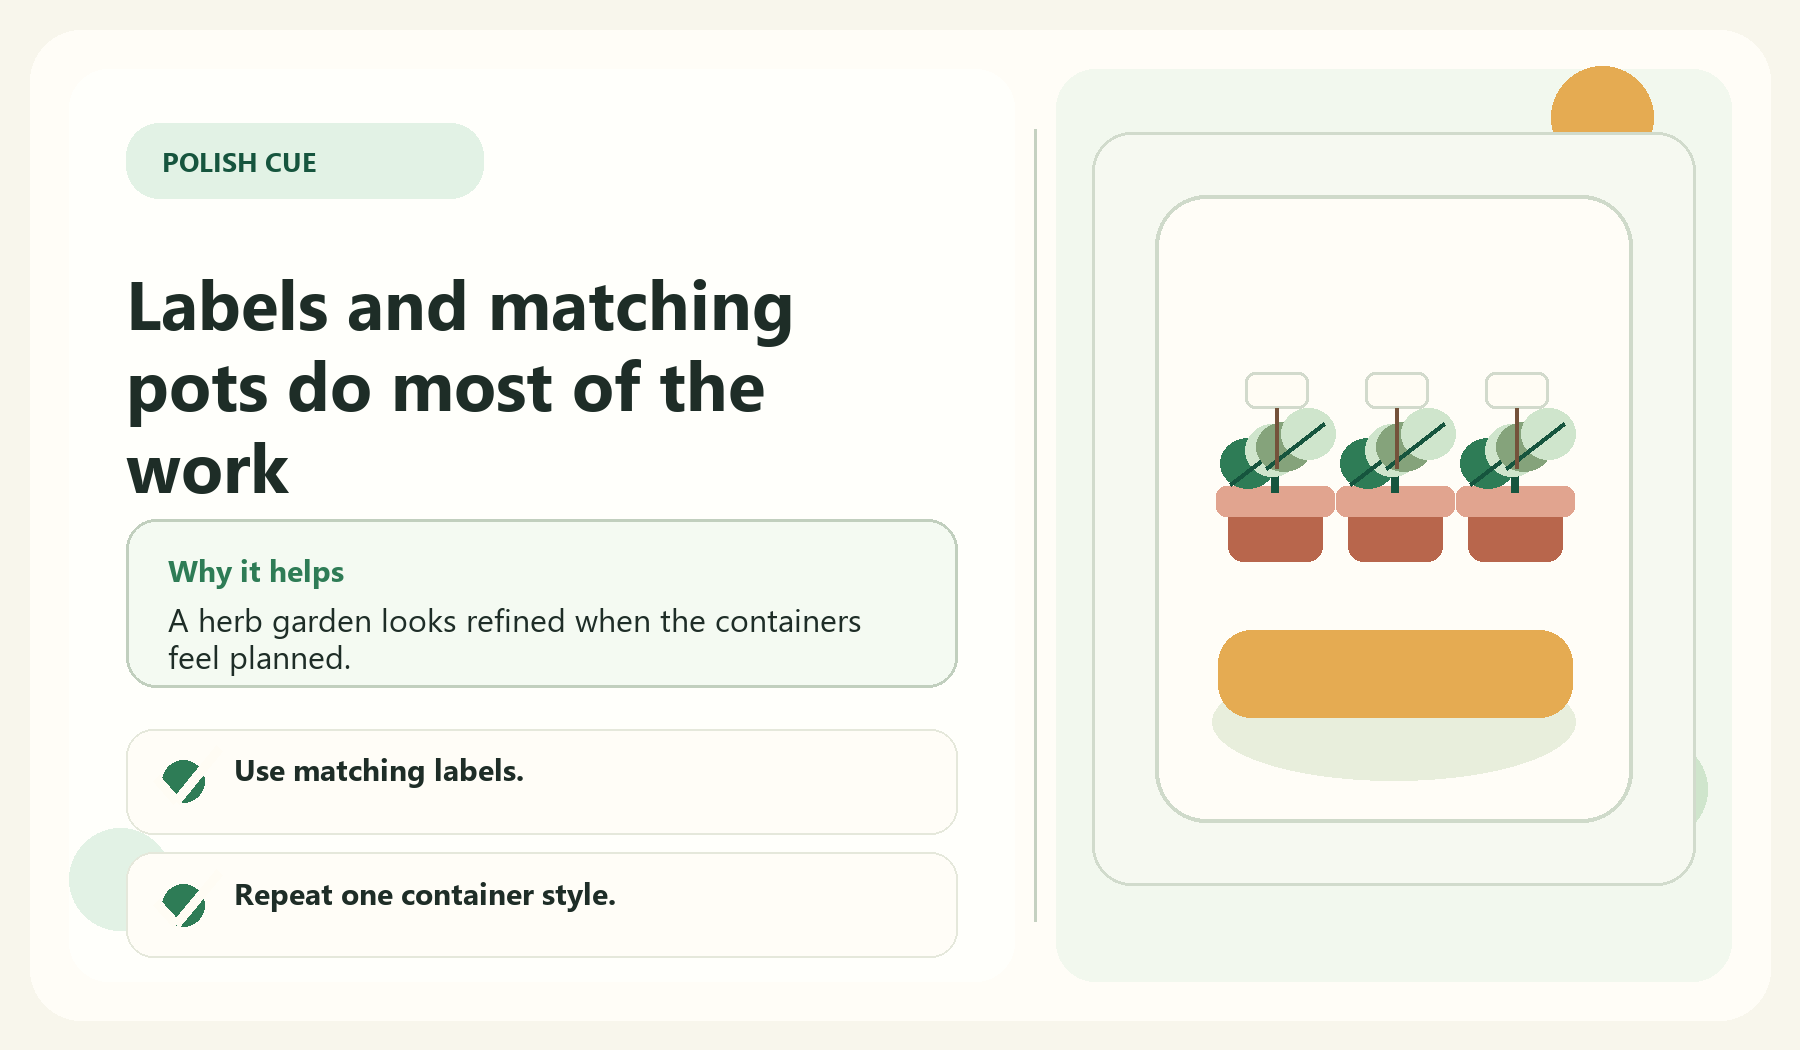
    Labels and matching pots do most of the work visual guide for Make It Look Elegant

    A herb garden can be useful and pretty. Choose matching containers, add simple labels, and group herbs on a tray, shelf, or corner table. This makes the garden feel intentional instead of random.

    Keep the look clean so the herbs remain the focus. A few healthy plants in coordinated pots are better than a crowded collection that is hard to water.

    • Use matching labels.
    • Repeat one container style.
    • Group herbs near seating or cooking areas.
    • Keep tools and watering supplies nearby.

    Related Beginner Garden Guides

    Next Step

    Browse more beginner-friendly garden guides on GardenEleganceHub. The free Elegant Garden Starter Planner will be added once the email setup is ready.

    FAQ

    What herbs should beginners grow first?

    Start with herbs you already cook with and that match your light conditions. Three to five herbs is enough for a first setup.

    Can I grow herbs on a balcony?

    Yes, if the balcony has suitable light, safe containers, and a watering routine you can maintain.

    Do herbs need separate pots?

    Some herbs are easier in separate pots because watering and growth habits vary. Beginners often do well with separate or carefully grouped containers.

  • Best Tools for Beginner Gardeners: What You Actually Need First

    Best Tools for Beginner Gardeners: What You Actually Need First

    Affiliate disclosure: We earn commissions when you shop through the links below.

    Beginner gardeners are often shown huge tool collections, but you do not need a shed full of equipment to start. The right first tools depend on whether you are growing in containers, raised beds, a balcony, or a small yard.

    The goal is to buy tools that make basic tasks easier: planting, watering, pruning, carrying, and protecting your hands. Everything else can wait until the garden proves you need it.

    This guide explains what to buy first, what to skip, and how to think about product recommendations honestly.

    Start With The Garden Type

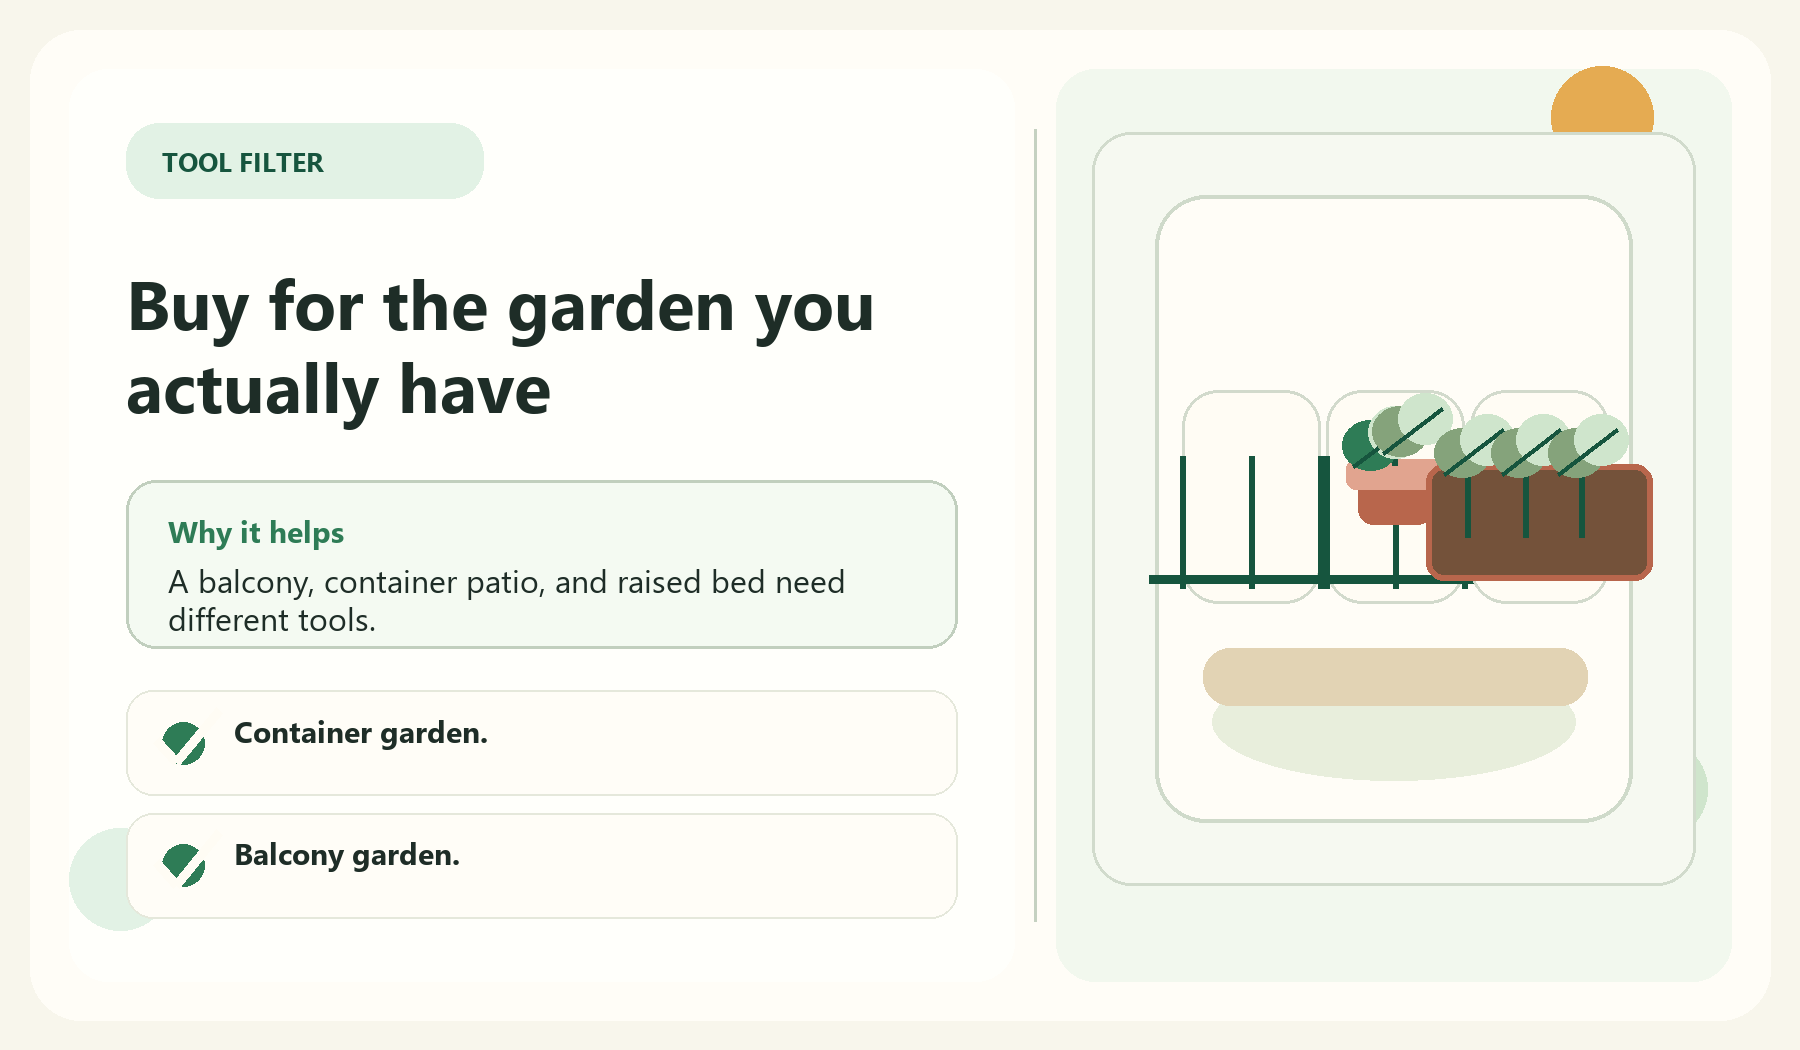
    Buy for the garden you actually have visual guide for Start With The Garden Type

    A balcony herb garden needs fewer tools than a backyard raised bed. Before buying a tool set, decide what kind of garden you are building. This keeps the checklist practical.

    Container gardeners need watering and potting tools. Raised bed gardeners may need a trowel, gloves, watering wand, labels, and soil support. Large-yard tools can wait.

    • Container garden.
    • Balcony garden.
    • Raised bed garden.
    • Small flower garden.
    • Herb or vegetable starter garden.

    Beginner Tool Kit Selector

    Choose tools for the garden you actually have

    The useful beginner kit changes by garden type. Open your setup and skip tools that solve problems you do not have yet.

    Tool buying path
    1Choose setup
    2Buy core tools
    3Add only after friction
    Balcony or patio Containers, railing planters, small corners
    • Choose compact tools that store easily.
    • Use a small watering can if water is carried indoors.
    • Add a potting mat before messy repotting.
    Raised bed One bed with vegetables, herbs, or flowers
    • Prioritize reach and watering comfort.
    • Keep hand tools close to the bed.
    • Wait before buying large digging tools.
    Mixed beginner garden A few pots plus a small border
    • Start with gloves, trowel, snips, and watering.
    • Label plants until you learn their needs.
    • Buy upgrades only after a repeated task annoys you.

    Quick rule: A smaller kit is better when every tool has a real job this month.

    The Core Beginner Tools

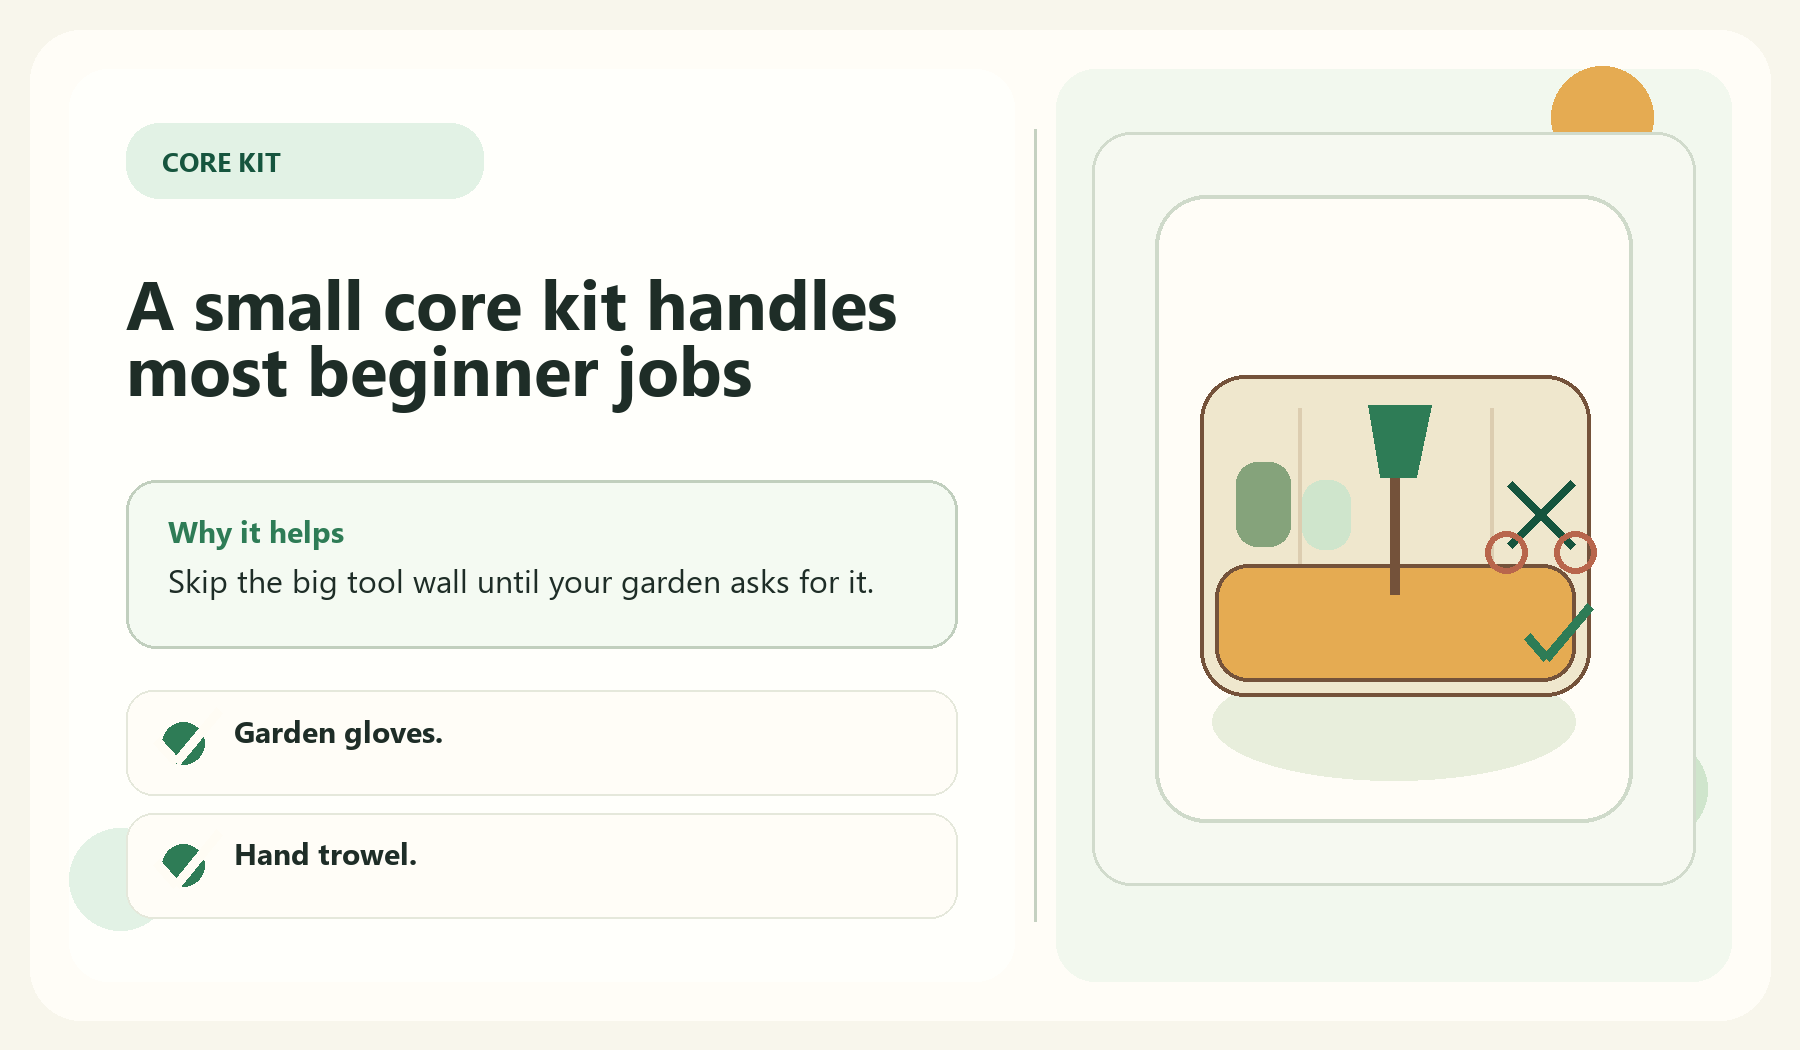
    A small core kit handles most beginner jobs visual guide for The Core Beginner Tools

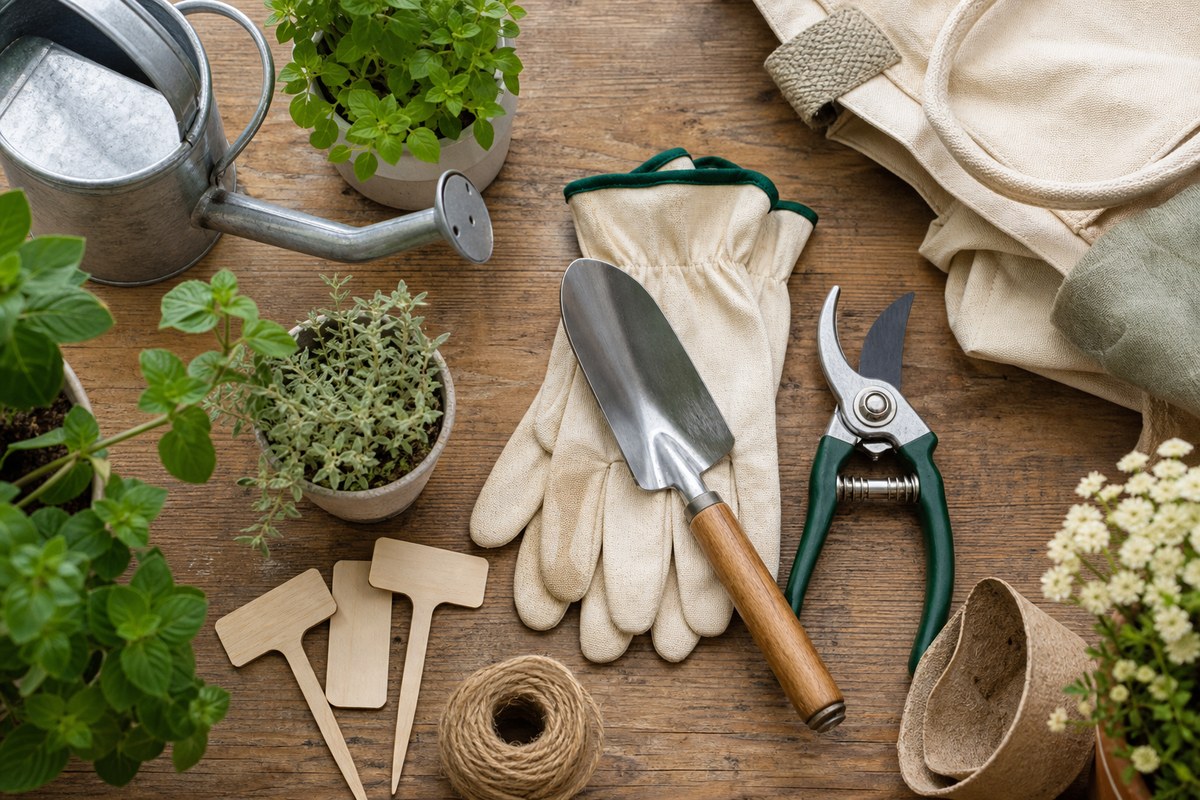
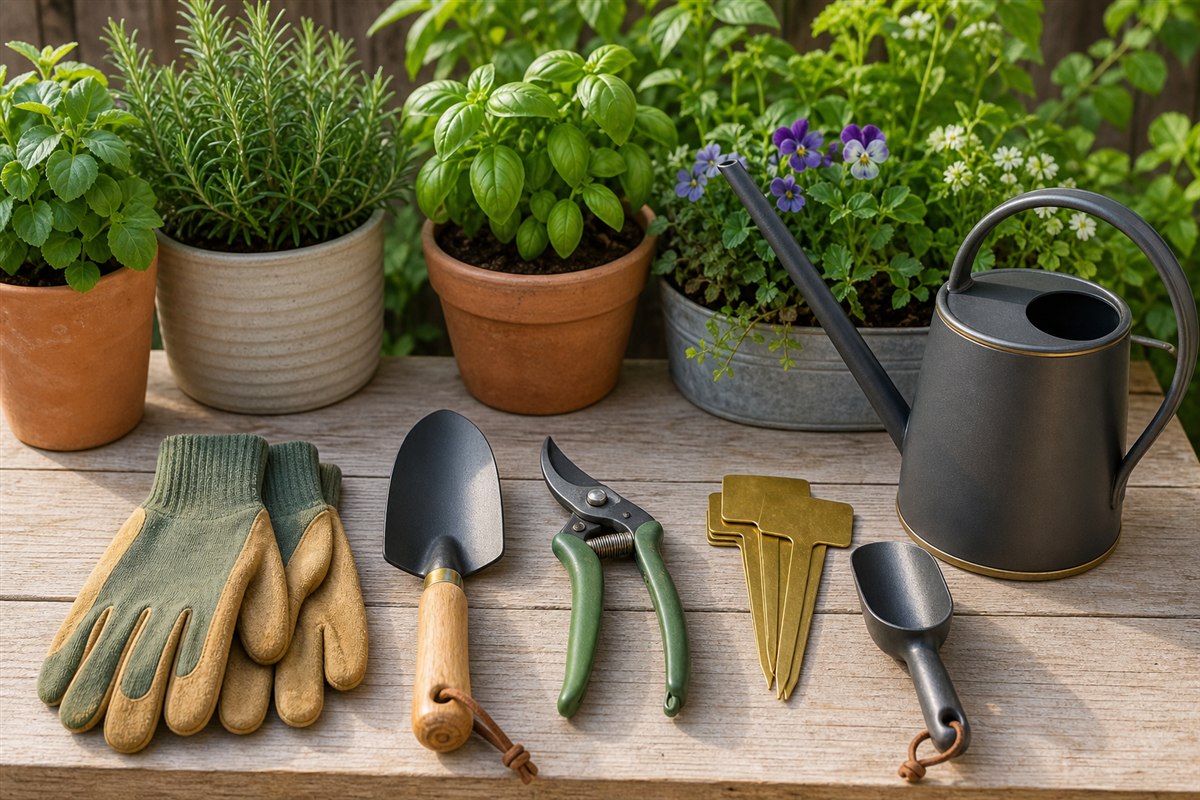
    Most beginners can start with a small set: gloves, hand trowel, pruning snips, watering can or hose attachment, labels, and a bucket or basket. These cover many early tasks without overbuying.

    Quality matters, but that does not mean luxury. Choose tools that feel comfortable, fit your space, and match the tasks you will actually do.

    • Garden gloves.
    • Hand trowel.
    • Pruning snips.
    • Watering can or watering wand.
    • Plant labels.
    • Bucket, trug, or small basket.
    Beginner garden kit with gloves, trowel, pruning snips, watering can, plant labels, and scoop
    Reference: this compact core kit handles most first-season container and small-bed jobs without specialist tools.

    Tools Container Gardeners Need

    Compact tools beat oversized gear visual guide for Tools Container Gardeners Need

    Container gardeners should focus on watering, potting, and moving. A narrow-spout watering can, scoop, trowel, and moisture-checking routine can be more useful than large outdoor tools.

    If containers are heavy, plan placement carefully before filling them. A plant caddy may help in some setups, but only if the surface and container make sense.

    • Watering can suited to the space.
    • Small trowel or scoop.
    • Potting mat if working indoors.
    • Labels or marker.

    Tools Raised Bed Gardeners Need

    Reach and watering matter most visual guide for Tools Raised Bed Gardeners Need

    Raised bed gardeners usually need tools for planting, watering, light pruning, and harvesting. Large shovels or heavy equipment may not be necessary for one small bed.

    A watering wand can help water gently without disturbing soil or seedlings. Plant labels and a simple garden notebook help you remember what was planted.

    • Gloves.
    • Hand trowel.
    • Watering wand.
    • Pruning snips.
    • Labels and notebook.

    What Beginners Can Skip

    Skip tools that solve problems you do not have yet visual guide for What Beginners Can Skip

    Skip tools that solve problems you do not have yet. Specialty gadgets, large tool bundles, and decorative tools can drain the budget before the garden is even planted.

    Buy slowly. When a repeated task becomes annoying, that is the signal that a new tool may be useful.

    • Large tool bundles with items you cannot name.
    • Specialty pruning tools before you know your plants.
    • Decorative tools that are uncomfortable.
    • Large-yard tools for tiny container setups.

    Related Beginner Garden Guides

    Next Step

    Browse more beginner-friendly garden guides on GardenEleganceHub. The free Elegant Garden Starter Planner will be added once the email setup is ready.

    FAQ

    What tools does a beginner gardener really need?

    Most beginners can start with gloves, hand trowel, pruning snips, watering tool, labels, and a bucket or basket.

    Should I buy a full garden tool set?

    Only if every tool in the set matches your garden type. Many beginners are better off buying a few useful tools individually.

    What tools do balcony gardeners need?

    Balcony gardeners usually need a compact watering can, small trowel or scoop, labels, and containers suited to the space.

  • Low-Maintenance Garden Ideas for Beginners Who Want Beauty Without Overwhelm

    Low-Maintenance Garden Ideas for Beginners Who Want Beauty Without Overwhelm

    Affiliate disclosure: We earn commissions when you shop through the links below.

    A low-maintenance garden is not a garden that needs no care. It is a garden designed so the care feels realistic. For beginners, that usually means fewer areas, better plant choices, easier watering, and less clutter.

    The most manageable garden is the one that fits your actual life. If you have ten minutes a day, design for that. If you travel often, choose containers and plants carefully. If you are overwhelmed, start with one zone.

    Use these ideas to build beauty without creating a garden that becomes another stressful chore.

    Make The Garden Smaller On Purpose

    Shrink the work, not the beauty visual guide for Make The Garden Smaller On Purpose

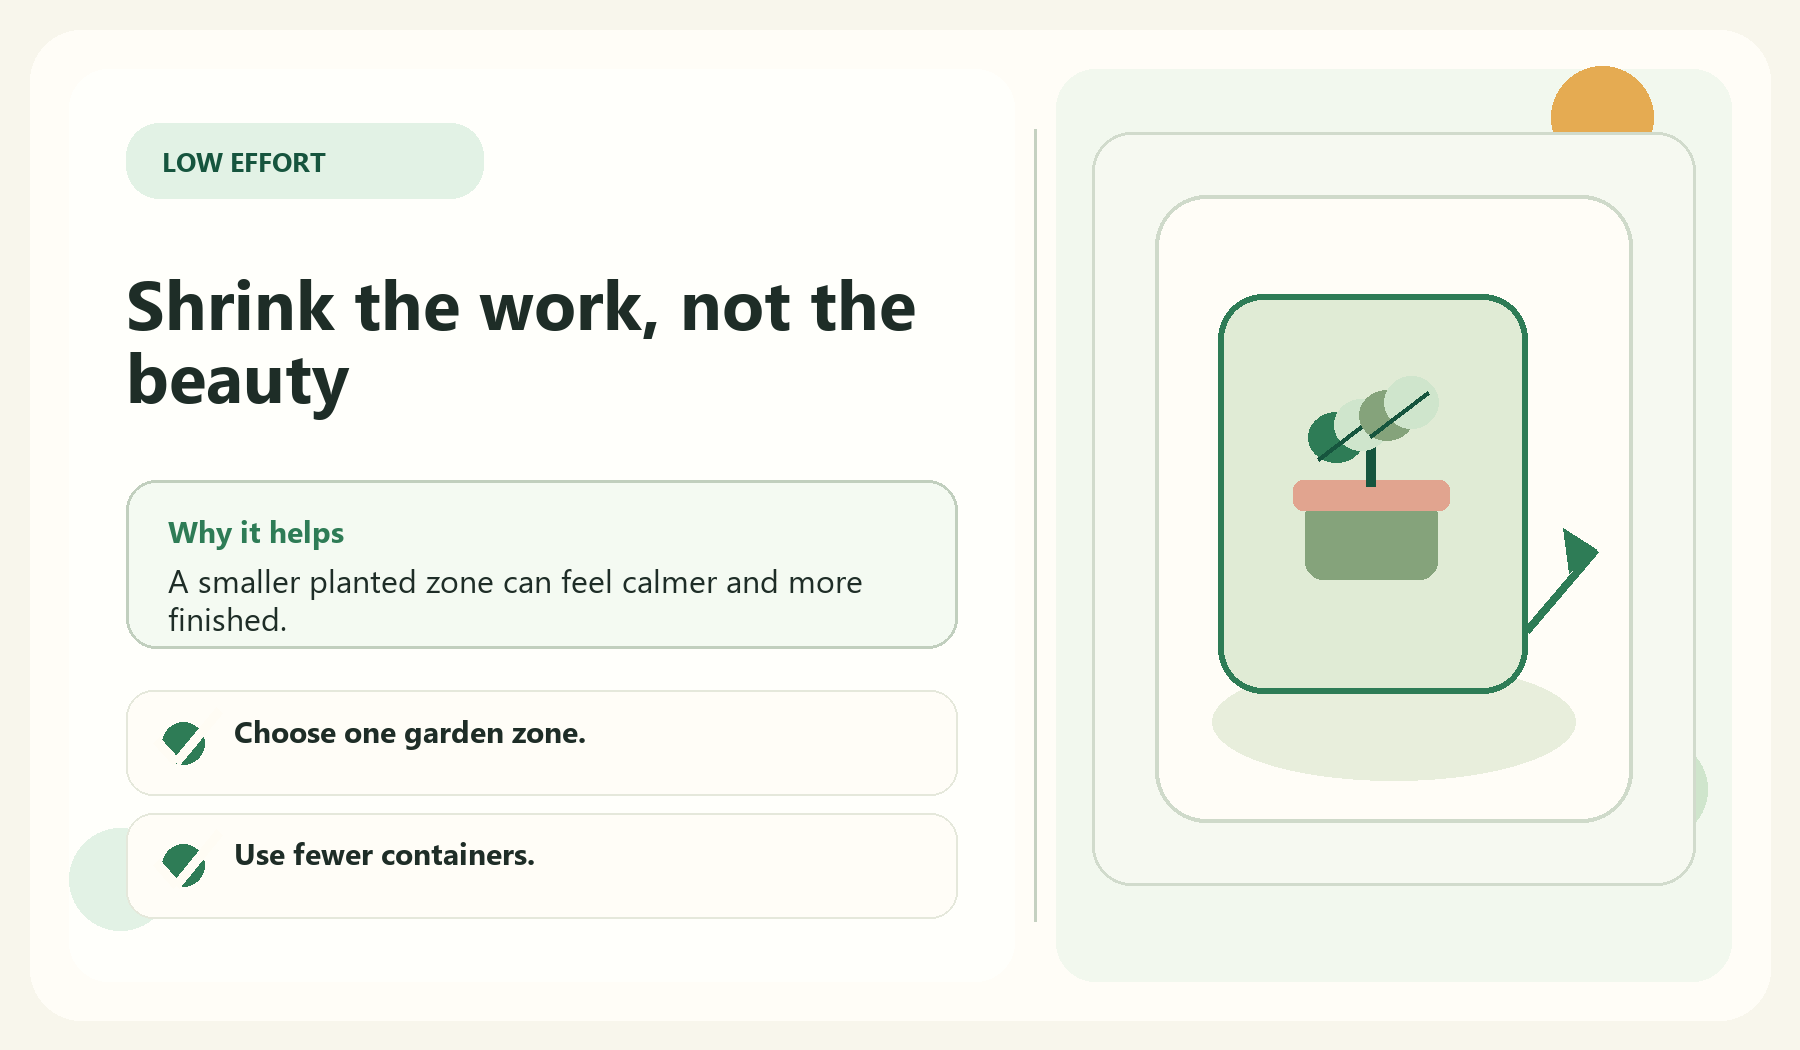
    Low maintenance often starts with a smaller scope. One raised bed, one patio planter cluster, or one herb corner is easier to manage than a full-yard makeover.

    A small, healthy garden looks better than a large, neglected one. Give yourself permission to start with less.

    • Choose one garden zone.
    • Use fewer containers.
    • Keep paths simple.
    • Expand only after the first area works.

    Choose Plants For The Actual Conditions

    Match the plant to the place visual guide for Choose Plants For The Actual Conditions

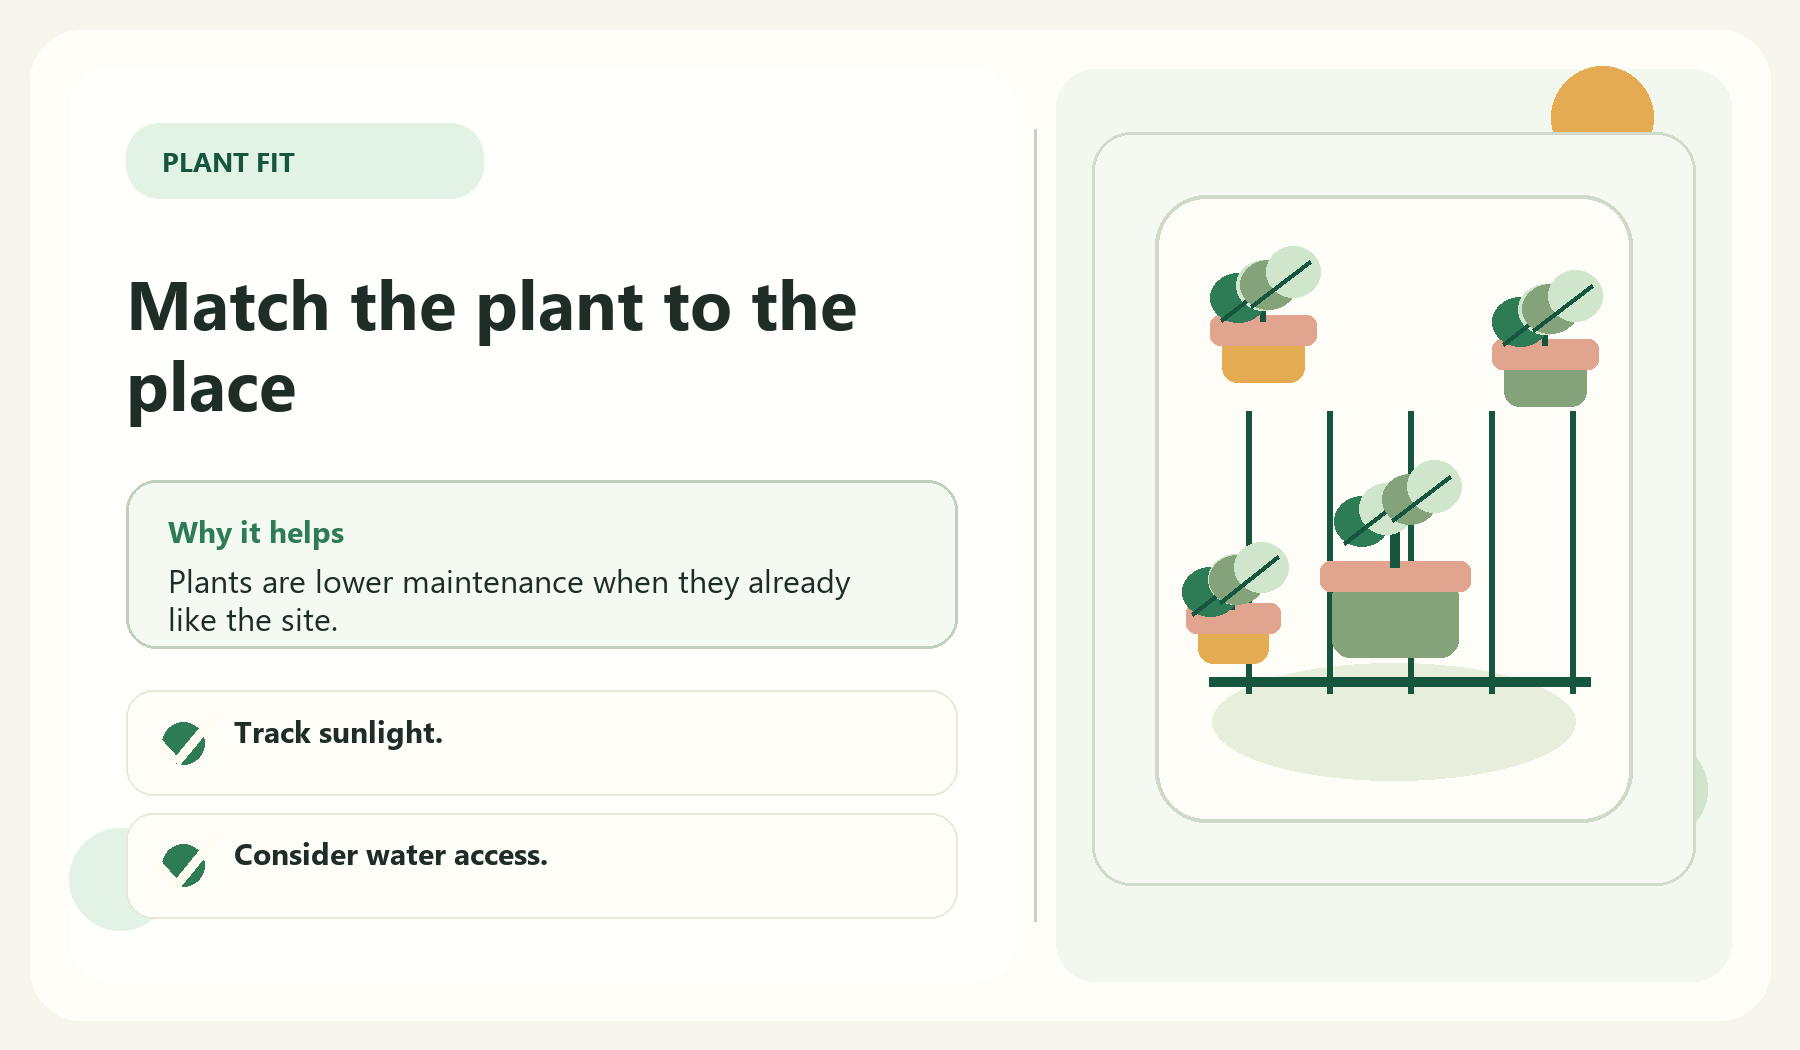
    A plant is only low-maintenance when it fits the space. A sun-loving plant in shade or a thirsty plant in a hot container will create more work, not less.

    Read labels, check local advice, and observe the space before buying. Matching plants to light and water conditions is one of the best ways to reduce care problems.

    • Track sunlight.
    • Consider water access.
    • Check mature size.
    • Avoid plants that need constant special care.

    Simplify Watering

    Make watering obvious and close visual guide for Simplify Watering

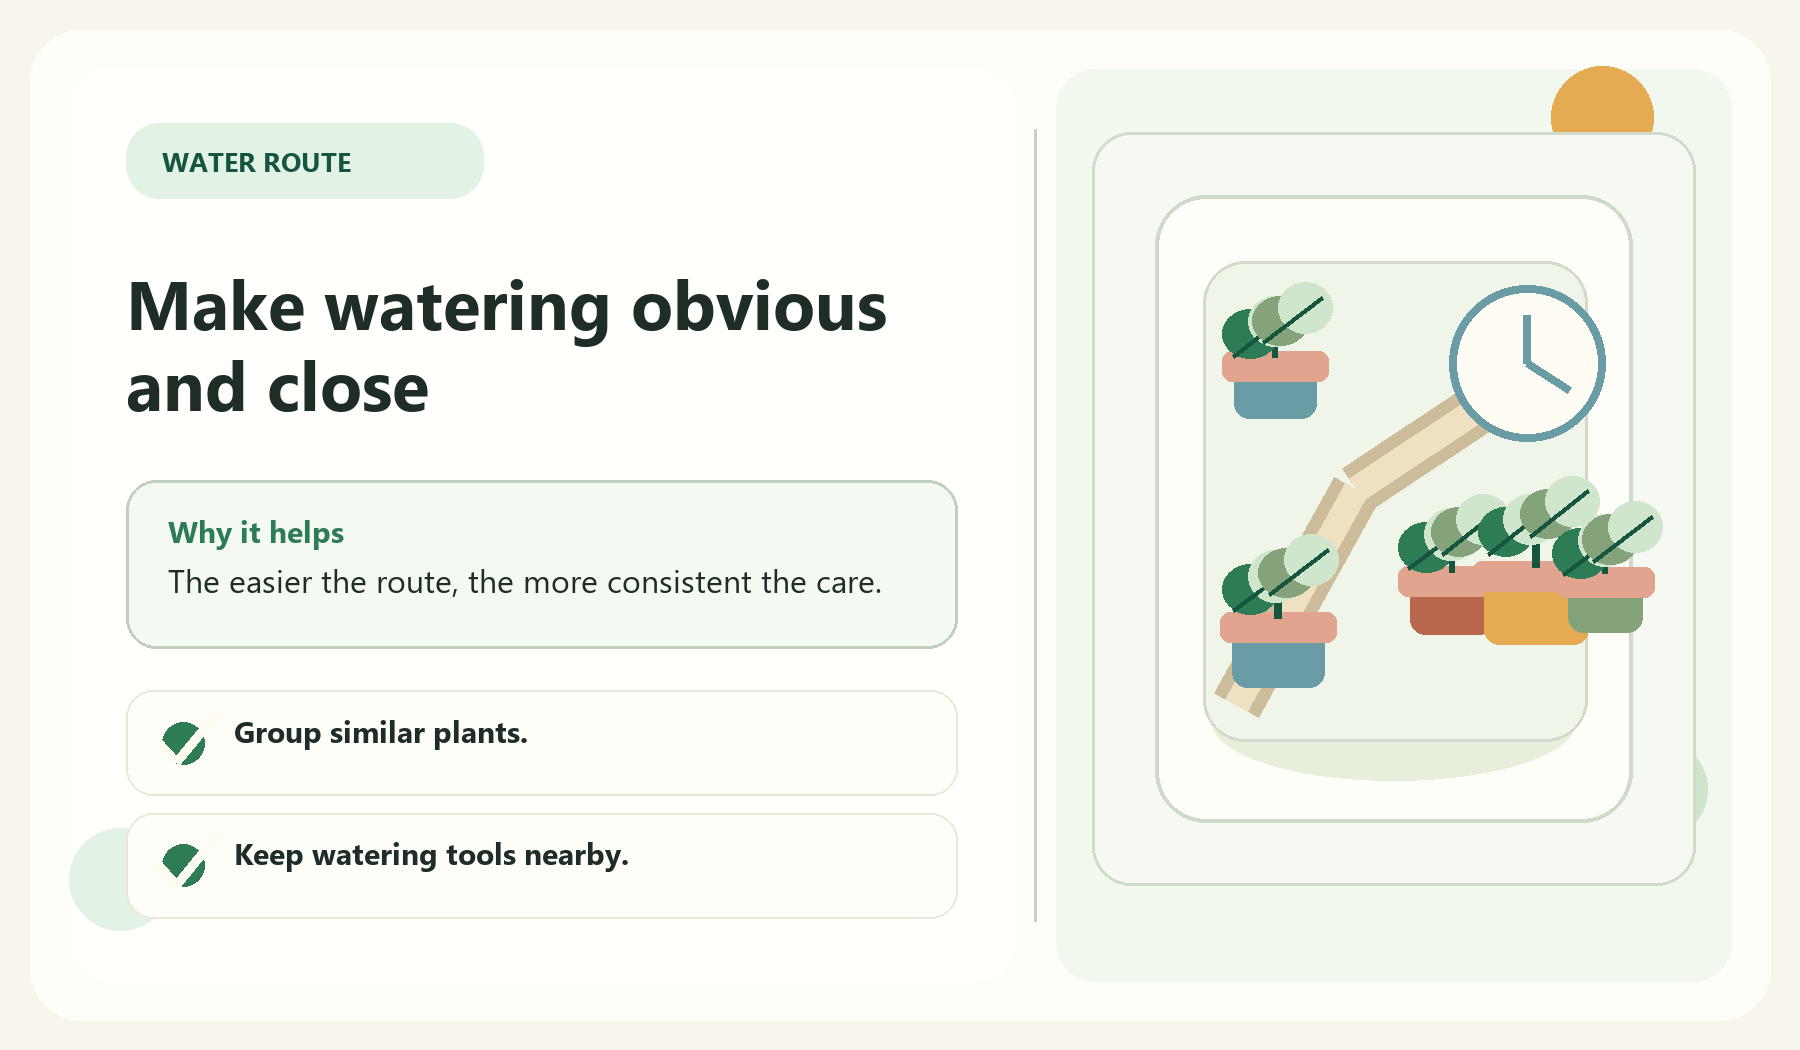
    Watering is where many beginner gardens become difficult. Put containers near water access, group plants with similar needs, and avoid spreading plants across too many corners.

    Self-watering containers, mulch, or drip-style systems may help in some setups, but they should support a good routine rather than replace attention entirely.

    • Group similar plants.
    • Keep watering tools nearby.
    • Use mulch where appropriate.
    • Avoid too many tiny pots.
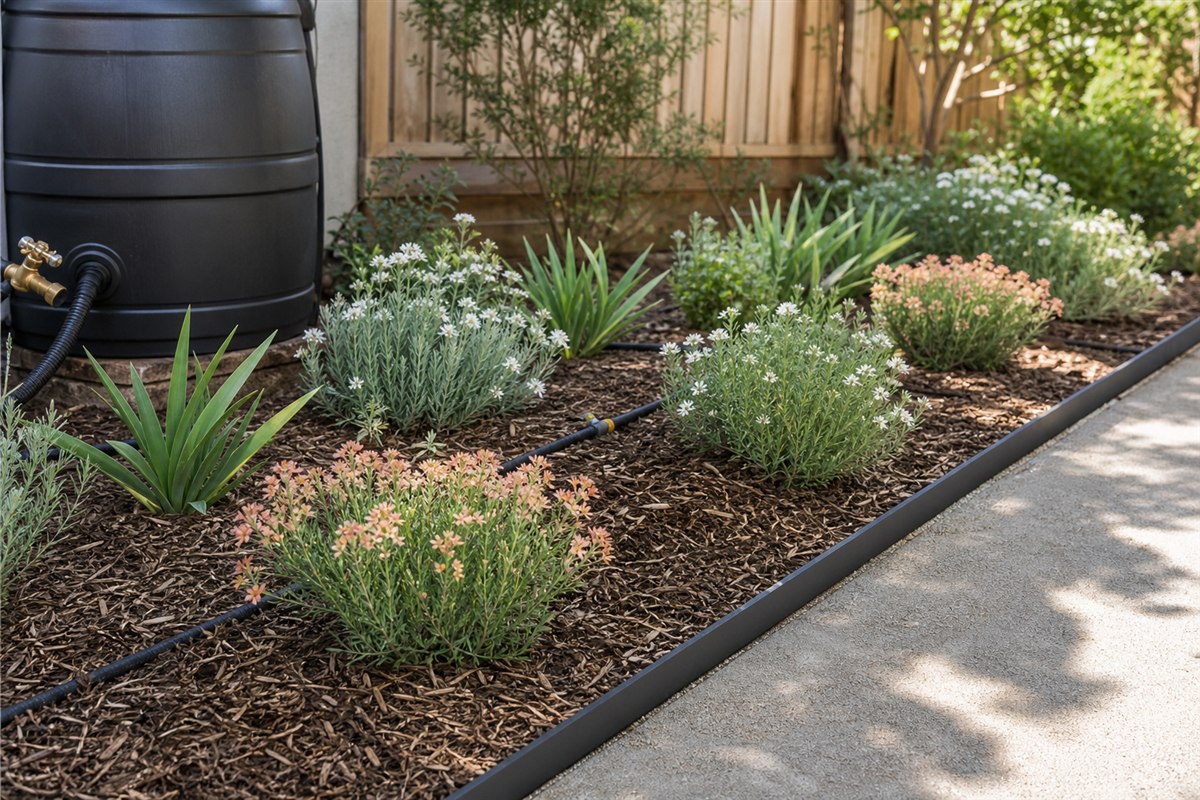
    Mulched garden bed with visible drip line, repeated drought-tolerant plants, water connection, and open path
    Reference: fewer plant groups, covered soil, and a simple watering route reduce repeated weekly work.

    Use Repetition For Beauty

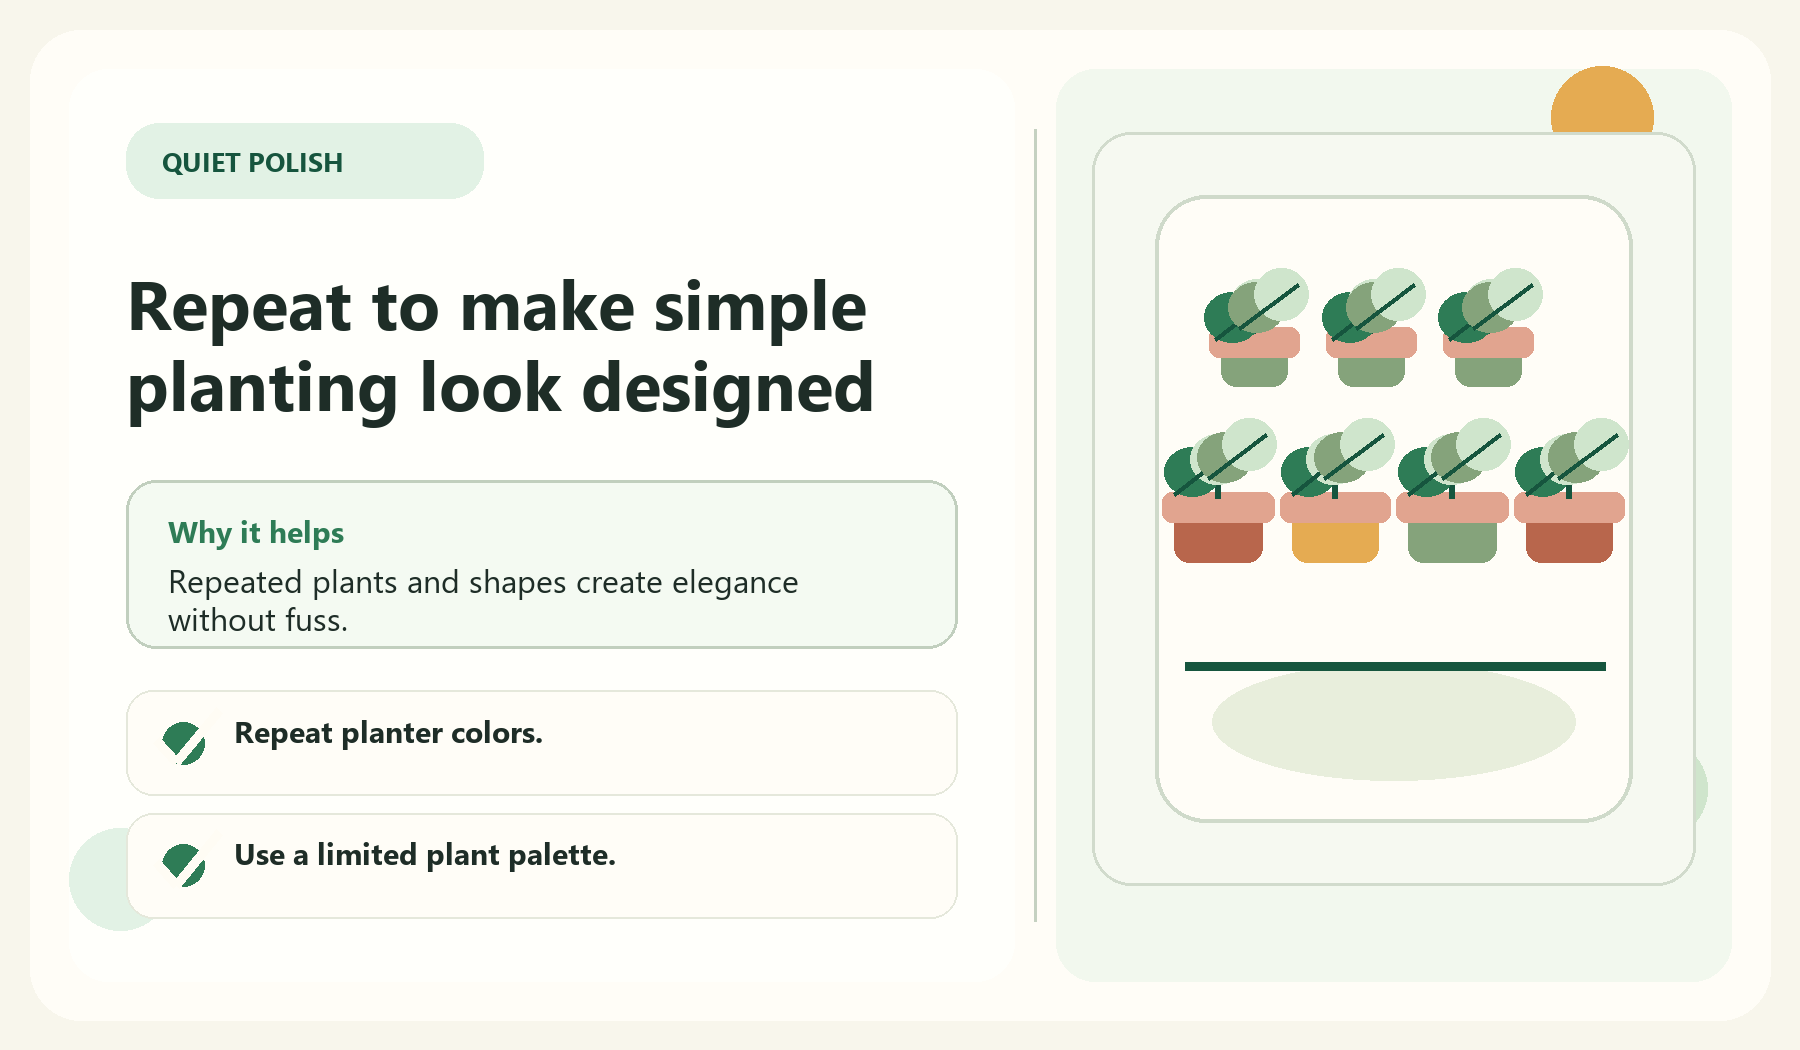
    Repeat to make simple planting look designed visual guide for Use Repetition For Beauty

    A low-maintenance garden can still feel elegant. Repetition makes design easier and reduces decision fatigue. Use repeated planters, plant types, or colors.

    This also helps future shopping. When you know the garden style, you are less likely to buy random items that add clutter.

    • Repeat planter colors.
    • Use a limited plant palette.
    • Choose simple edging or containers.
    • Avoid too many decor themes.

    Build A Tiny Weekly Routine

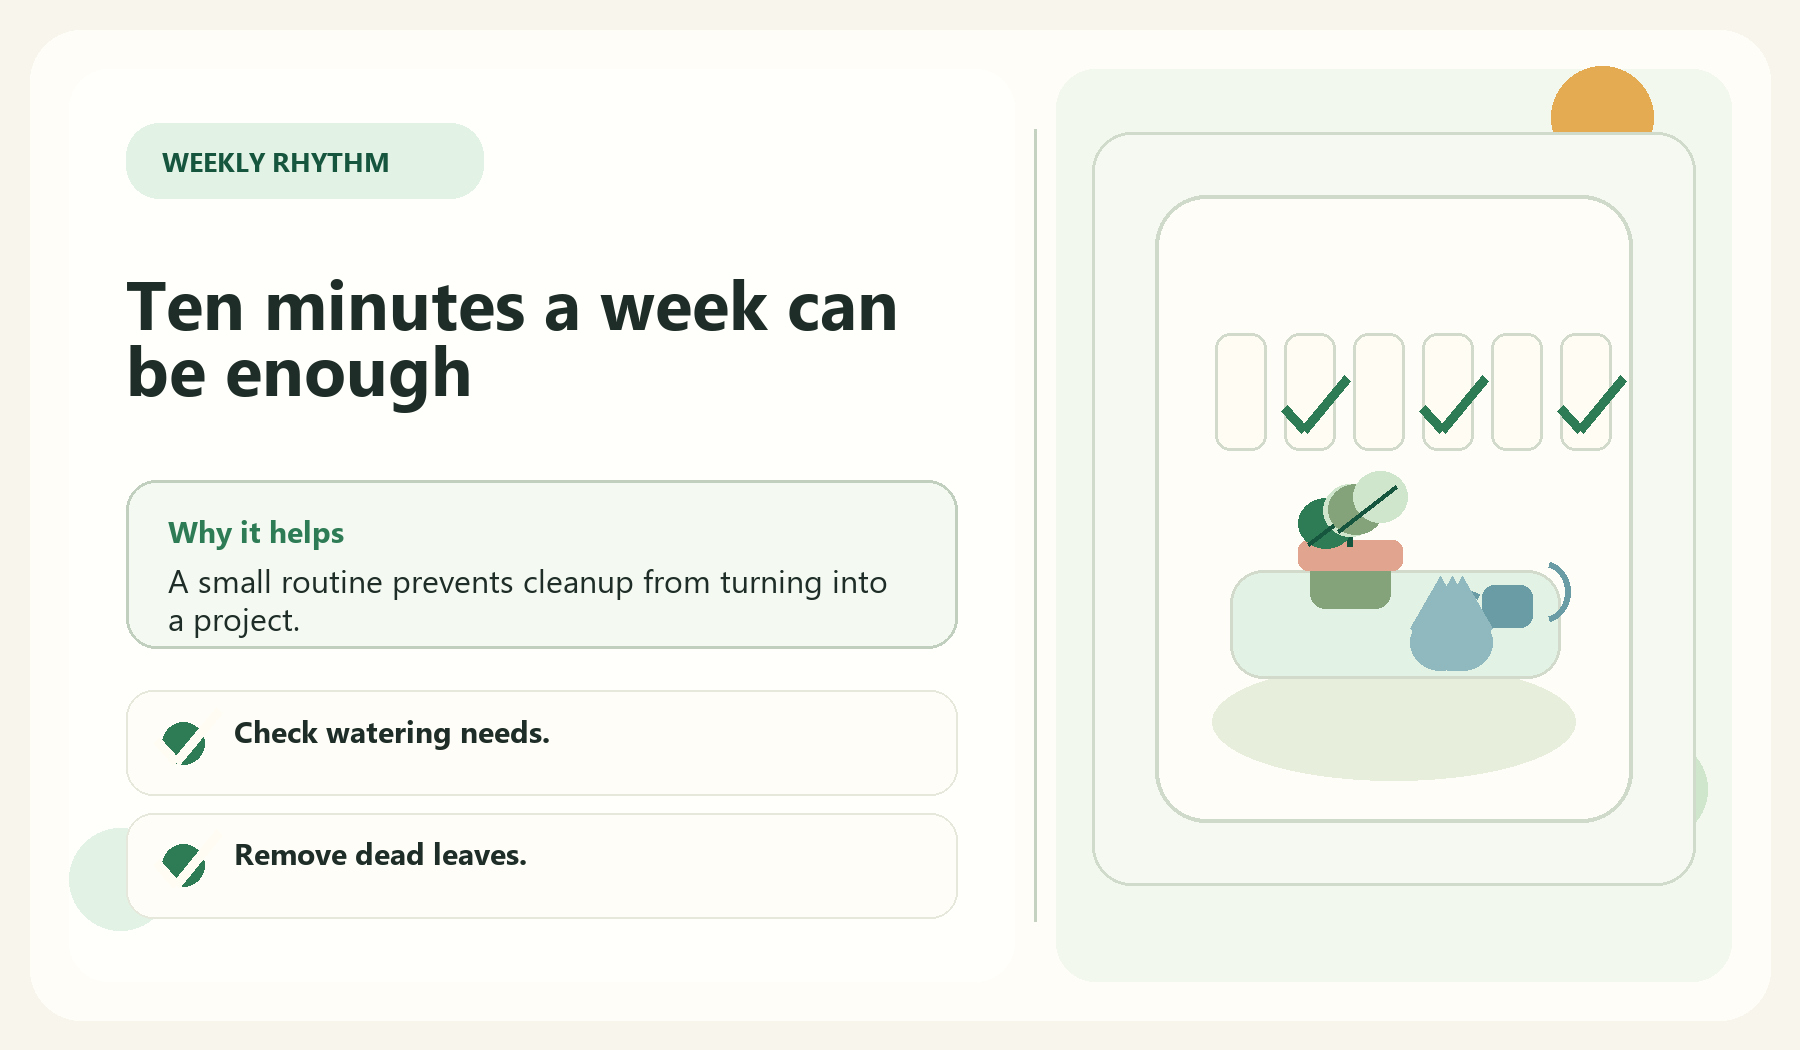
    Ten minutes a week can be enough visual guide for Build A Tiny Weekly Routine

    A low-maintenance garden still needs a rhythm. A simple weekly check can catch problems before they become discouraging. Look for dry soil, damaged leaves, overcrowding, and tasks that are getting annoying.

    Use a tracker if it helps. The point is not perfection. The point is noticing what the garden needs before it becomes overwhelming.

    • Check watering needs.
    • Remove dead leaves.
    • Harvest herbs or greens.
    • Write down what needs attention.

    Weekly Care Micro-Routine

    Build a 10-minute weekly garden reset

    A low-maintenance garden still needs rhythm. Use this tiny routine so care feels obvious instead of becoming a weekend project.

    Tiny routine path
    1Look
    2Water or trim
    3Reset one thing
    Look first Any low-maintenance garden
    • Walk the same route each week.
    • Check the plants at the edge of the path.
    • Notice one problem before it spreads.
    Water or trim Gardens with containers or fast growers
    • Water grouped pots together.
    • Cut one messy stem instead of pruning everything.
    • Top up mulch where soil is exposed.
    Reset the view Spaces meant to feel calm
    • Sweep the main path or seating area.
    • Turn one container toward the best side.
    • Remove one item that makes the space look crowded.

    Quick rule: The routine works because it is small enough to repeat before the garden feels messy.

    Related Beginner Garden Guides

    Next Step

    Browse more beginner-friendly garden guides on GardenEleganceHub. The free Elegant Garden Starter Planner will be added once the email setup is ready.

    FAQ

    What makes a garden low-maintenance?

    A low-maintenance garden is designed around realistic care, suitable plants, simple watering, and a manageable size.

    Can a beginner have a low-maintenance garden?

    Yes. Beginners should start small, choose plants for the real conditions, and build a simple care routine.

    Are container gardens low-maintenance?

    They can be, but small containers may dry out quickly. Choose container size and watering setup carefully.

  • Budget Garden Makeover Ideas That Look Elegant Without Overspending

    Budget Garden Makeover Ideas That Look Elegant Without Overspending

    Affiliate disclosure: We earn commissions when you shop through the links below.

    A garden makeover does not need to start with a large budget. Often the biggest change comes from editing the space, choosing one clear goal, and spending only on items that improve both the look and the routine.

    Budget garden makeovers go wrong when every cute idea becomes a purchase. A few focused upgrades can make a small yard, patio, or balcony feel more elegant without wasting money.

    Use this guide to choose affordable garden changes in the right order.

    Clean And Edit Before Buying

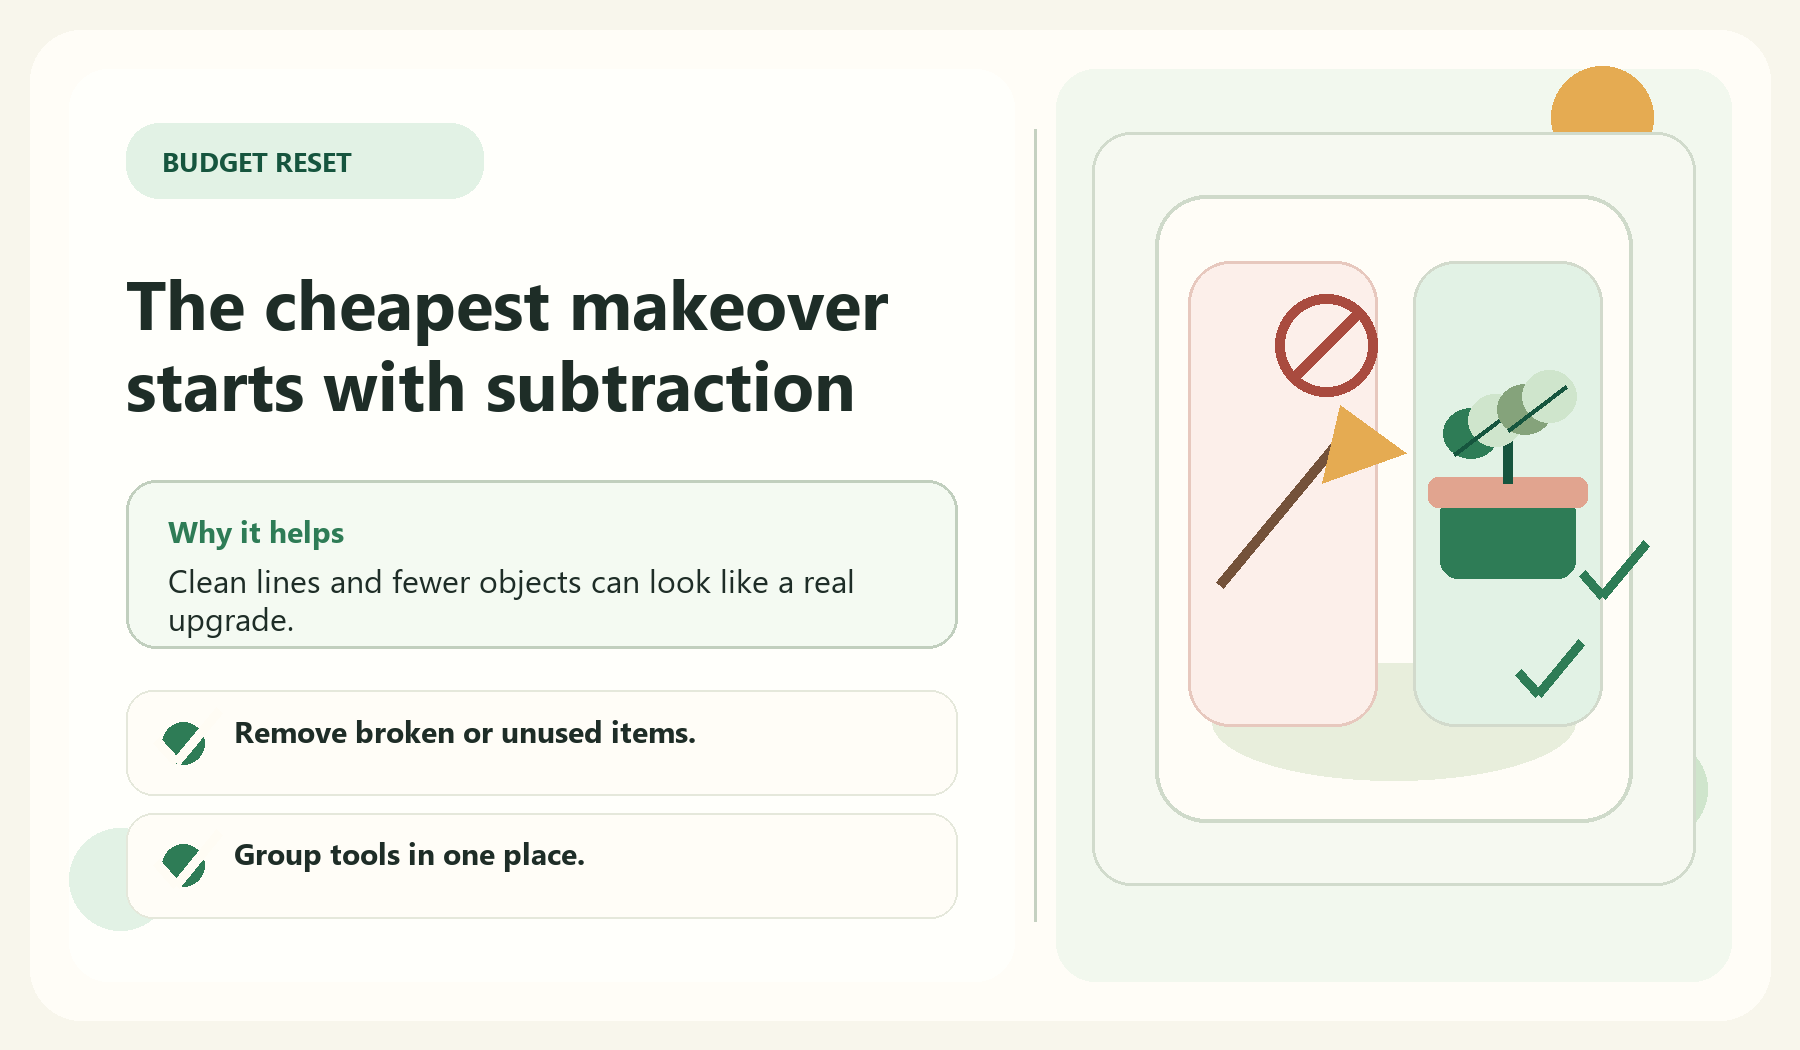
    The cheapest makeover starts with subtraction visual guide for Clean And Edit Before Buying

    The cheapest makeover step is removing what makes the garden feel messy. Broken pots, dead plants, scattered tools, and random decor can make even a nice space feel unfinished.

    Editing the space shows what you actually need. You may discover that one corner needs planters, another needs seating, and several things can be reused.

    • Remove broken or unused items.
    • Group tools in one place.
    • Clear pathways.
    • Keep useful containers that fit the plan.

    Choose One Makeover Goal

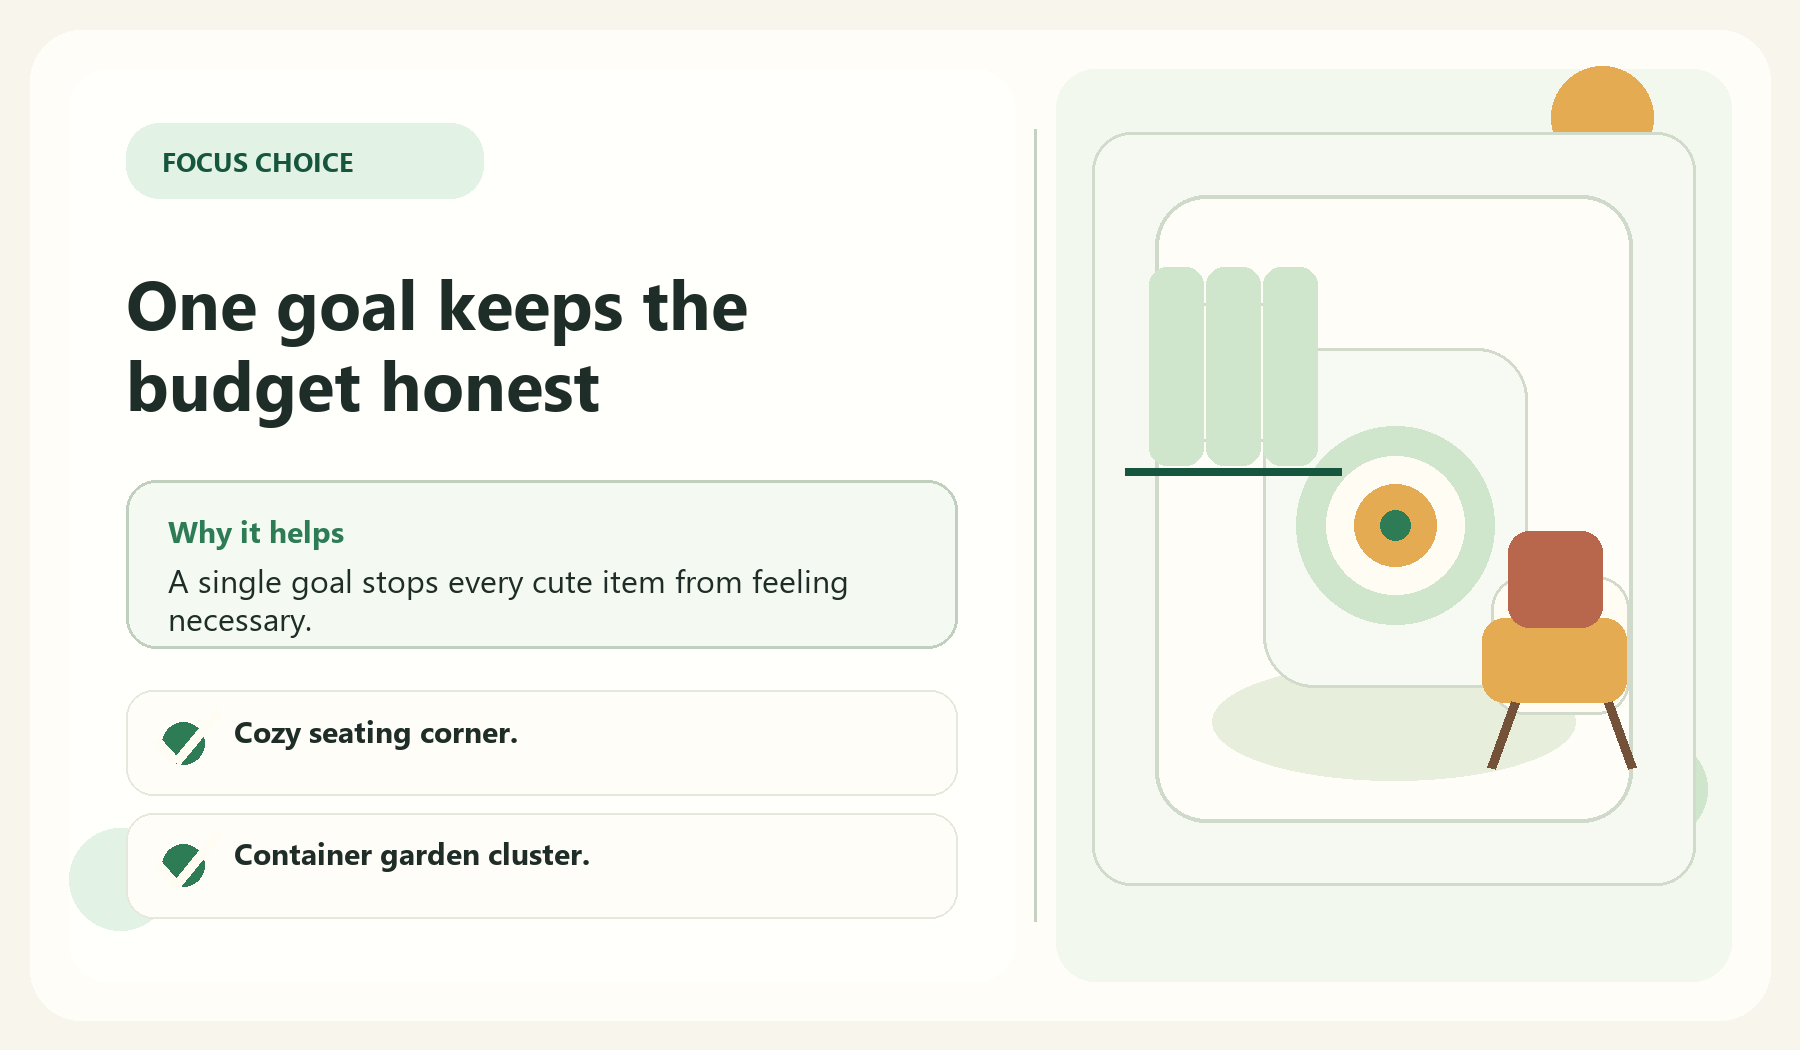
    One goal keeps the budget honest visual guide for Choose One Makeover Goal

    A budget works better when the goal is specific. Instead of trying to redo the whole garden, choose one result: a cozy patio corner, prettier entry, small herb garden, raised bed area, or balcony refresh.

    This prevents scattered spending. Each purchase should support the chosen goal.

    • Cozy seating corner.
    • Container garden cluster.
    • Budget herb garden.
    • Simple raised bed setup.
    • Front step planter refresh.

    Budget Priority Selector

    Put the budget where it changes the view

    Use this selector before shopping. It keeps the makeover focused on visible, useful changes instead of small impulse buys.

    Budget filter
    1Remove clutter
    2Pick one focal zone
    3Repeat one upgrade
    Clean and edit A messy space that already has usable pieces
    • Remove broken decor before buying anything.
    • Trim edges and clear the main sightline.
    • Keep the strongest existing planter or chair.
    Repeat planters A space that feels random or mismatched
    • Buy fewer pieces in a repeated finish.
    • Use repetition near the entrance or seating.
    • Let plants add variety, not every container.
    One focal upgrade A patio that needs one visible improvement
    • Choose the upgrade seen from indoors.
    • Spend on one bigger improvement instead of many tiny ones.
    • Stop after the focal zone looks finished.

    Quick rule: A budget garden looks more expensive when the first dollars create order.

    Use Repetition To Look More Expensive

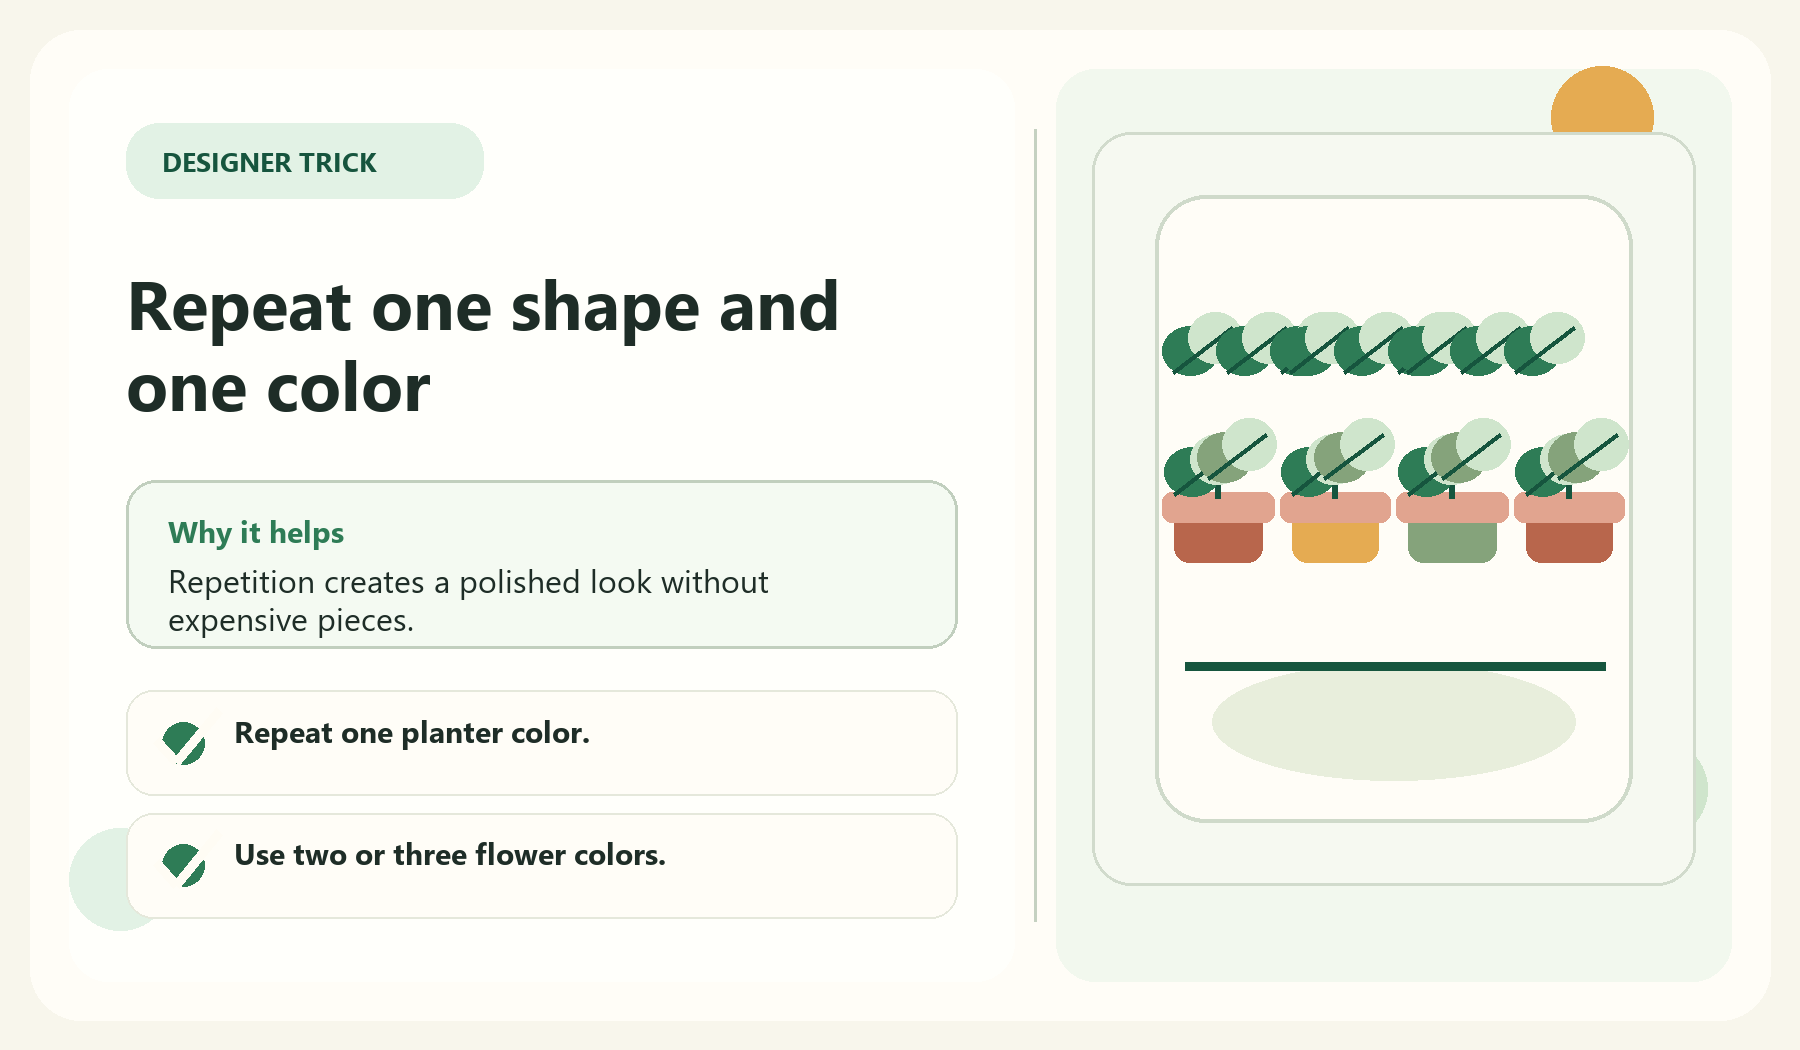
    Repeat one shape and one color visual guide for Use Repetition To Look More Expensive

    Repeating colors, materials, or plant types makes a budget garden look intentional. Matching planters or a consistent color palette can make affordable items feel more polished.

    Avoid buying one of every style. A garden looks more elegant when the eye can rest.

    • Repeat one planter color.
    • Use two or three flower colors.
    • Choose similar materials.
    • Keep decor styles consistent.
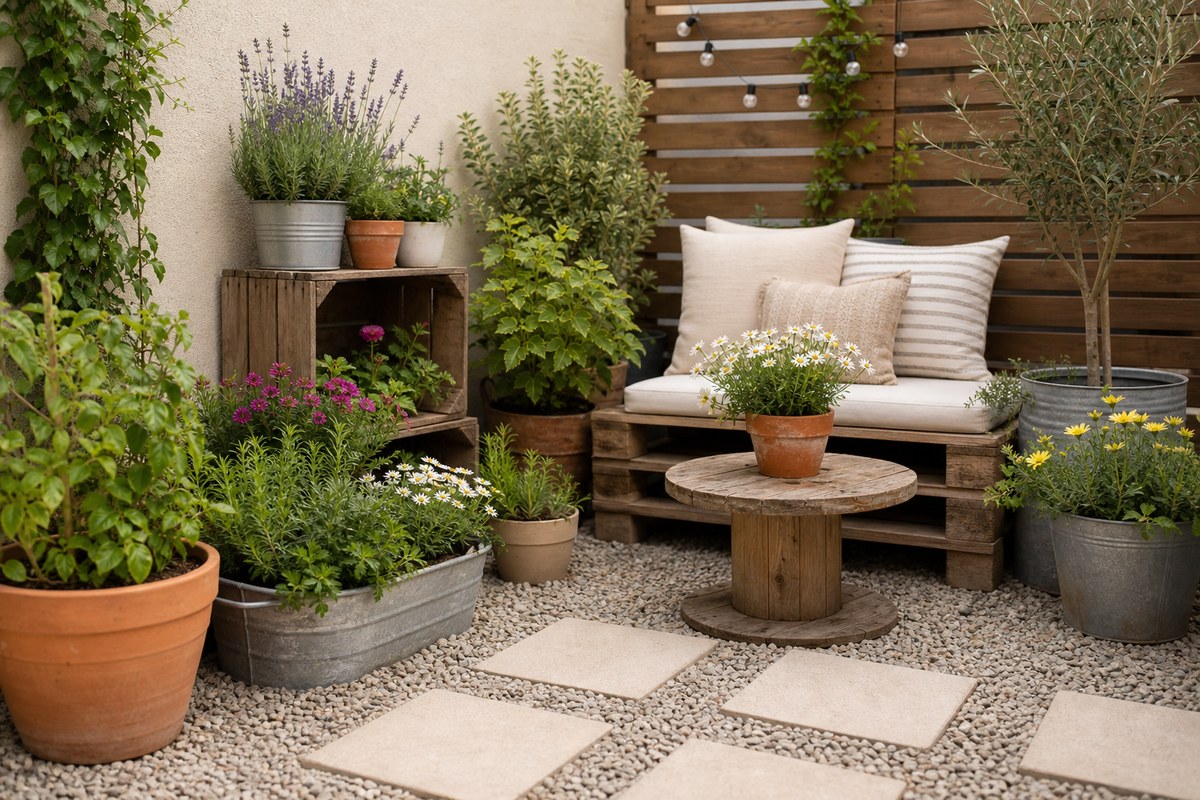
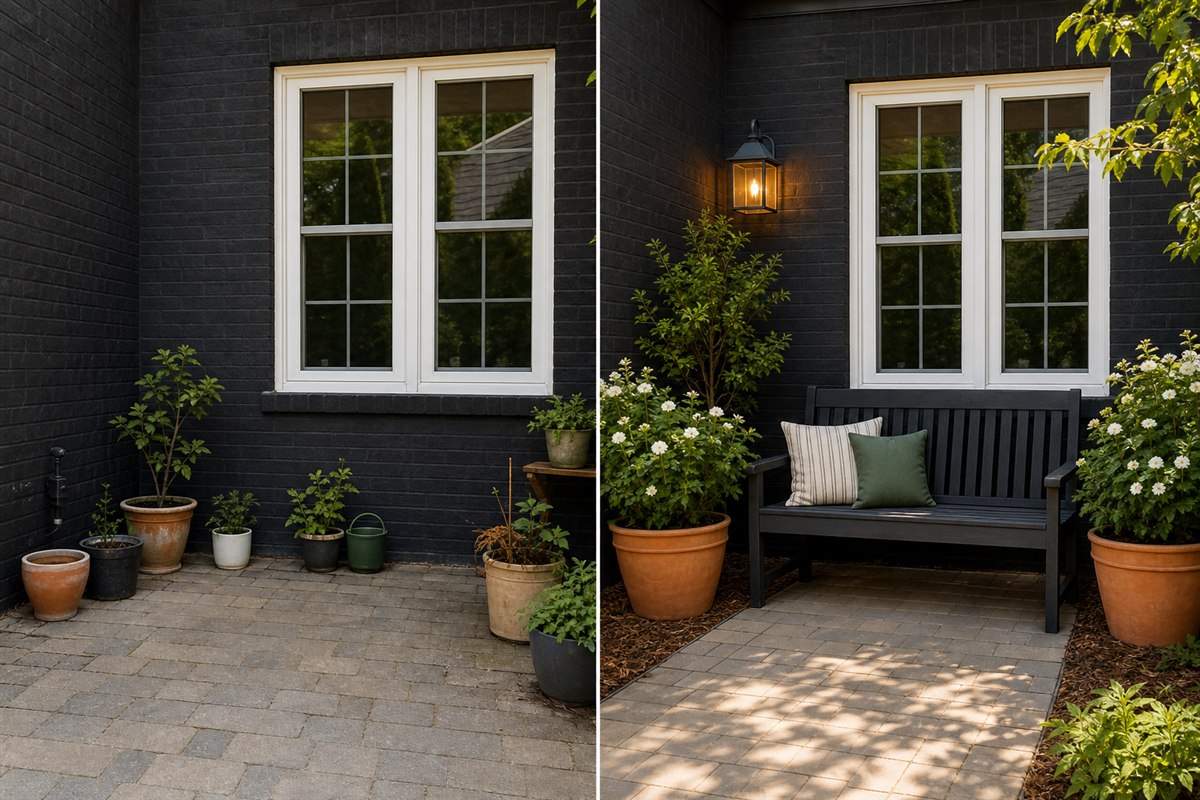
    Before and after small patio showing repeated planters, a repainted bench, mulch, and simple lighting
    Reference: cleaning, repetition, one useful seat, and one warm light can change the space without major construction.

    Spend On Useful Visual Upgrades

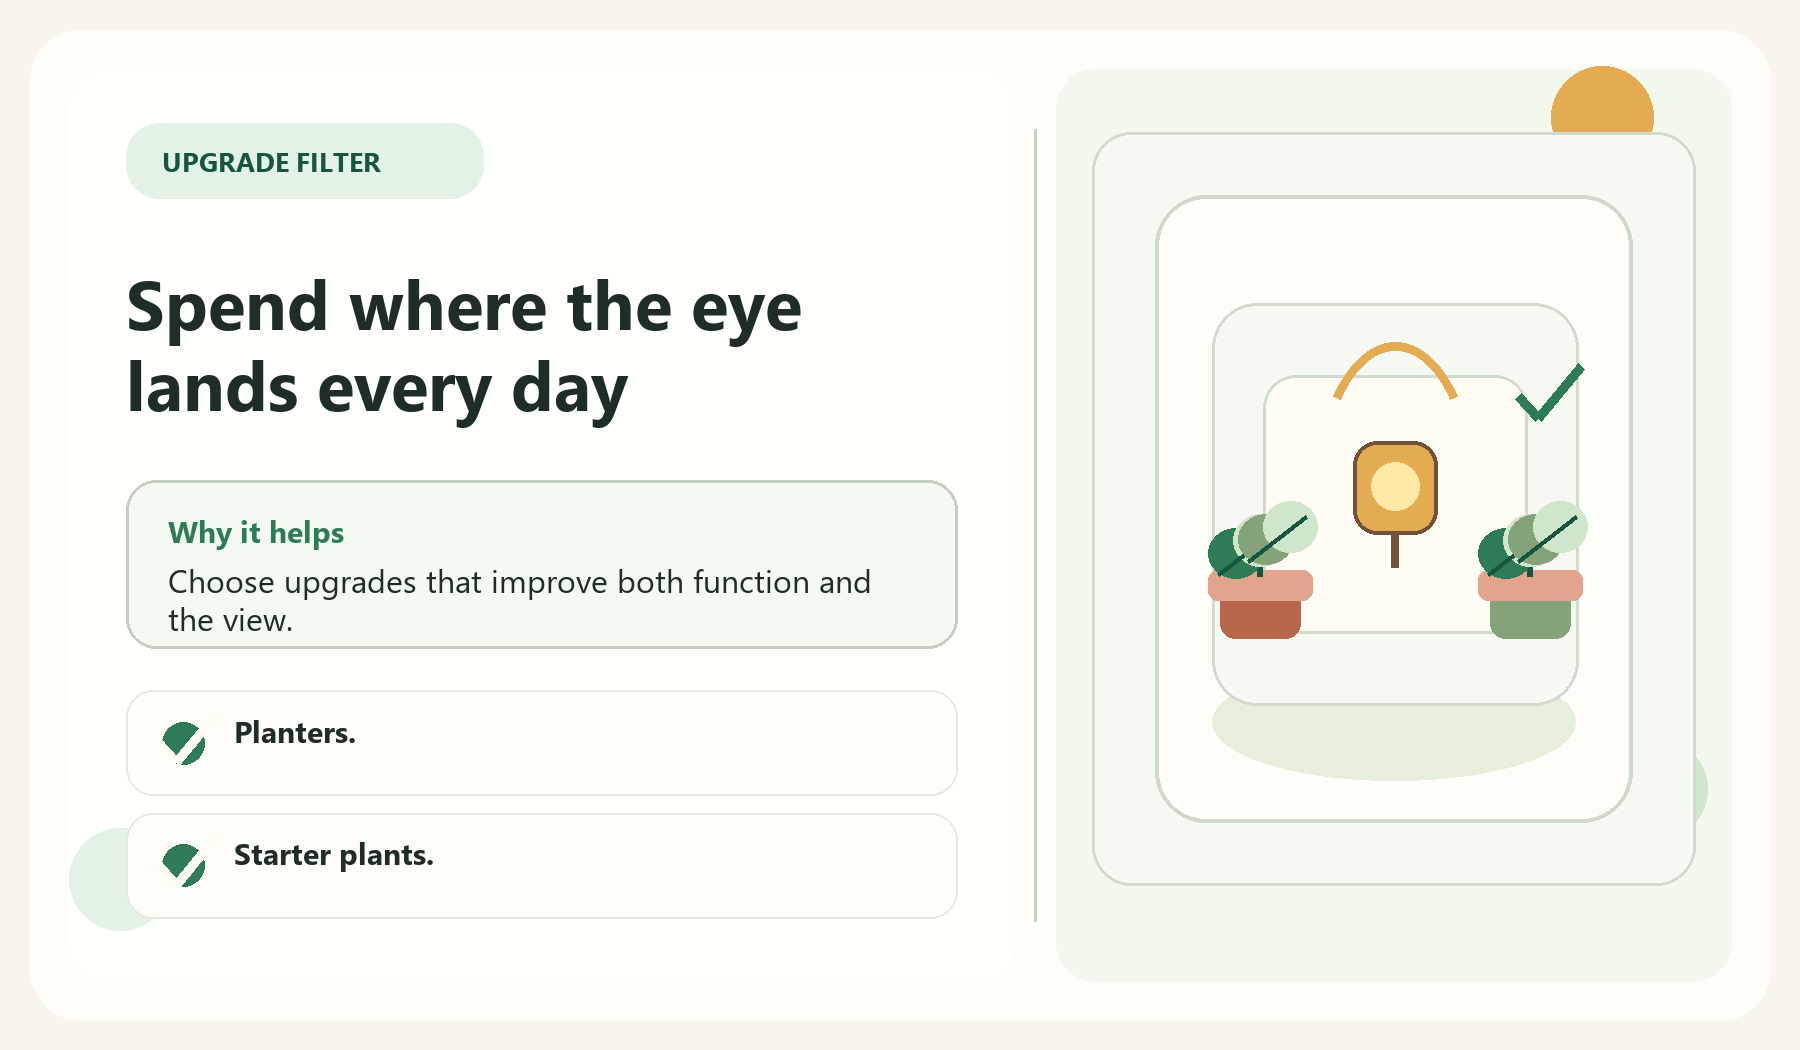
    Spend where the eye lands every day visual guide for Spend On Useful Visual Upgrades

    Some low-cost upgrades change the space quickly. Fresh mulch, cleaned surfaces, healthy plants, coordinated containers, and warm lighting can make a garden feel cared for.

    Buy items that solve a problem. If a corner looks empty, a planter may help. If the patio feels cold, lighting or a small seating piece may help. If maintenance is hard, a watering tool may be smarter than decor.

    • Planters.
    • Starter plants.
    • Outdoor lights.
    • Mulch or gravel where appropriate.
    • Watering supplies.

    Avoid Budget Traps

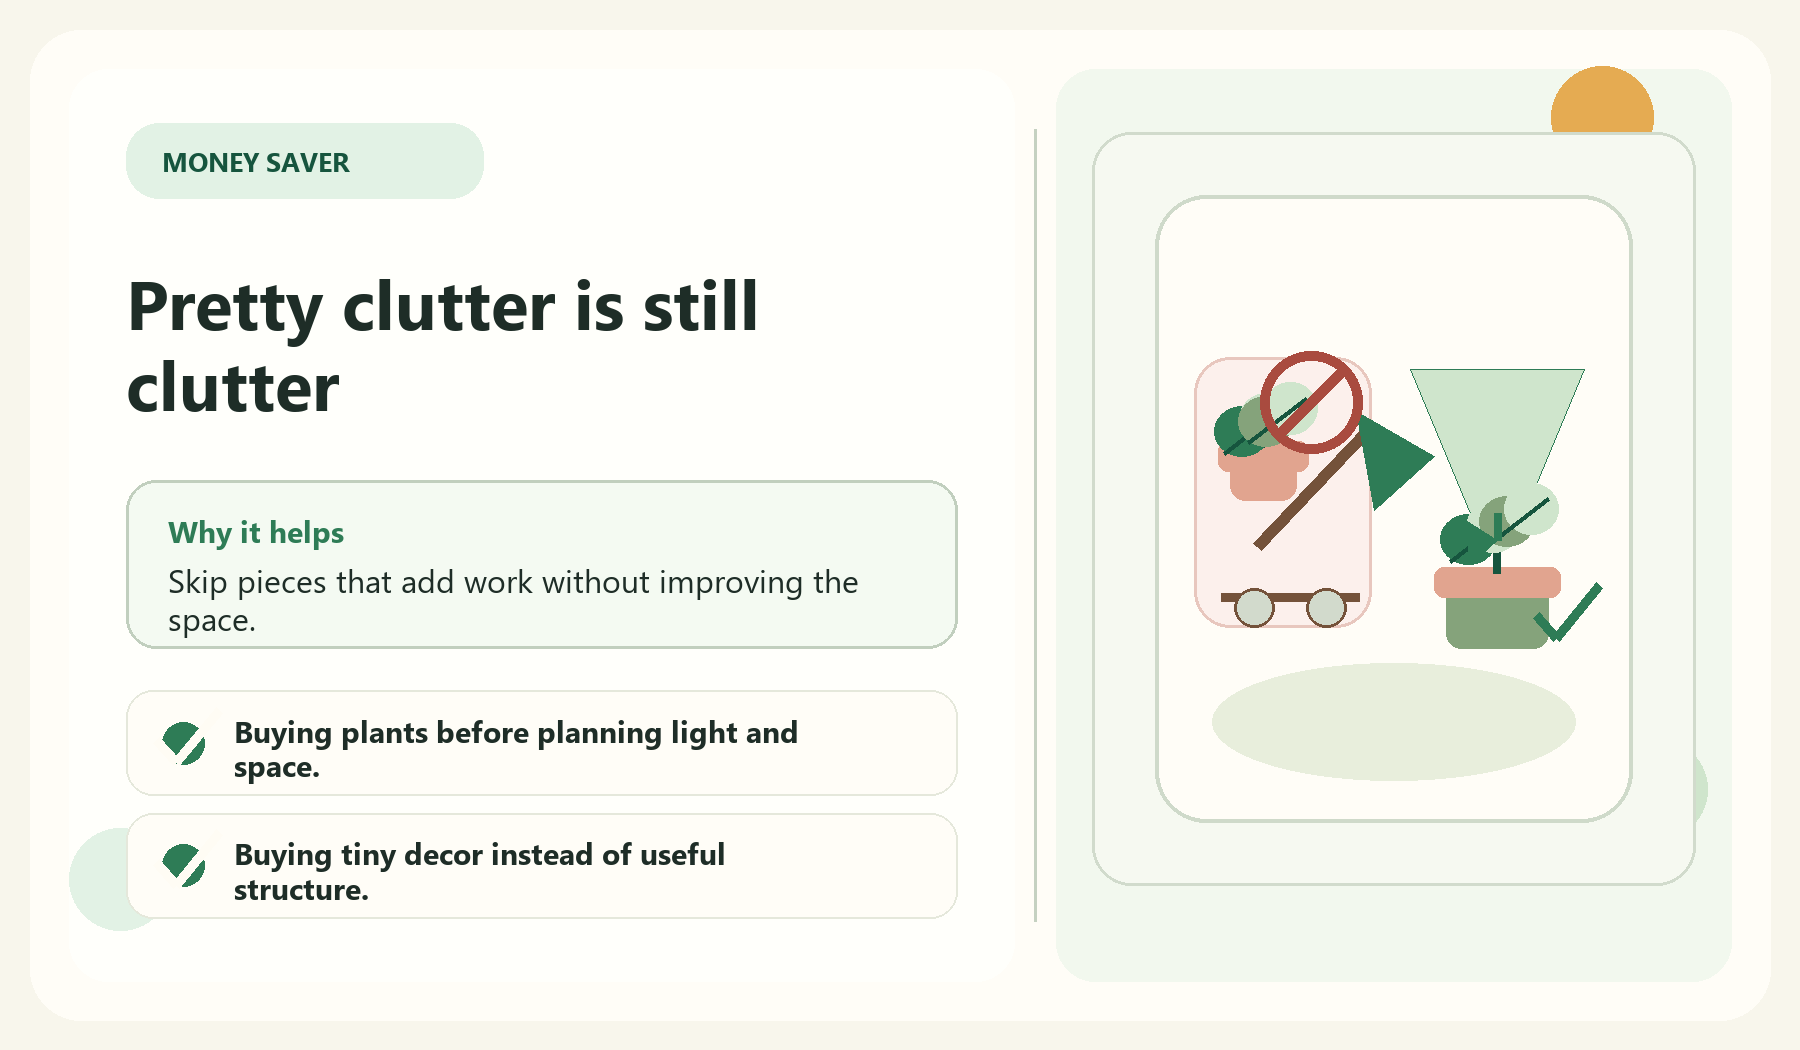
    Pretty clutter is still clutter visual guide for Avoid Budget Traps

    Cheap items are not always budget-friendly if they break quickly, do not fit the space, or create clutter. The goal is not to buy the lowest-priced version of everything. The goal is to buy fewer, better-fitting items.

    Pause before buying trend decor. Ask whether it helps the garden function, supports your style, and fits the maintenance routine.

    • Buying plants before planning light and space.
    • Buying tiny decor instead of useful structure.
    • Choosing furniture too large for the patio.
    • Ignoring care requirements.

    Next Step

    Browse more beginner-friendly garden guides on GardenEleganceHub. The free Elegant Garden Starter Planner will be added once the email setup is ready.

    FAQ

    What is the cheapest way to improve a garden?

    Clean, edit, group containers, repeat colors, and focus on one high-impact area before buying new decor.

    What should I buy first for a budget garden makeover?

    Buy practical structure first, such as planters, healthy plants, lighting, or watering supplies that support your plan.

    How can I make cheap garden decor look better?

    Use repetition, a limited color palette, and fewer pieces placed intentionally.

  • Container Gardening Mistakes Beginners Make and How to Avoid Them

    Container Gardening Mistakes Beginners Make and How to Avoid Them

    Affiliate disclosure: We earn commissions when you shop through the links below.

    Container gardening looks simple from the outside. Buy a pot, add a plant, water it, and enjoy. In reality, containers have their own rules because plants depend completely on the space, drainage, soil, and watering routine you provide.

    Most beginner container problems are not mysterious. They usually come from the wrong container size, poor drainage, inconsistent watering, mismatched plants, or too many containers too soon.

    Use this guide as a prevention checklist before you buy your next planter or start a balcony, patio, herb, flower, or vegetable container garden.

    Mistake 1: Choosing Containers Only By Looks

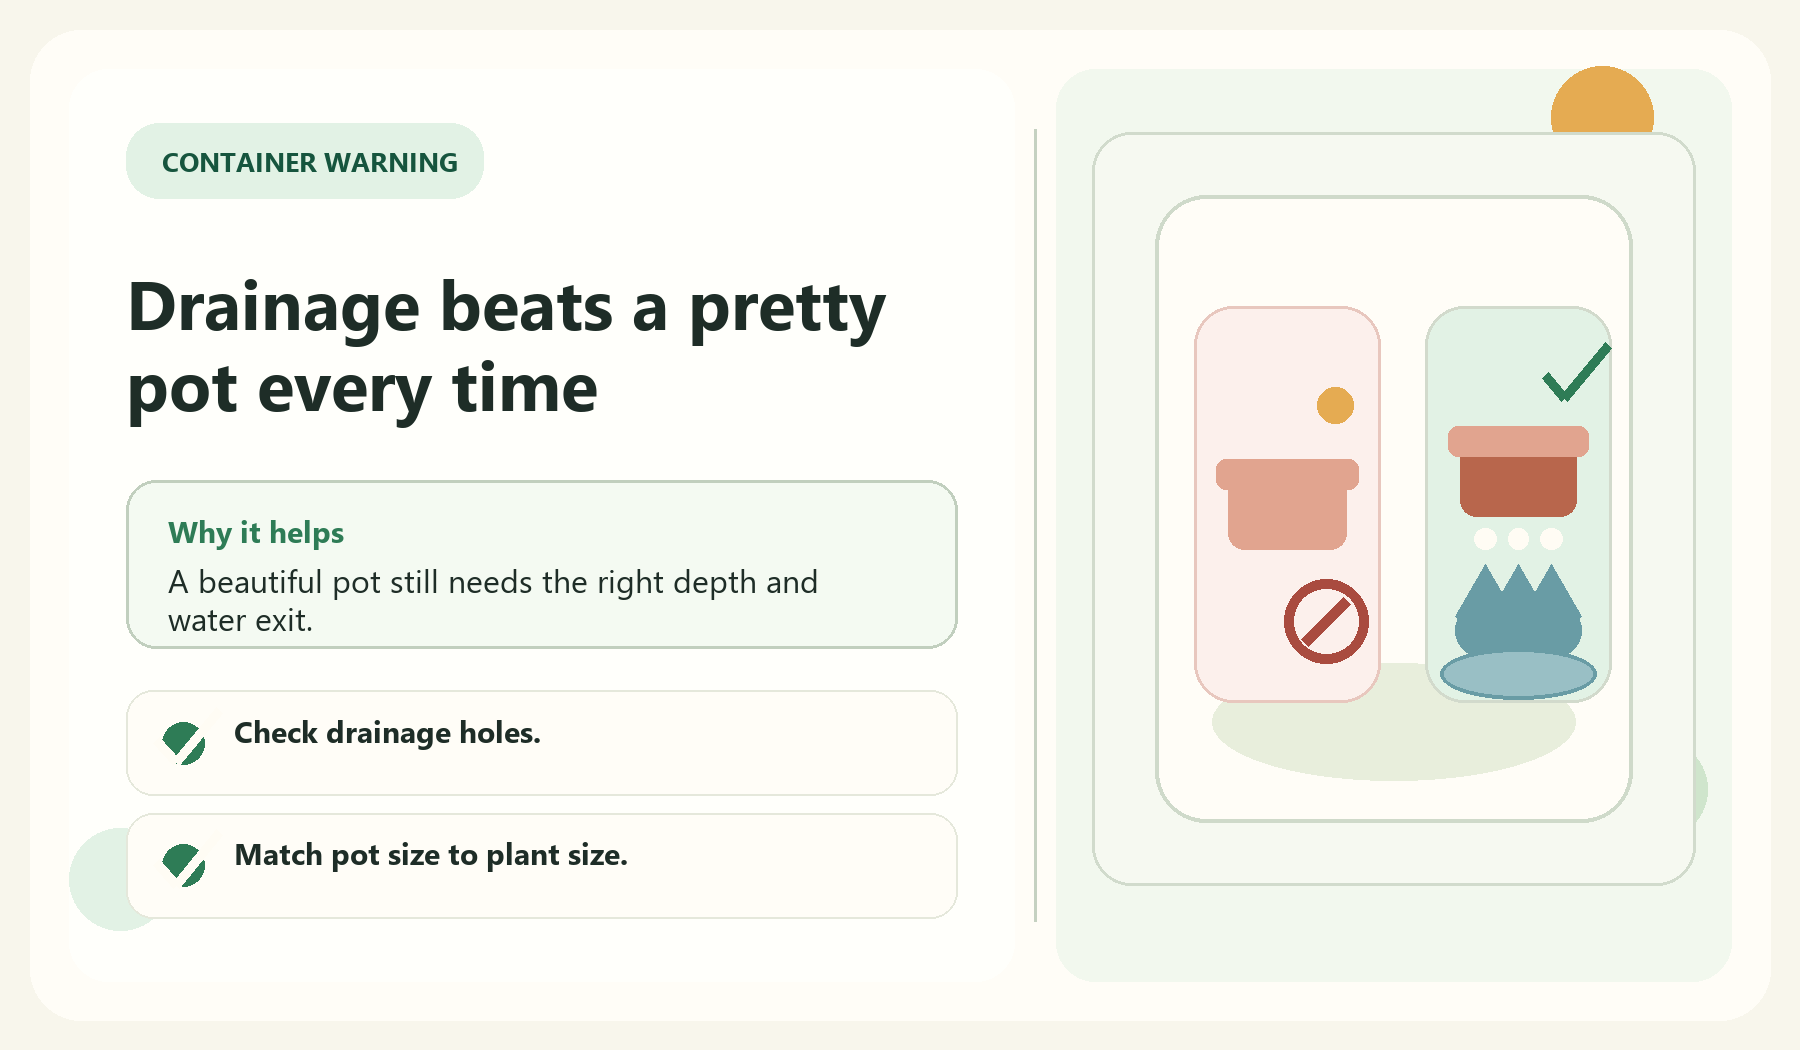
    Drainage beats a pretty pot every time visual guide for Mistake 1: Choosing Containers Only By Looks

    A beautiful planter is not automatically a good home for a plant. The container needs enough room for roots, suitable drainage, and stability. A pot that is too small may dry out quickly, while a heavy pot may be hard to move or unsafe on a balcony.

    Style matters, but function comes first. The best container is one that fits the plant, the space, and your watering routine.

    • Check drainage holes.
    • Match pot size to plant size.
    • Consider weight when filled.
    • Avoid unstable tall containers in windy spaces.

    Mistake 2: Ignoring Drainage

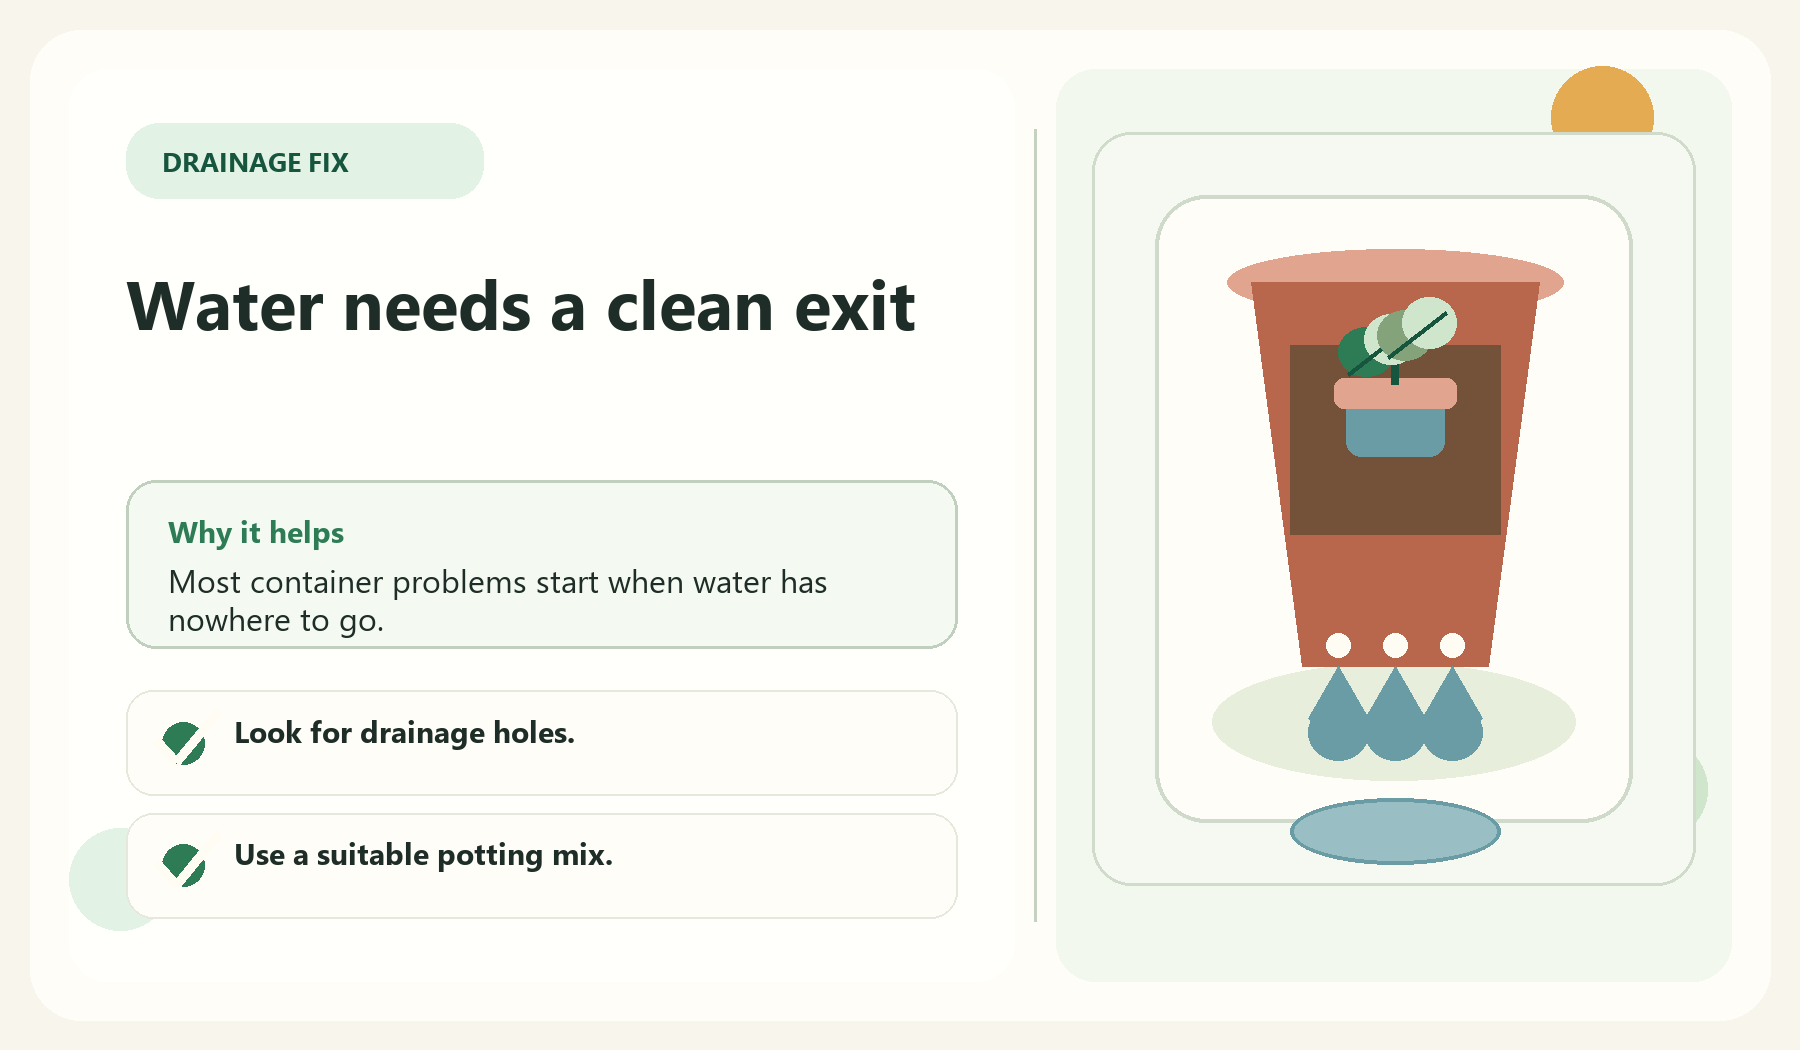
    Water needs a clean exit visual guide for Mistake 2: Ignoring Drainage

    Drainage is one of the easiest container gardening details to overlook. Many plants struggle when roots sit in water for too long. Others dry out too fast when containers are too small or exposed to heat and wind.

    Use containers with drainage unless you fully understand the plant and setup. If saucers are used, check them so water is not sitting for long periods.

    • Look for drainage holes.
    • Use a suitable potting mix.
    • Avoid letting containers sit in standing water.
    • Check moisture before watering again.

    Container Drainage Check

    Run the drainage check before planting

    This quick check turns a common container mistake into a simple yes-or-no decision before soil and plants go in.

    Drainage decision path
    1Check holes
    2Lift the base
    3Use the right mix
    Holes are open Any pot holding herbs, flowers, or vegetables
    • Confirm every hole is open before filling.
    • Avoid decorative cachepots as the main planter.
    • Do not rely on gravel to fix a sealed pot.
    Water can leave Patios where runoff needs control
    • Use feet if the pot sits flat on stone.
    • Empty saucers after heavy rain.
    • Keep drainage away from walls and thresholds.
    Mix stays airy Containers that dry fast or stay soggy
    • Use potting mix instead of yard soil.
    • Leave room at the top for watering.
    • Refresh tired mix when plants stall.

    Quick rule: A pretty container is only useful when water can move through it cleanly.

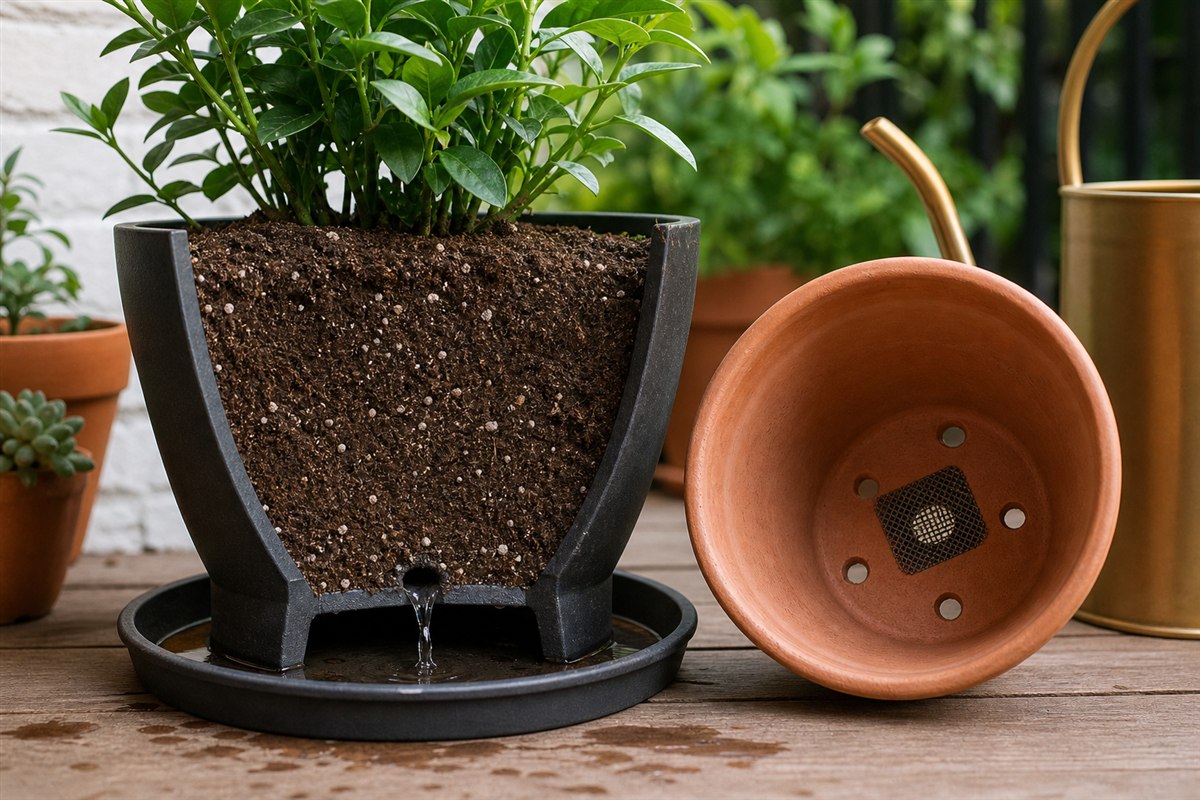
    Container cutaway with potting mix and drainage hole beside an empty pot showing several drainage holes
    Reference: use real drainage holes and raise the pot when needed; do not depend on a decorative gravel layer inside the container.

    Mistake 3: Using The Wrong Soil

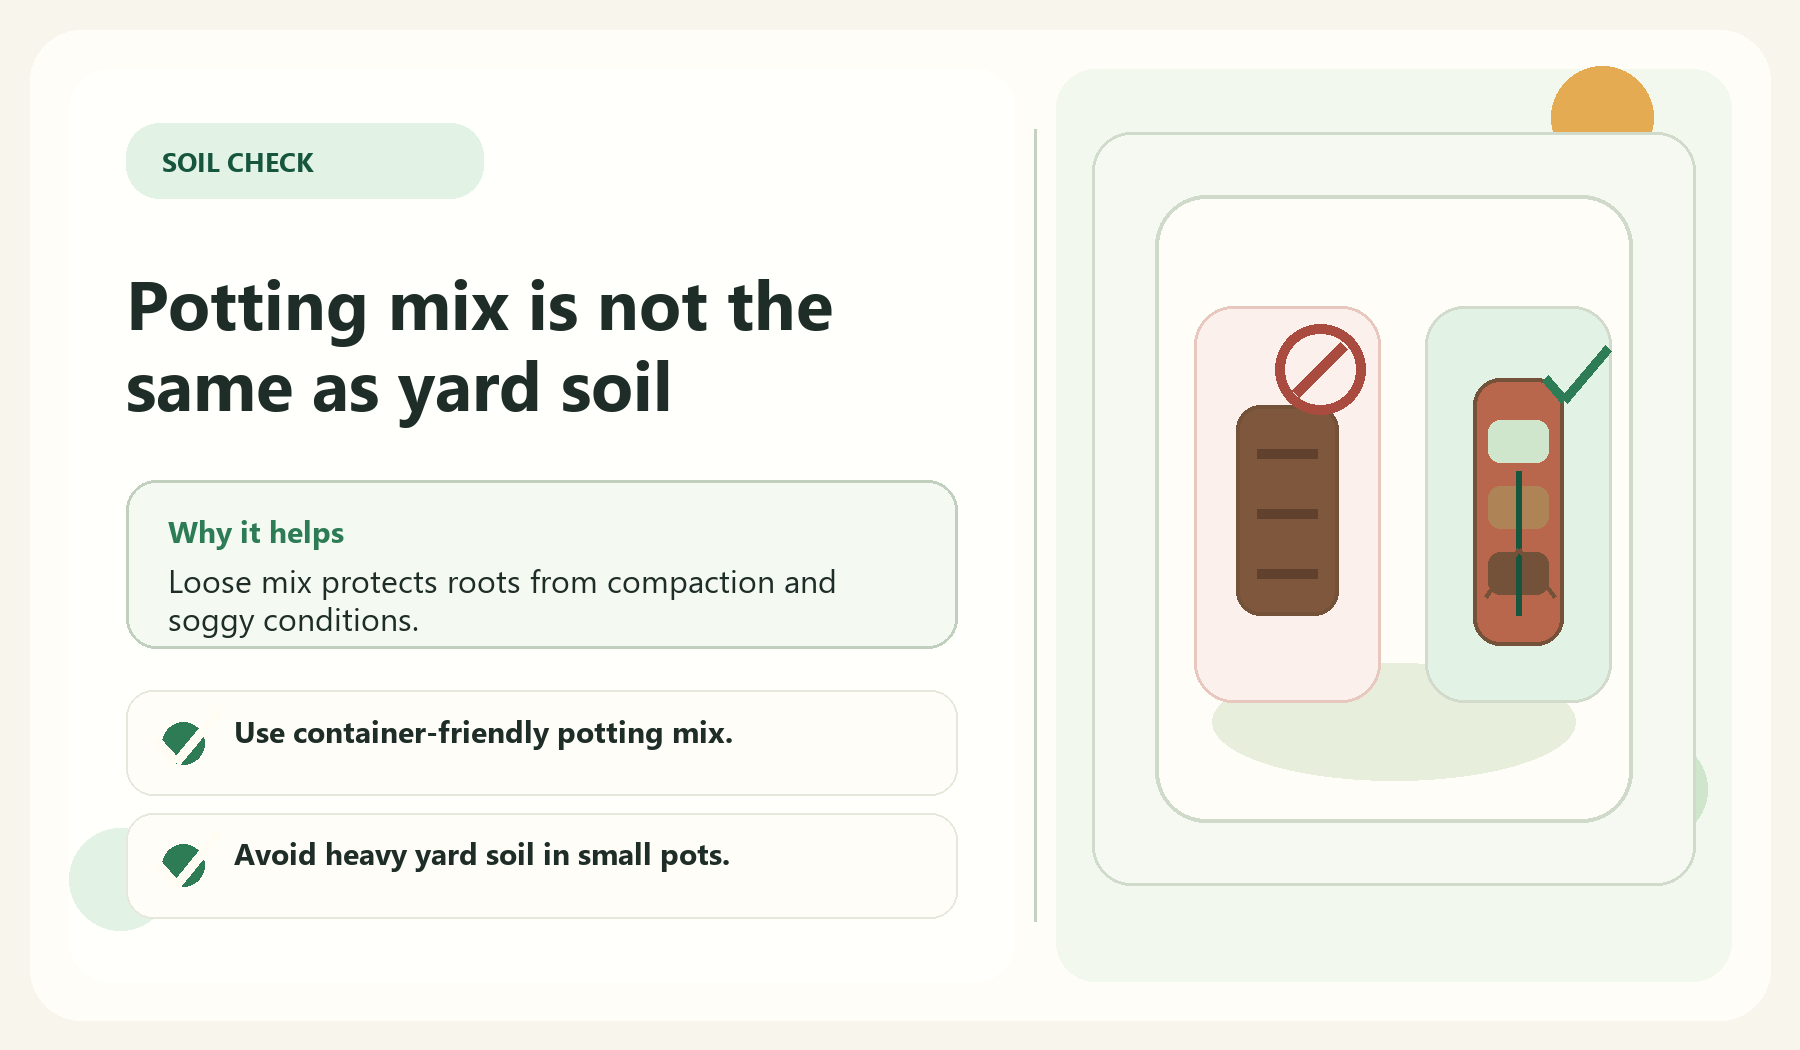
    Potting mix is not the same as yard soil visual guide for Mistake 3: Using The Wrong Soil

    Garden soil and container potting mix are not the same thing. Containers need a growing medium that supports roots, holds enough moisture, and still drains. Heavy soil can compact and make watering harder.

    If you are unsure, choose a potting mix suited to containers and the type of plants you are growing. This is not the place to guess.

    • Use container-friendly potting mix.
    • Avoid heavy yard soil in small pots.
    • Refresh mix when needed.
    • Read labels before buying.

    Mistake 4: Mixing Plants With Different Needs

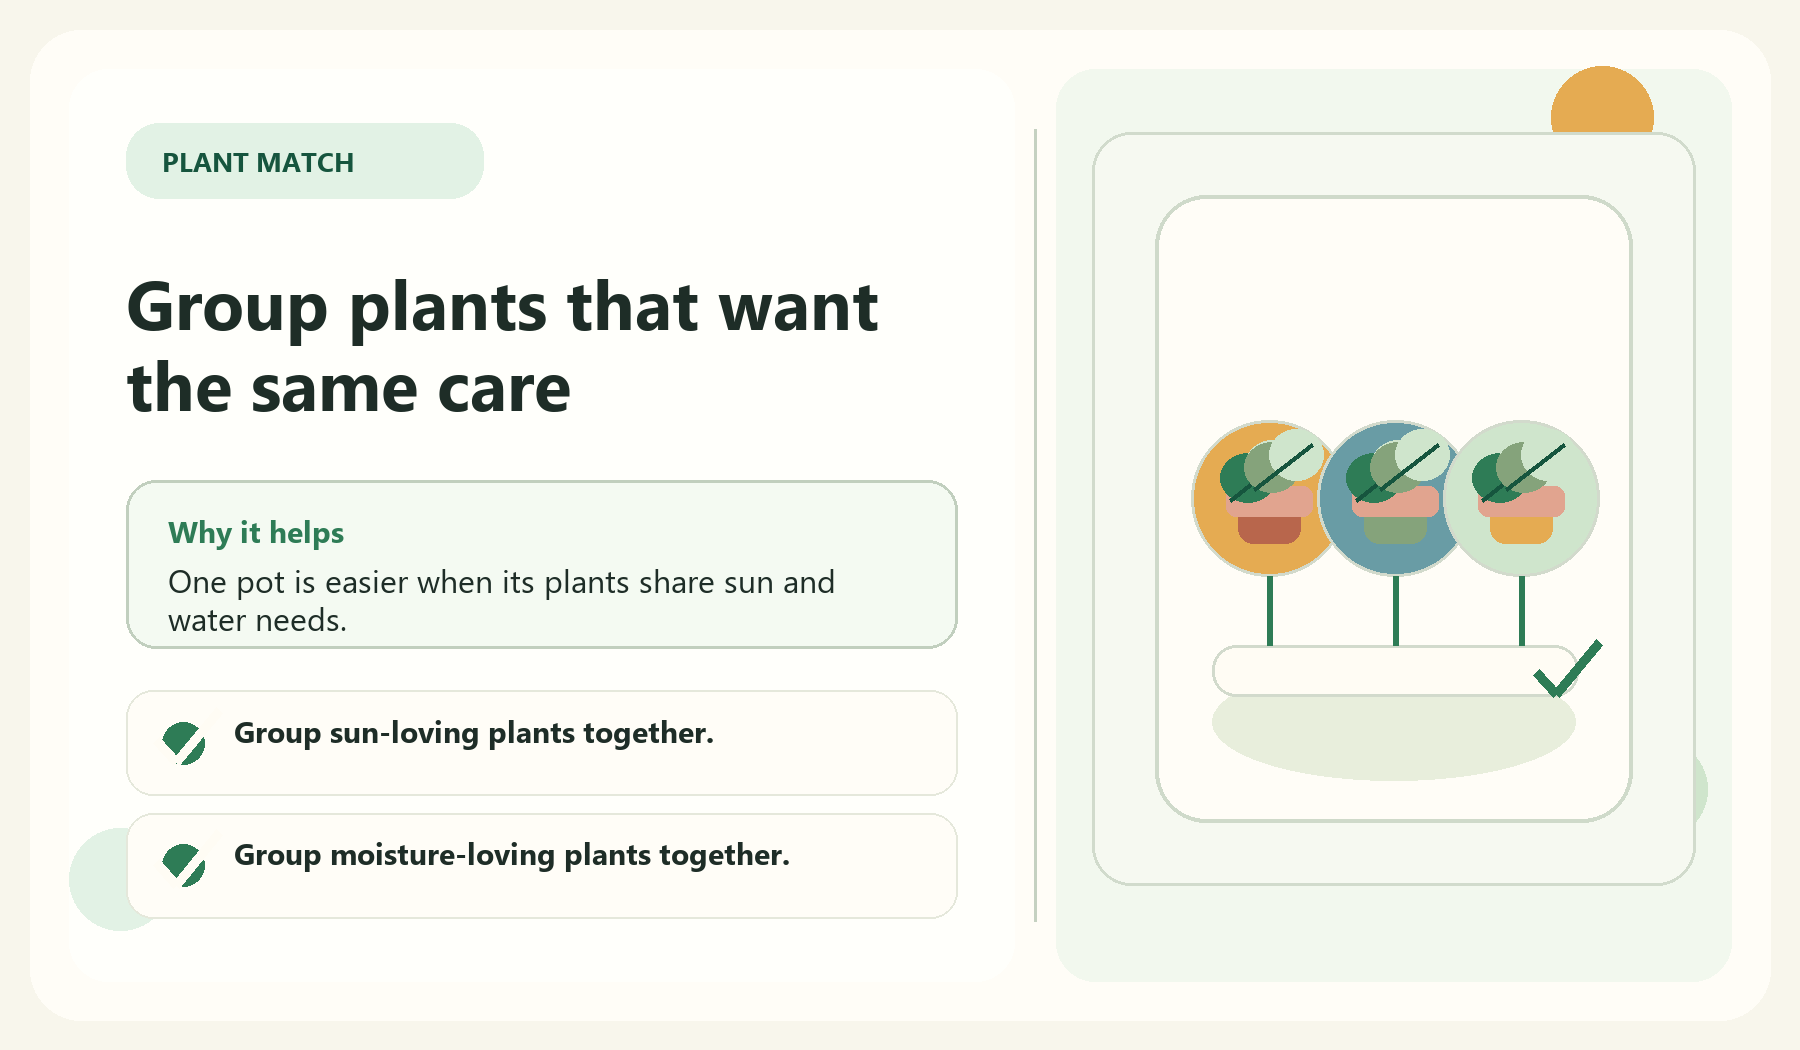
    Group plants that want the same care visual guide for Mistake 4: Mixing Plants With Different Needs

    A container arrangement can look pretty at first but fail later if the plants need different light or water. Group plants that like similar conditions. This makes care easier and keeps the container looking better longer.

    For beginners, simpler combinations are usually stronger. One hero plant with a few supporting plants can look elegant without becoming difficult.

    • Group sun-loving plants together.
    • Group moisture-loving plants together.
    • Avoid overcrowding mixed containers.
    • Check mature plant size.

    Mistake 5: Starting With Too Many Pots

    Fewer pots are easier to keep beautiful visual guide for Mistake 5: Starting With Too Many Pots

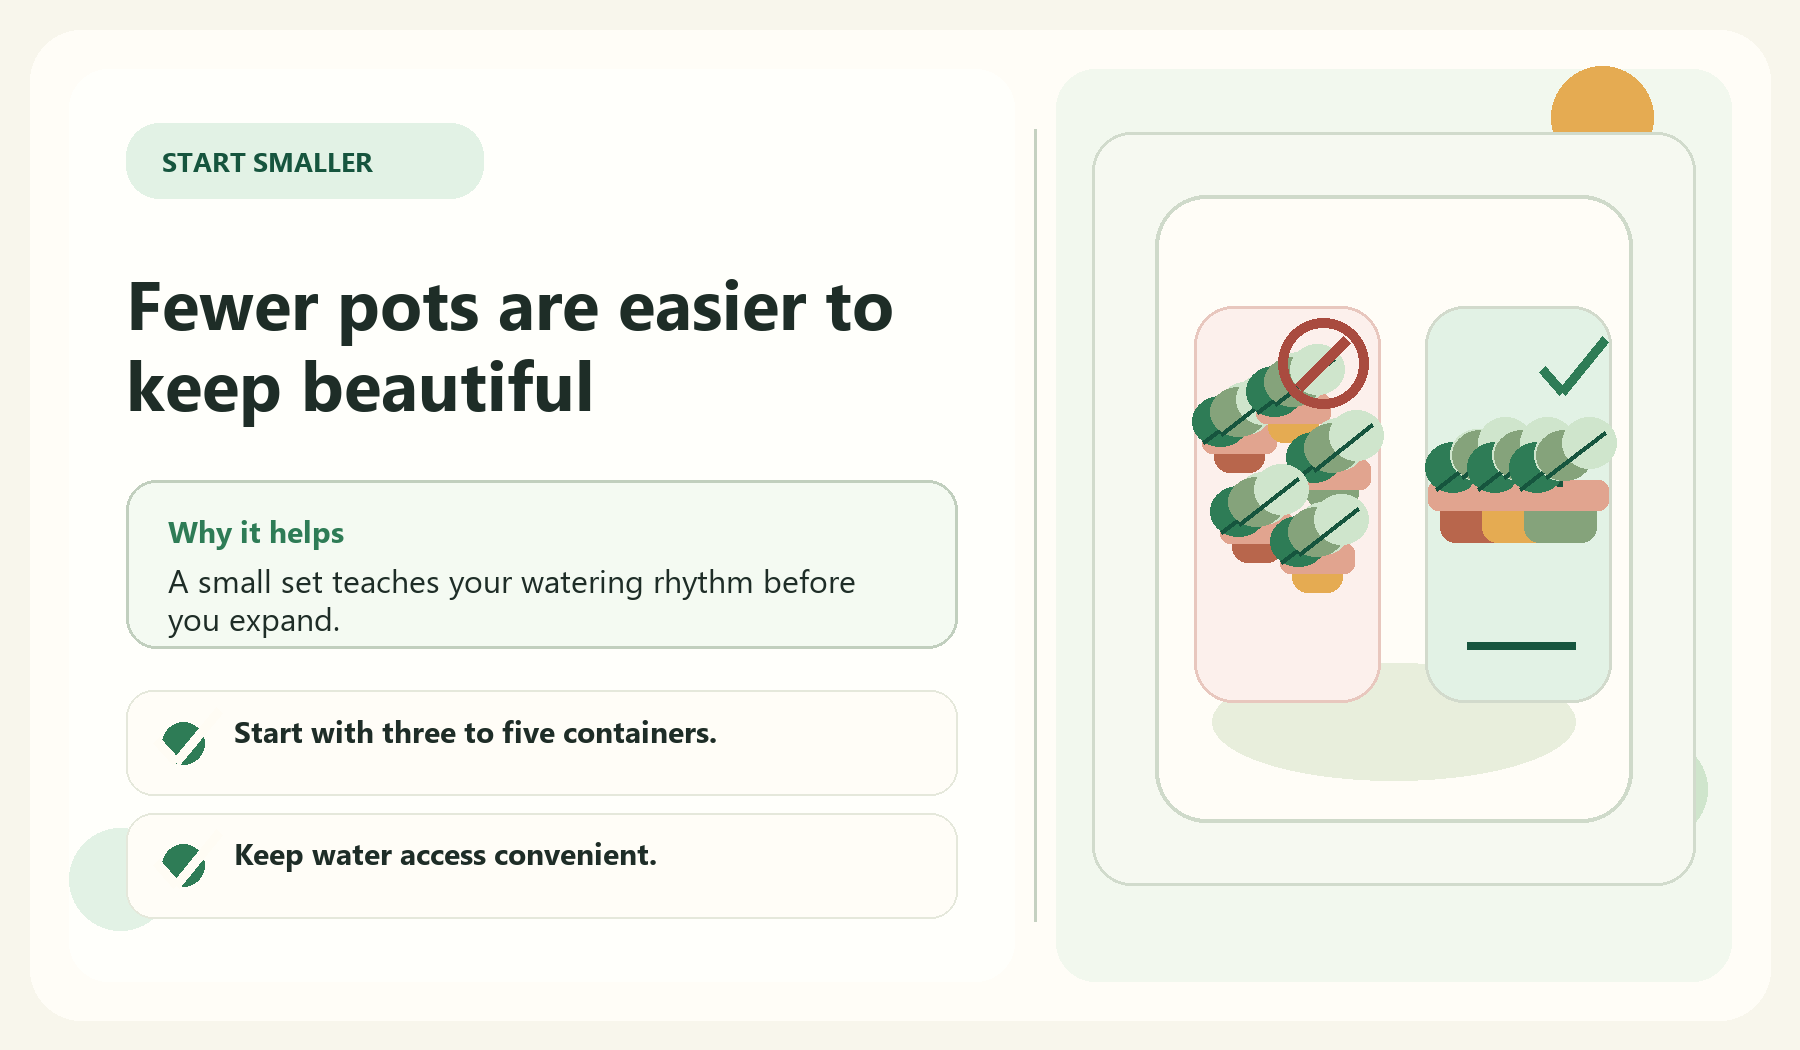
    Every container adds a care task. Ten pots may not sound like much until summer heat arrives and each one needs attention. Start with a number you can check regularly.

    A smaller collection of healthy containers looks better than a crowded patio full of stressed plants. Learn your rhythm first, then expand.

    • Start with three to five containers.
    • Keep water access convenient.
    • Use a simple tracking routine.
    • Add more only after the first group works.

    Related Beginner Garden Guides

    Next Step

    Browse more beginner-friendly garden guides on GardenEleganceHub. The free Elegant Garden Starter Planner will be added once the email setup is ready.

    FAQ

    Why do my container plants keep dying?

    Common causes include poor drainage, wrong pot size, inconsistent watering, unsuitable soil, or plants grouped with different needs.

    Do containers need drainage holes?

    Most container gardens are easier and safer for beginners when containers have drainage holes.

    How many containers should a beginner start with?

    Start with a small number you can check and water consistently, often three to five containers.

  • Raised Bed Gardening for Beginners: Start With One Simple Bed

    Raised Bed Gardening for Beginners: Start With One Simple Bed

    Affiliate disclosure: We earn commissions when you shop through the links below.

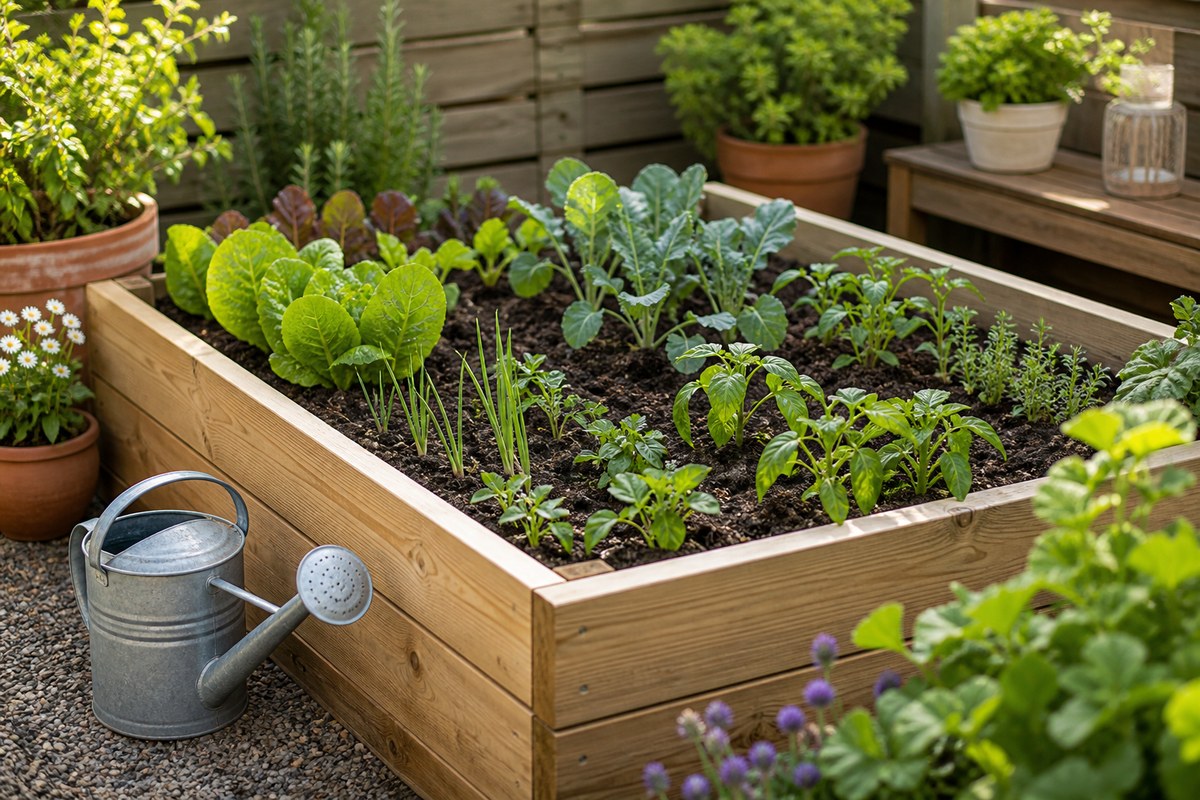
    Raised beds are popular because they make a garden feel organized. For beginners, that structure can be helpful. You know where the garden starts, where it ends, and what needs attention.

    The danger is overbuilding. A large raised bed setup can become expensive before you know whether you enjoy the routine. The better first step is one simple bed in the right location.

    This guide helps you choose a location, plan the size, build a shopping list, and start with beginner-friendly plants.

    Choose The Location First

    Put the bed where care feels easy visual guide for Choose The Location First

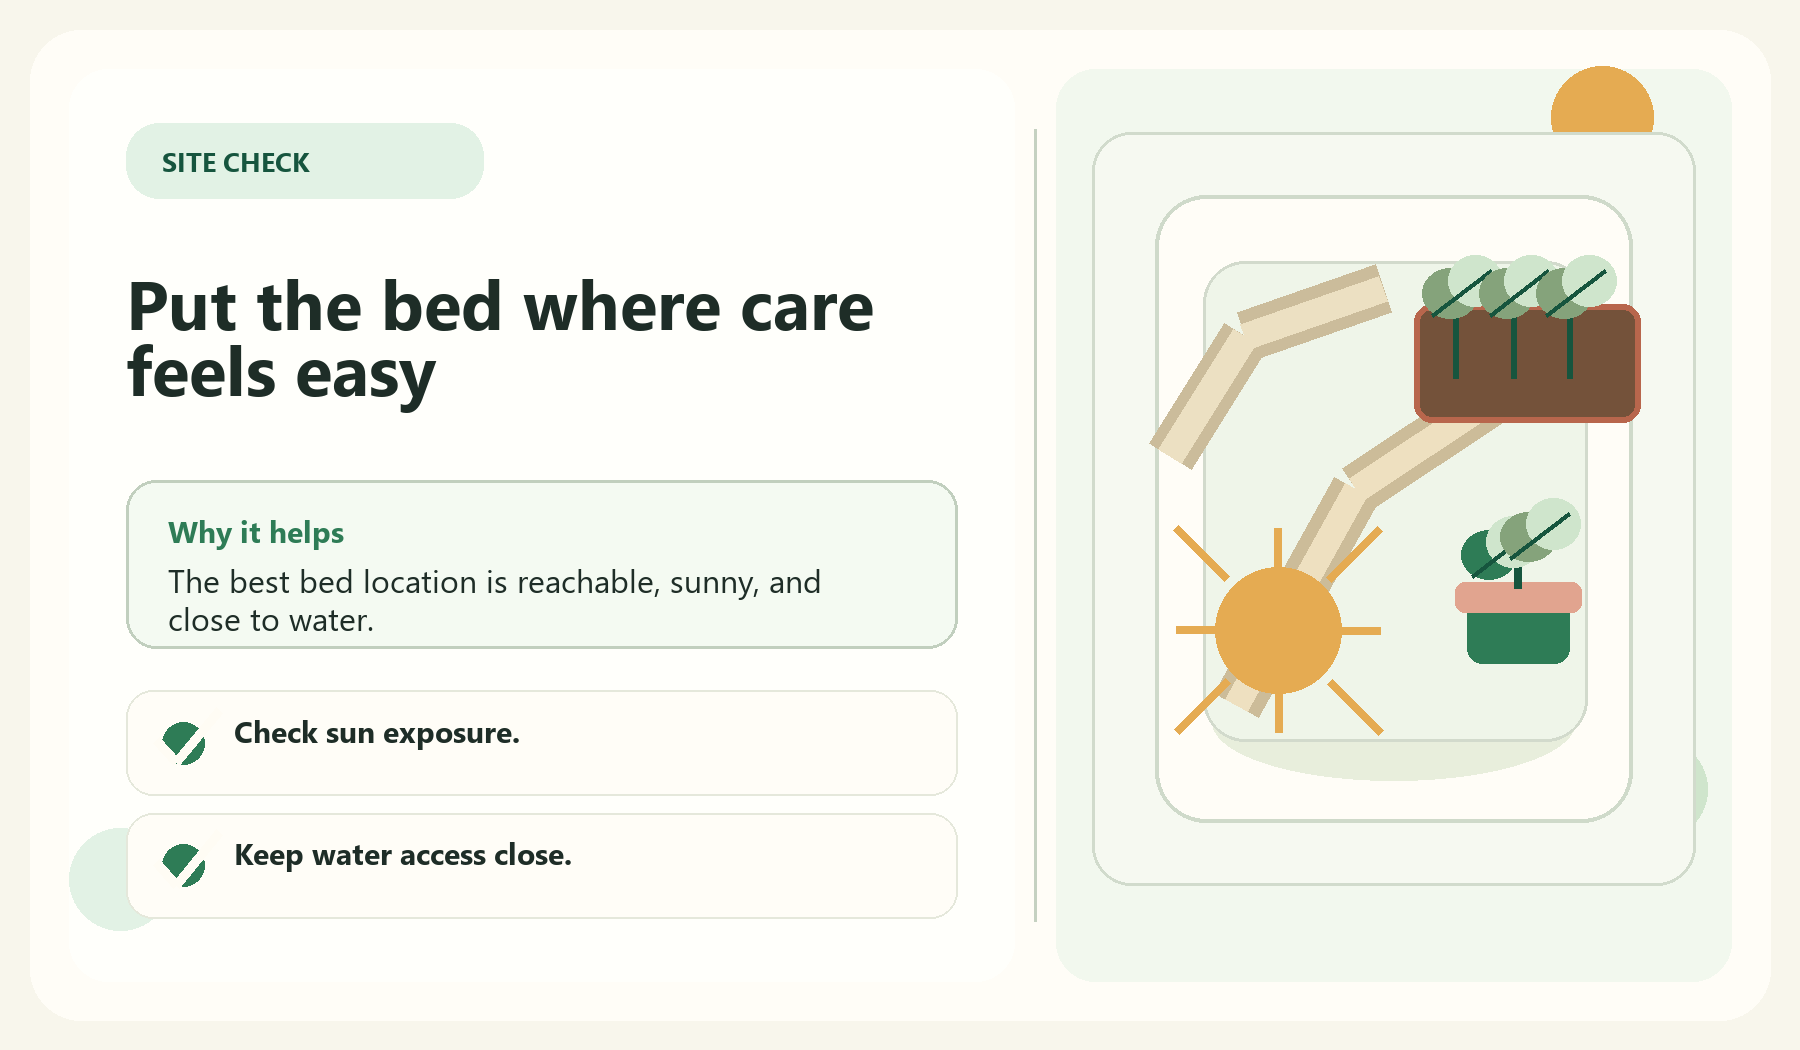
    Location matters more than the bed itself. A raised bed that is far from water or hidden in an inconvenient corner will be harder to maintain. Choose a spot you can reach comfortably and check often.

    Watch sunlight before making a final decision. Many vegetables and herbs need strong light, while some flowers or leafy greens can tolerate less. Match the plan to the actual space instead of forcing a dream layout into the wrong spot.

    • Check sun exposure.
    • Keep water access close.
    • Leave room to walk around the bed.
    • Avoid areas with poor drainage or heavy tree roots.

    Start With A Manageable Size

    Smaller setup, better follow-through visual guide for Start With A Manageable Size

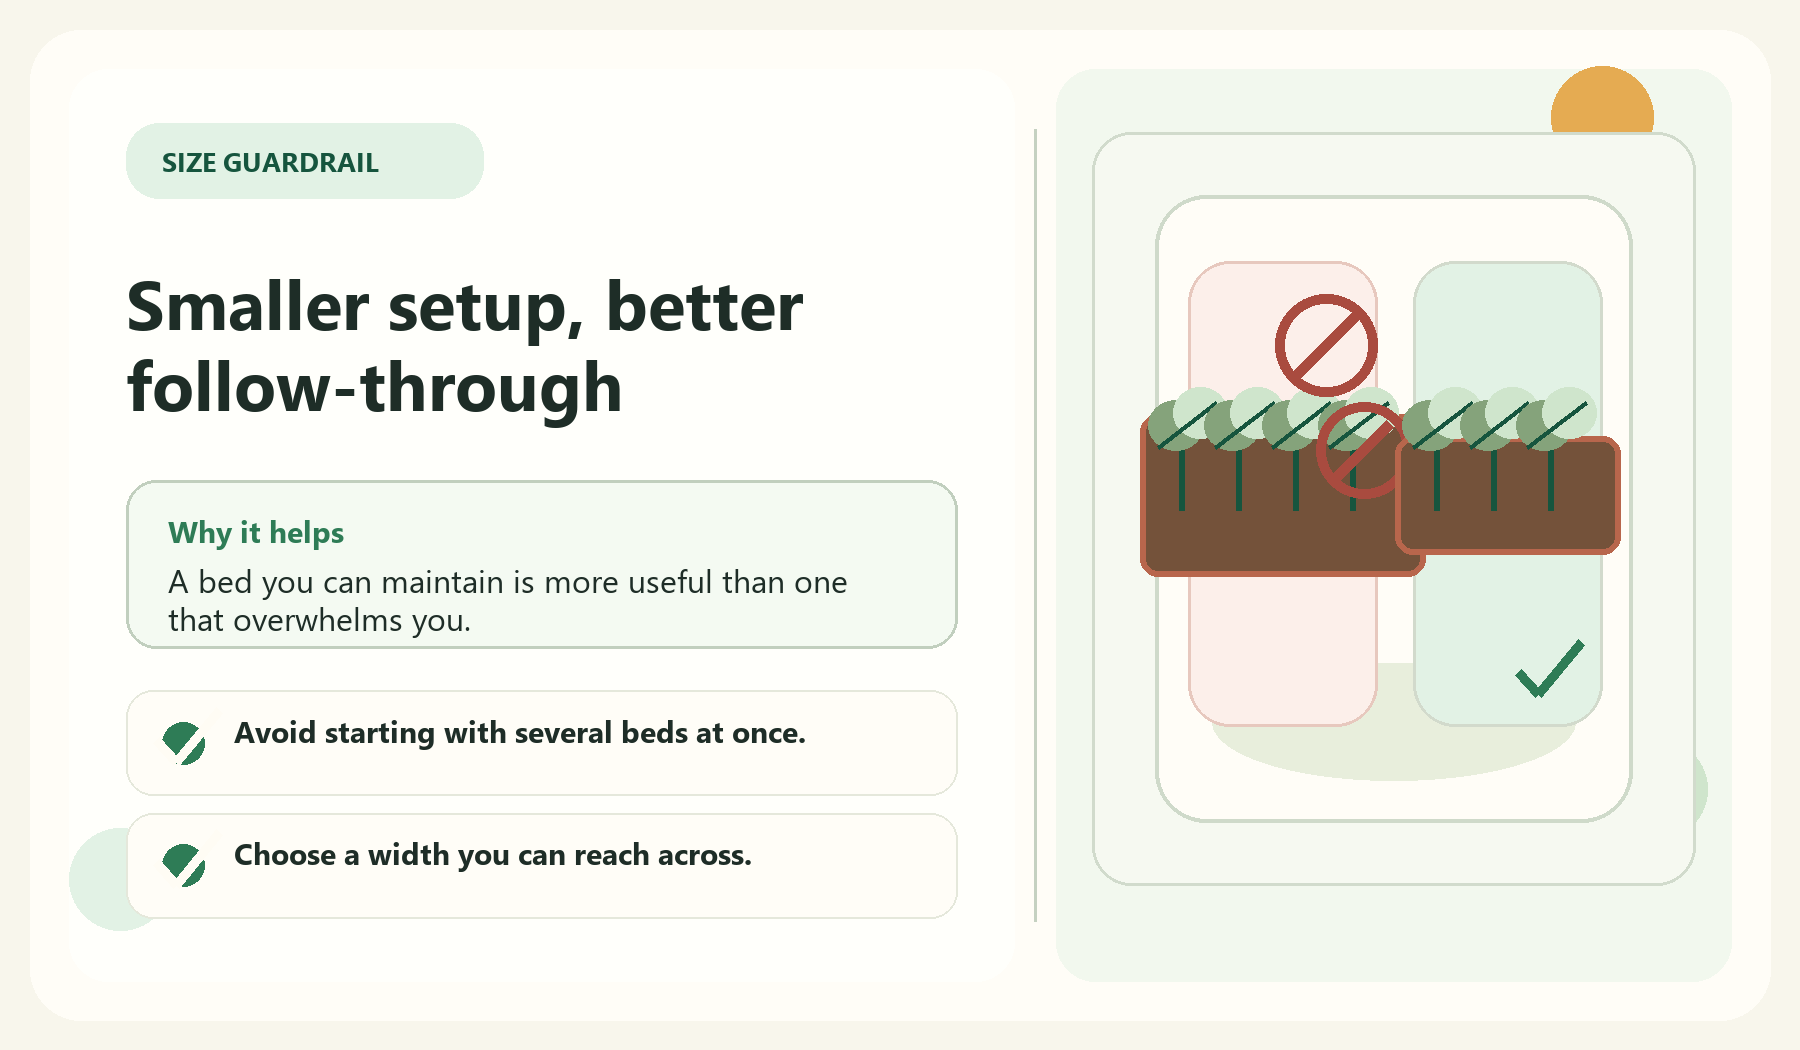
    A first raised bed should teach you, not exhaust you. Choose a size that is easy to fill, plant, water, and reach. If you cannot comfortably reach the middle, the bed will be annoying to maintain.

    A single bed can still produce herbs, flowers, greens, or a few vegetables. You can always add more beds next season after you know what worked.

    • Avoid starting with several beds at once.
    • Choose a width you can reach across.
    • Plan paths before placing the bed.
    • Estimate soil needs before buying materials.

    Raised Bed Size Checker

    Choose a raised bed size you can actually reach

    A raised bed should make care easier. Use these size checks before buying lumber, soil, or a kit.

    Bed-size decision path
    1Measure reach
    2Choose crop depth
    3Keep sides accessible
    2 x 4 starter bed Tiny yards or first-season testing
    • Good for herbs, greens, and a first test crop.
    • Needs less soil, so mistakes cost less.
    • Works well when space is narrow.
    3 x 6 everyday bed A balanced beginner vegetable bed
    • Large enough for variety without feeling huge.
    • Keep access on both long sides.
    • Plan watering before adding more beds.
    4 x 8 only if reachable Open yards with room on every side
    • Avoid placing a wide bed against a wall.
    • Confirm you can reach the center comfortably.
    • Budget for the soil volume before buying.

    Quick rule: The best first bed is the one you can weed, water, and harvest without stepping into it.

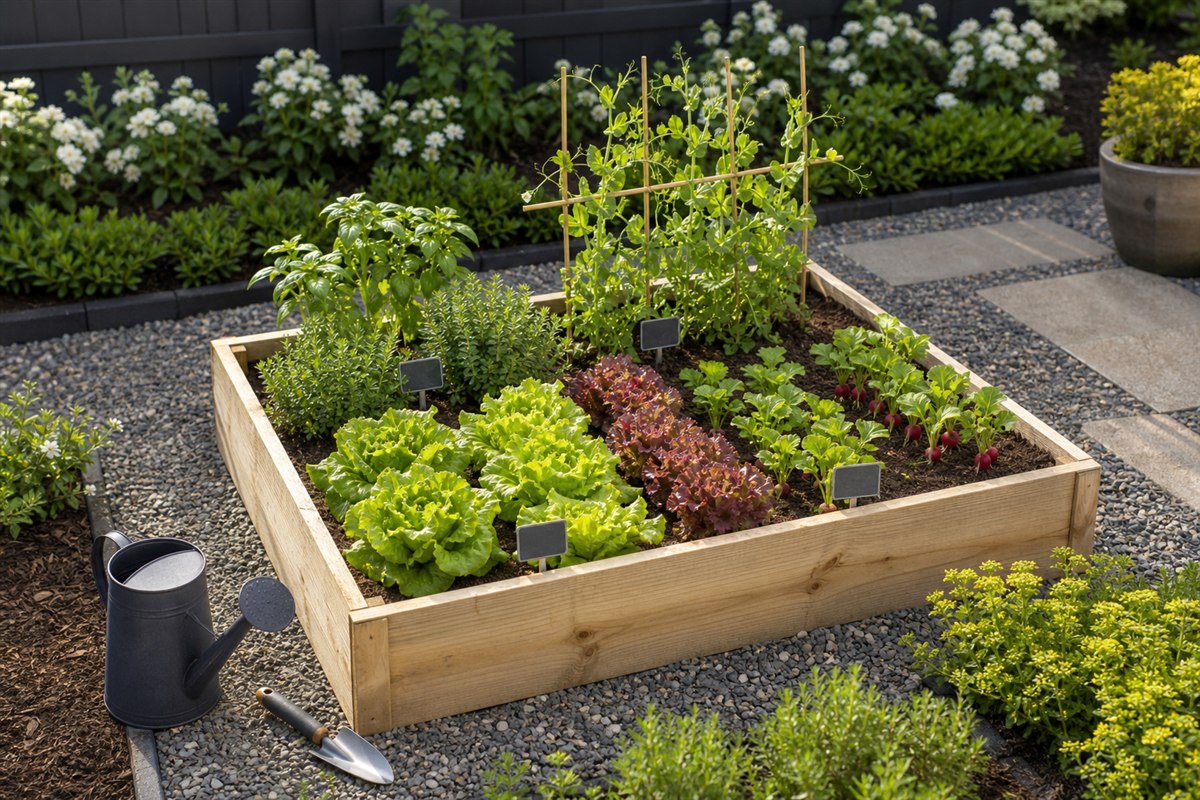
    Reachable raised bed with clear paths, spaced vegetables, herbs, peas, and basic hand tools
    Reference: a first bed should be narrow enough to reach without stepping into the soil and surrounded by usable paths.

    Decide What You Want To Grow

    Grow what you will actually use visual guide for Decide What You Want To Grow

    The plant plan controls the shopping list. A herb bed, flower bed, salad bed, and vegetable bed all need slightly different spacing and care. Decide the purpose before buying seeds or starter plants.

    For a first season, pick plants you will actually use or enjoy seeing. The best beginner garden is one that keeps you interested enough to water and check it.

    • Herbs for cooking.
    • Lettuce and greens for quick harvests.
    • Flowers for beauty and motivation.
    • A few beginner vegetables.

    Build A Simple Shopping List

    One bed only needs a short starter list visual guide for Build A Simple Shopping List

    A raised bed can tempt beginners into buying too many extras. Start with the essentials. You need the bed or materials, suitable growing mix, a watering method, labels, and a few plants or seeds.

    If affiliate products are added later, each recommendation should explain the use case clearly. A raised bed kit may be useful for a beginner who wants simplicity, but a DIY bed may be better for someone with tools and confidence.

    • Raised bed frame or materials.
    • Growing mix suited to raised beds.
    • Watering can, hose, or wand.
    • Gloves and hand trowel.
    • Seeds or starter plants.

    Track The First Season

    Let the first season teach you visual guide for Track The First Season

    A first raised bed is a learning tool. Write down what you planted, when you watered, what grew well, and what felt like too much work. These notes make the next season easier and cheaper.

    Do not judge the whole garden by one struggling plant. Beginner gardening improves through observation, not perfection.

    • Track planting dates.
    • Write down watering patterns.
    • Note pest or disease issues without panic.
    • Record what you would repeat.

    Next Step

    Browse more beginner-friendly garden guides on GardenEleganceHub. The free Elegant Garden Starter Planner will be added once the email setup is ready.

    FAQ

    What size raised bed should a beginner start with?

    Start with a size you can comfortably reach and maintain. One manageable bed is better than several beds you cannot keep up with.

    Are raised beds expensive?

    They can be, but beginners can control cost by starting with one bed, planning soil needs, and buying only essential tools first.

    What should I plant first in a raised bed?

    Herbs, leafy greens, compact flowers, and a few beginner vegetables are practical first-season choices.