
In this guide
Before you act
A herb garden you will actually use
- Start with your kitchen: List the herbs you use most, then find an easy-to-reach place with the right light.
- Keep the first group small: Choose three herbs that need similar light and watering.
- Learn from the first week: Notice how quickly the pots dry before you add more herbs.
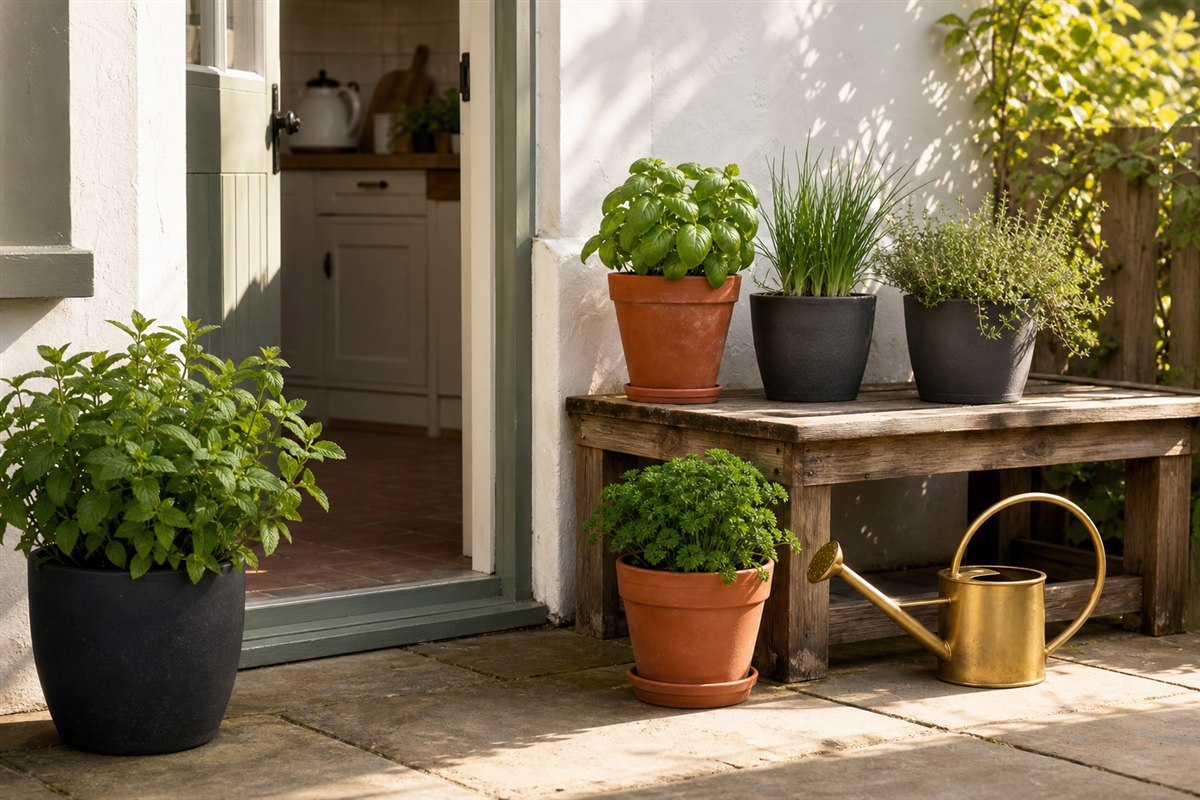
You can grow a useful herb garden in a few pots, a window box, or one corner of a raised bed. The best place is usually somewhere you pass often and can reach easily with water.
Start with three to five herbs you already use. Check the sunlight, give each plant enough room, and keep mint in its own pot so its spreading roots do not take over.
Grow herbs you already enjoy

Think about the herbs you buy or cook with most often. Those are the best ones to grow first.
A small group is enough to learn how quickly the pots dry, how much sun the herbs receive, and how often you want to harvest.
Put it into practice
- Choose three to five herbs first.
- Grow the herbs you cook with most.
- Avoid buying every herb at once.
- Check whether each herb fits your light conditions.
Put the herbs where you will use them

A spot near the kitchen, patio door, or usual walking path makes herbs easier to water and pick. Avoid a far corner that you rarely see.
Read each plant label and watch the sunlight during the day. Move pots if the space is too dark, too hot, or too windy.
Put it into practice
- Track sun exposure.
- Keep herbs near water access.
- Place frequently used herbs close to the kitchen.
- Protect containers from extreme wind where possible.
Choose pots or one small bed

Pots are useful because you can move them and give herbs with different needs separate soil and water. A small raised bed works well when you have a yard and want the herbs to stay in one place.
Every pot needs drainage holes and enough room for roots. Very small pots dry quickly and may need watering more than once on hot days.
Put it into practice
- Use drainage-friendly containers.
- Group herbs with similar water needs.
- Avoid overcrowding.
- Use labels so you remember what is planted.
Check the herbs a few times each week

Push a finger into the soil before watering. Water when the plant needs it, pick small amounts often, and remove damaged leaves.
Many herbs grow more leaves when harvested regularly, but do not remove most of a young plant at once. Follow the plant label when you are unsure.
Put it into practice
- Check soil moisture before watering.
- Harvest small amounts regularly.
- Rotate containers if one side gets more light.
- Write down what grows well.
Make the herb garden look tidy

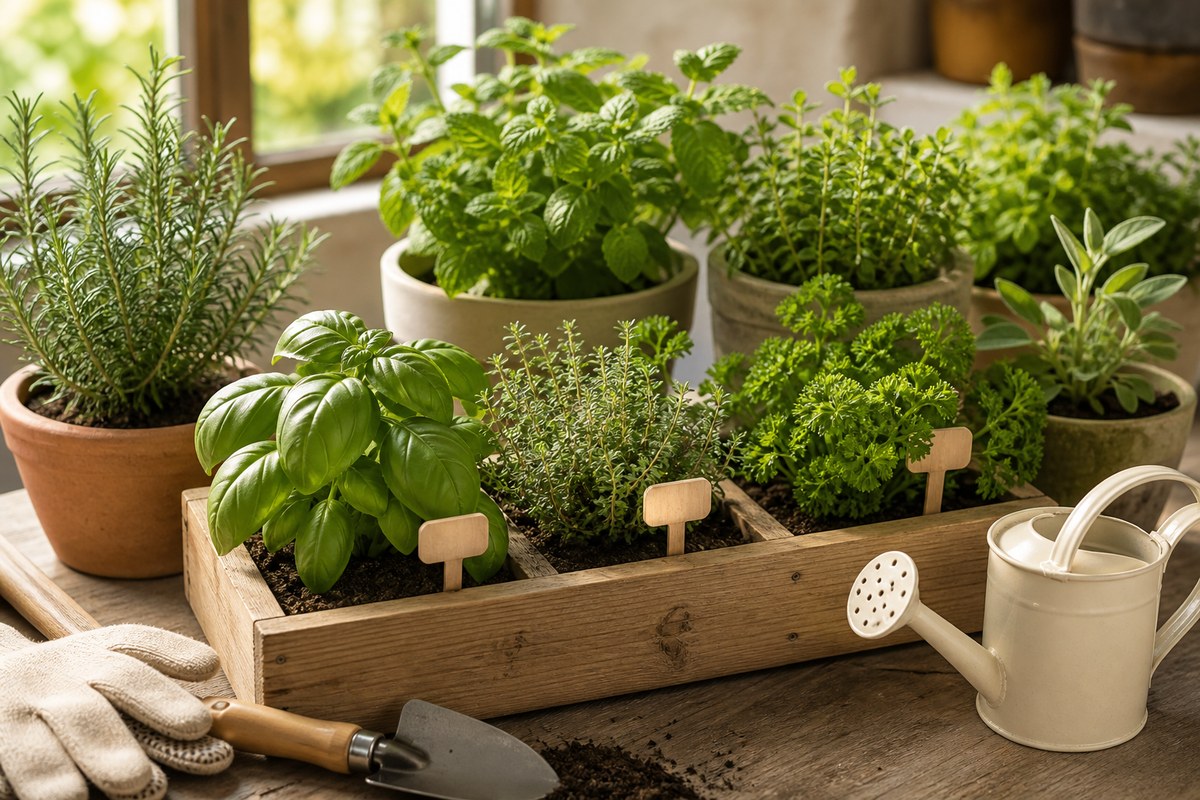
Group the pots on a tray, shelf, or small table and repeat one or two pot colors. Add clear labels so you can identify every herb.
Leave enough space to reach the soil and turn each pot. A few healthy herbs look better than a crowded group that is difficult to water.
Put it into practice
- Use matching labels.
- Repeat one container style.
- Group herbs near seating or cooking areas.
- Keep tools and watering supplies nearby.
Herb Choice Planner
Choose herbs from how you cook
Open the use case that fits your kitchen. This keeps the first herb garden small, useful, and easier to maintain.
Everyday cooking Pasta, salads, eggs, roasted vegetables
- Start with herbs you already buy fresh.
- Keep them near the kitchen door or window.
- Harvest small amounts often to keep growth tidy.
Tea and drinks Mint tea, lemonade, summer drinks
- Grow mint in its own container.
- Keep drink herbs easy to cut and rinse.
- Choose a larger pot so leaves stay fresh longer.
Garnish and scent A pretty patio that should still be useful
- Use woody herbs for structure and scent.
- Add labels so the setup looks intentional.
- Group pots on one tray for a cleaner look.
Quick rule: The best starter herbs are the ones you will harvest this week, not the longest wish list.
Related garden guides
What to do next
Choose another beginner guide, or use the free Garden Starter Planner to turn what you learned into a first-week plan.
FAQ
What herbs should beginners grow first?
Start with three to five herbs you already use and that suit your sunlight. Basil, parsley, chives, thyme, or mint may fit, depending on the conditions.
Can I grow herbs on a balcony?
Yes. Check the sunlight, balcony rules, pot weight, wind, and drainage before choosing the herbs.
Do herbs need separate pots?
Not always. Group herbs only when they like similar soil and watering. Keep mint in its own pot because its roots spread quickly.