
In this guide
- Match what you see to the first job
- Find out why the rocks look dirty or keep moving
- Check five things before you clean
- Start with the gentlest cleaning method
- Save pressure washing for the last resort
- Do not use homemade chemical mixtures
- Choose an edge that can hold the rocks
- Install or repair the edge in this order
- Keep the job small with regular checks
- Edging comparison
- Eight common rock-bed mistakes
- A 20-minute reset
- Frequently asked questions
- Continue planning your garden
- Sources
Before you act
Clean without creating a new problem
- Look before cleaning: Identify the stone, nearby plants, direction of runoff, stains, and any edging that has moved.
- Start gently: Test a small hidden patch before trying stronger pressure or a cleaning product.
- Check the area a week later: Make sure the stone, plants, edge, and drainage still look sound.
Start by removing leaves and loose debris before they break down. Pull weeds while they are small. Use plain water only when dry cleaning is not enough, and direct every rinse away from storm drains and erosion paths. If stones keep escaping, fix the edge, slope, traffic, or runoff instead of repeatedly replacing them.
Garden stone lasts a long time, but it still collects dust, clippings, seeds, mud, and leaves. As that material breaks down, pale rocks turn grey and weeds can grow in the thin layer of dirt, even over landscape fabric.
Pause before cleaning or digging: identify the stone, nearby plants, buried services, drainage path, and local wash-water rules. Test a hidden area first. This article is general guidance, not a site-specific drainage, utility, pesticide, or structural plan.
Match what you see to the first job
| What you see | First action | Why |
|---|---|---|
| Leaves and loose debris | Dry removal | Lift debris before it breaks down into a fine seedbed. |
| New weeds | Hand removal | Pull early with the root and remove loose soil from the rock surface. |
| Dust or light soil film | Low-volume water | Rinse only after dry debris is gone and keep wash water on site. |
| Mud mixed through small gravel | Lift and batch-clean | Work in sections so stone, soil, edging, and fabric can be inspected. |
| Repeated rock migration | Fix the edge or drainage | Cleaning will not solve runoff, foot traffic, or an undersized border. |
Find out why the rocks look dirty or keep moving

White stone often looks dirty because small organic particles settle between the pieces. Leaves, grass clippings, pollen, soil, and blown dust collect faster near lawns, deciduous trees, downspouts, bare soil, and frequently used paths. Once that material decomposes, it becomes a shallow seedbed where weeds can germinate even when landscape fabric lies underneath.
Rock that repeatedly leaves the bed has a different problem. Look for runoff from a roof or slope, wheels crossing the edge, pets or people cutting the corner, and an edge that sits too low or lacks anchoring. Cleaning the same scattered stone every month will not correct the movement.
Before using water, see where it will flow. Take extra care near a driveway, street, storm drain, foundation, basement opening, or steep slope. A small, flat bed surrounded by soil where water can soak in is easier to manage. Moving water can carry dirt, chemicals, and garden waste away from the cleaning area.
Check five things before you clean

First, identify the material. Marble chips, limestone, granite, quartz, river rock, lava rock, and manufactured aggregates do not respond identically to acids, brushes, heat, or pressure. If the supplier’s specification is available, follow it. Test any method on a hidden handful rather than treating the entire bed.
Second, check the plants. Keep stone away from trunks and stems, note shallow roots, and protect foliage from spray and flying grit. Rock can increase heat around some plants, so a stressed plant is not a good reason to add stronger cleaning chemicals.
Third, find drains, slopes, and escape routes for wash water. Fourth, inspect the edge and underlying grade. Fifth, decide where collected leaves, weeds, muddy water, and sediment can be handled under local rules. A cleaning job is incomplete if the debris is simply moved into the street or drain.
Start with the gentlest cleaning method
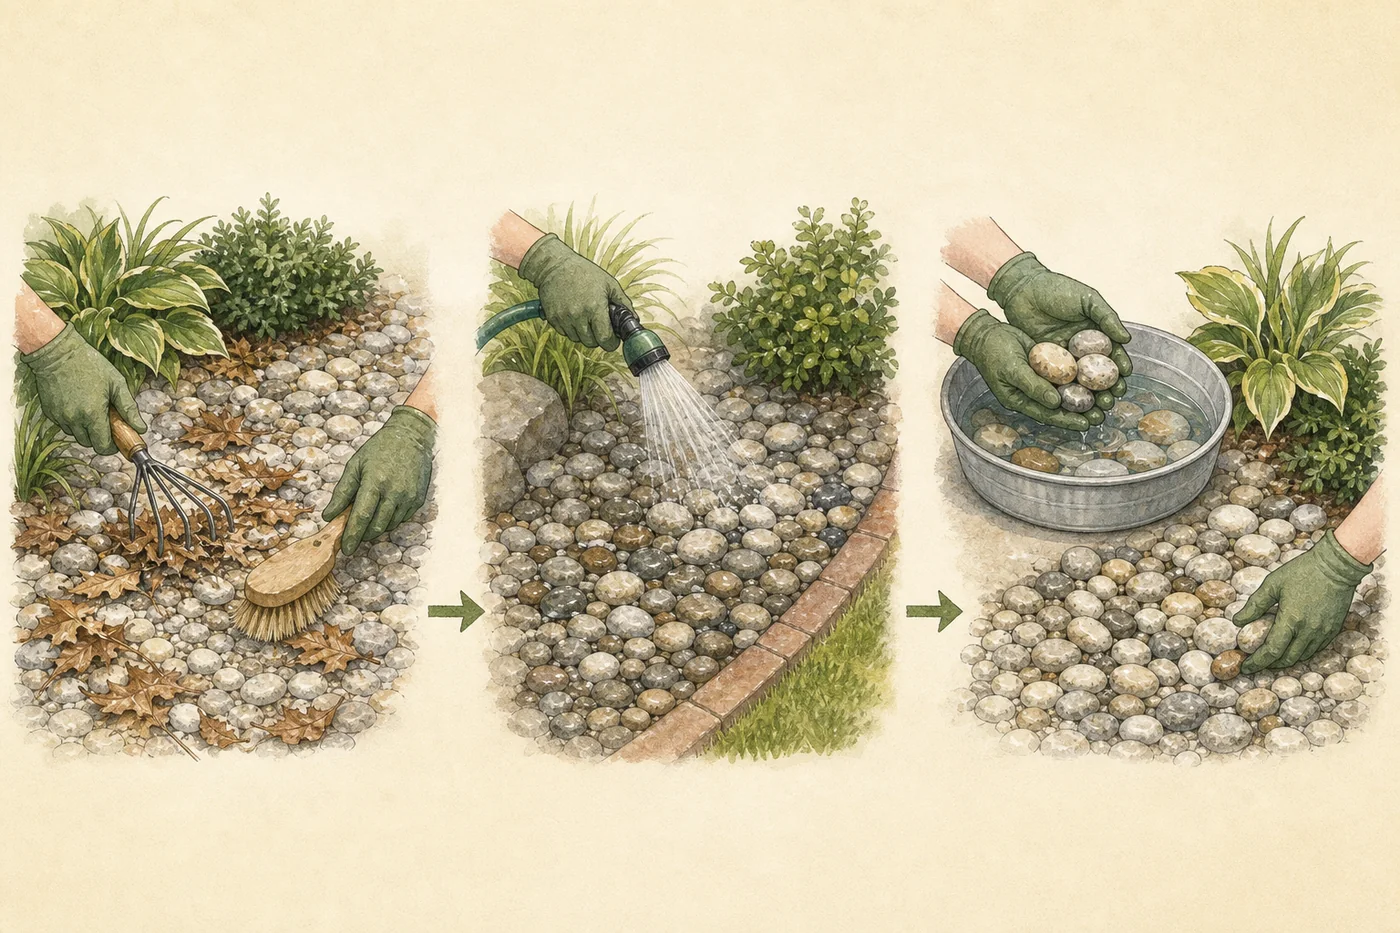
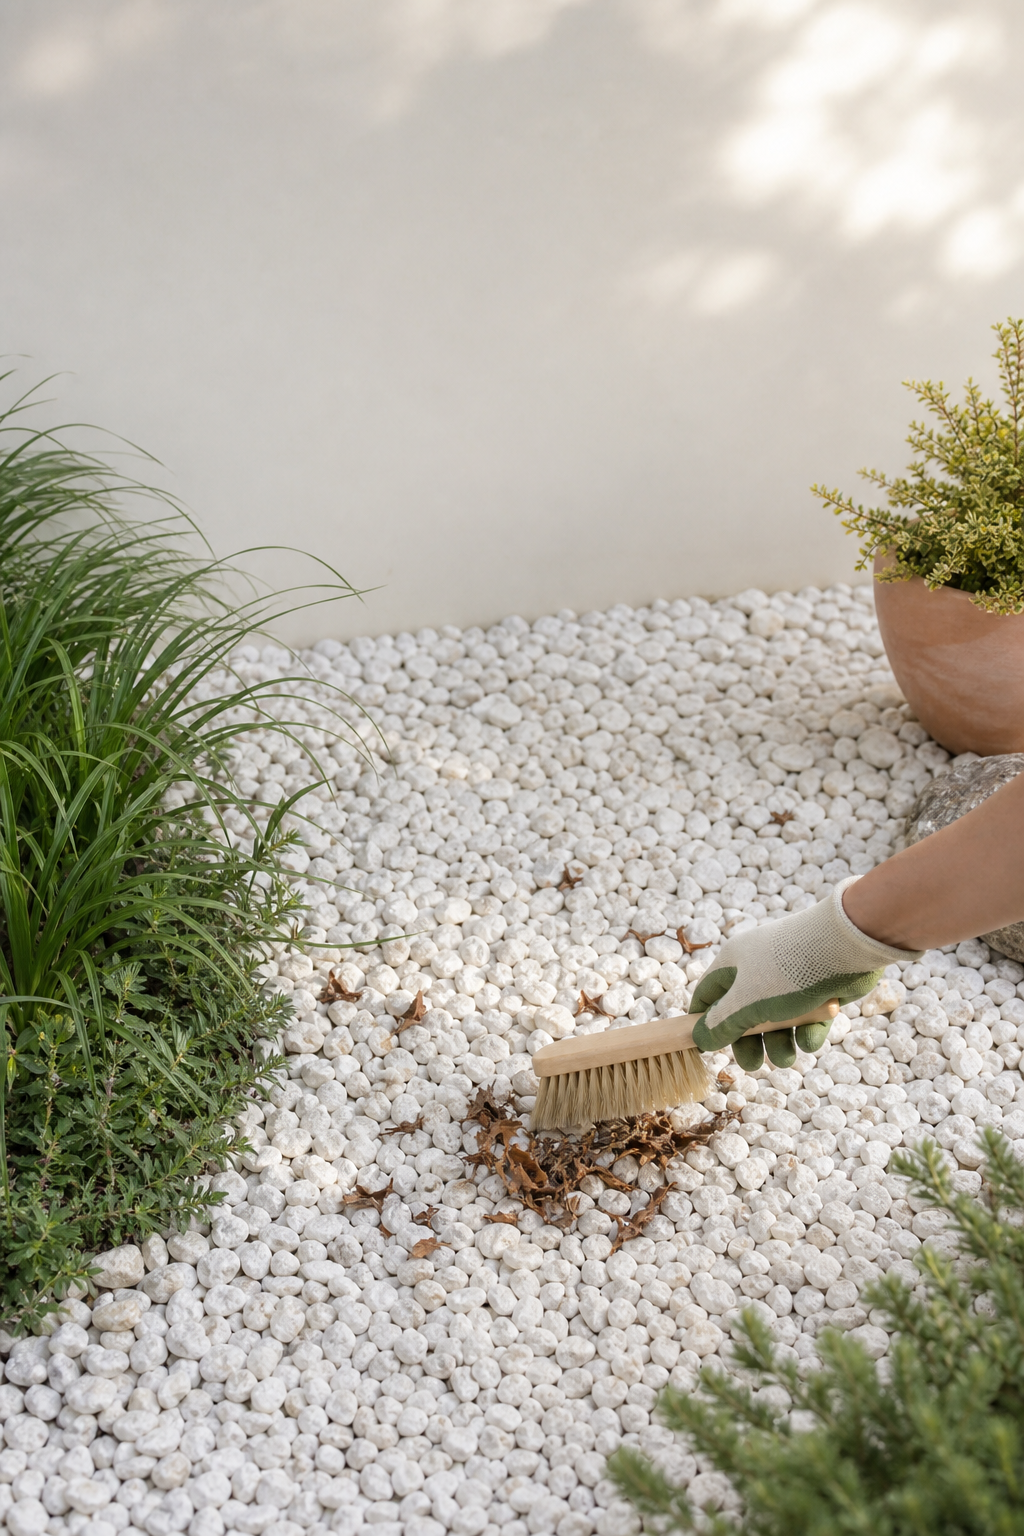
Begin dry. Pick up larger leaves and twigs by hand, then use a flexible leaf rake, soft outdoor broom, or low blower setting to move light debris without launching stones. Work from the planted side toward a sheet or collection area. Wear eye protection and keep people, pets, windows, and vehicles away from flying grit.
Next, pull weeds while the soil is slightly moist enough to release roots but not so wet that mud spreads across the stone. Hold nearby rock aside, remove the whole plant where possible, shake or brush soil into the bed, and take the plant away before it sets seed. Repeated early removal is easier than extracting mature roots woven through gravel and aging fabric.
For light dust, first remove the dry material. Then use a hose nozzle or watering wand that you can control. Work in small sections and use as little water as possible. Send the water toward ground where it can soak in without overflowing, washing soil away, reaching a storm drain, or wetting a building.
If mud is mixed throughout loose small stone, lift a manageable section into a sturdy perforated basket or sieve set over a contained collection area. Rinse with plain water, capture sediment, let the stone drain, and inspect the base before replacing it. Do not excavate broadly around tree roots or buried utilities.
Save pressure washing for the last resort

High pressure can scatter gravel, expose or tear landscape fabric, damage plant tissue, erode the base, and throw grit toward people or glass. It also creates dirty wash water quickly. For loose decorative rock, hand cleaning or batch washing is usually more controlled.
Use a pressure washer only on a fixed hard surface that can safely take it. Sweep first. Use cold water, the lowest useful pressure, and no soap or chemicals. Keep the dirty water contained and protect storm drains. Follow the equipment instructions and local rules. Never point the jet at people, plants, loose stone, windows, electrical equipment, or an unstable edge.
Stop if water begins carrying sediment off site, pooling by a foundation, or cutting a channel through soil. Appearance is not worth creating a runoff, erosion, or safety problem.
Do not use homemade chemical mixtures

Do not pour bleach, table salt, dish detergent, or a homemade vinegar-and-salt mixture over a planted rock bed. Salt can stay in the soil and harm nearby plants. Detergent and bleach can harm soil life and water quality. Strong weed-killing vinegar can burn skin and eyes, damage stonework, and injure wanted plants.
A homemade mixture that browns weed leaves is not proof that it controlled the roots, and a nonselective treatment can injure every plant it touches. Hand removal and keeping organic debris out of the stone are the first controls.
If pulling or cutting does not control the weeds, identify the weed and ask a local Extension service about other options. If you use a weed-control product, it must be approved for that exact place. Follow every instruction about distance, protective clothing, weather, amount, and disposal. A stronger mix is not safer or better.
Choose an edge that can hold the rocks

Edging has a practical job as well as a decorative one. It must hold back the stone and cope with the slope, moving water, mower wheels, foot traffic, freezing weather, and the shape of the bed. A shallow flexible strip may work on a flat curve but fail where gravel rolls downhill or wheels cross the boundary.
For a flat lawn edge with little loose stone, a maintained spade-cut trench may be enough. Metal creates a narrow visual line; composite edging follows curves; pavers create a wider mowing strip; a concrete curb offers stronger permanent restraint. No material fixes bad grading, and every system needs safe installation and periodic inspection.
The visible height should restrain the stone without creating a trip or mower hazard. Check manufacturer instructions rather than copying a universal depth. On a slope or beside concentrated runoff, obtain site-specific help before assuming a taller edge alone will solve erosion.
Install or repair the edge in this order
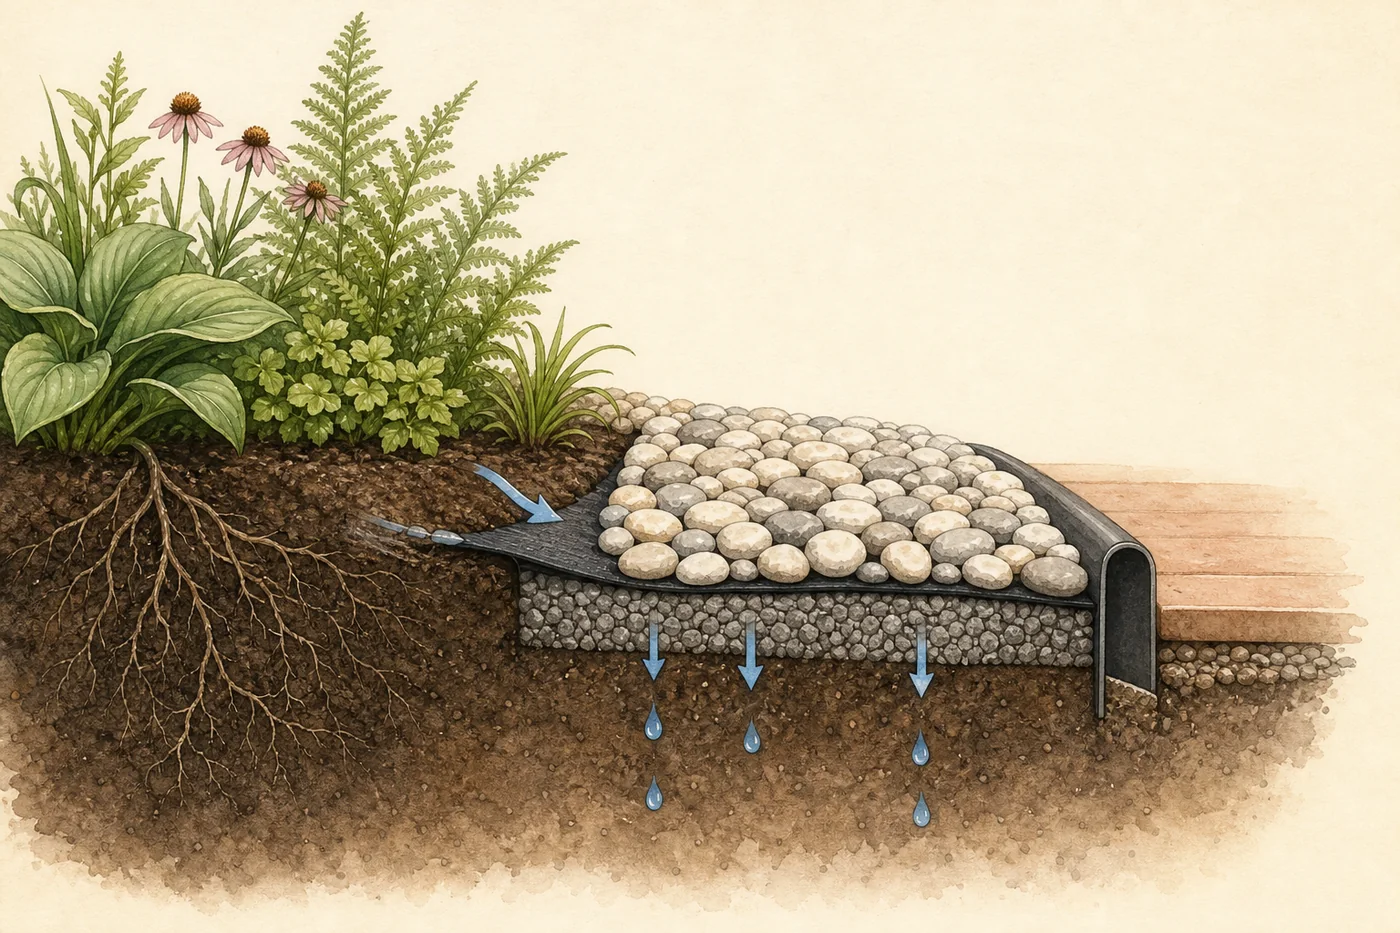
Mark the desired line with a hose or removable paint and walk the route from both directions. Confirm property limits, irrigation, lighting wires, drains, and other buried services. In the United States, contact 811 before digging; elsewhere, use the local utility-location service and required waiting period.
Move escaped stone back into the bed and remove accumulated soil at the boundary. Check the grade before digging: the finished edge must not direct water toward the house or trap it around plant crowns. Avoid deep trenching around established trees and shrubs, where important roots may be close to the surface.
Prepare a stable line or base suitable for the selected material, install and anchor it according to its instructions, and connect sections without sharp projections or large gaps. Backfill both sides, return stone without burying plant stems, and test the edge with gentle hose flow before considering the job finished.
After the first heavy rain and after freeze-thaw periods, inspect for low spots, heaving, soil washing through gaps, or rock crossing the boundary. Correct the cause early rather than adding another layer of stone.
Keep the job small with regular checks

During leaf fall or active lawn mowing, remove loose debris frequently before it breaks down. Pull new weeds before flowering or seed set. After storms, return displaced stone and look for the water path that moved it. These short dry-cleaning visits do more than an annual aggressive wash.
Once or twice a year, check stone depth, bare fabric, buried plant stems, compacted soil, edge anchors, trip hazards, drainage outlets, and the gap around trunks. Do not keep adding rock until the bed sits above paths or directs runoff somewhere new.
Accept some natural weathering. Outdoor stone will not remain showroom-white in every climate. A clean edge, low debris load, controlled weeds, and safe drainage usually make the bed look intentional without chasing a chemically bright finish.
Edging comparison
| Edge | Useful for | Strength | Watch for |
|---|---|---|---|
| Spade-cut edge | Flat lawn beside a small bed | Low material use and easy to reshape | Needs regular recutting and does not restrain loose gravel on a slope |
| Metal edge | Clean curves and narrow transitions | Slim profile with useful restraint | Must be anchored, finished safely, and checked for exposed sharp edges |
| Composite or plastic edge | Gentle curves and lighter-duty beds | Flexible and comparatively easy to adjust | Can heave, wave, or become visible when poorly anchored |
| Brick, paver, or stone curb | Straight runs, mowing strips, and formal beds | Broad, visible border that can separate wheels from gravel | Needs a stable base; movement creates gaps that catch soil and seeds |
| Concrete curb | Permanent, high-restraint layouts | Strong containment with little seasonal repositioning | Costly to change and can redirect water if the grade is wrong |
Eight common rock-bed mistakes

- Adding new white rock over leaves, soil, weeds, or exposed failing fabric.
- Using a blower so aggressively that gravel becomes a projectile.
- Pressure washing loose stone without containing sediment and wash water.
- Pouring bleach, salt, detergent, or a homemade weed mixture across a planted bed.
- Installing edging before checking the grade and source of runoff.
- Digging a deep trench through tree roots or before buried utilities are marked.
- Setting an edge high enough to become a trip, mower, or exposed-sharp-edge hazard.
- Assuming landscape fabric makes a rock bed weed-free or maintenance-free.
A 20-minute reset

- Photograph the bed and note the slope, drains, plants, and escaped-rock pattern.
- Collect leaves, twigs, clippings, and trash without disturbing the stone base.
- Pull the newest weeds and remove their loose soil.
- Return escaped stone and expose the existing edge.
- Test a small plain-water rinse only if dry cleaning is insufficient.
- Mark any low, heaved, sharp, or failed edge section for a properly planned repair.
Frequently asked questions
How do I make white garden rocks look white again?
Remove leaves and loose soil first, hand-pull weeds, then test a plain-water rinse on a hidden area. Some mineral staining and natural weathering may not be safely reversible.
Can I use bleach to clean landscape rocks?
Do not broadcast bleach through a planted bed. It can affect plants, soil life, surfaces, and runoff. Use dry cleaning and plain water first, and seek material-specific guidance for a stain that remains.
Why do weeds grow through landscape fabric and rock?
Wind, runoff, mowing, and decomposing leaves deposit soil and seeds above the fabric. Weeds can then germinate in that new surface layer, while perennial roots may also persist.
What edging keeps gravel in place best?
The answer depends on slope, rock depth and size, traffic, runoff, and permanence. A stable paver or concrete curb restrains more than a shallow flexible strip, but grading must be correct before choosing either.
Should landscape edging be level with the ground?
Follow the system’s instructions and make the visible height sufficient to restrain the stone without creating a trip or mower hazard. There is no single safe height for every bed.
Continue planning your garden
- Use the cozy garden decor guide to keep hardscape choices connected to a useful outdoor layout.
- Review the low-maintenance garden guide before choosing a rock-heavy planting bed.
- Explore DIY garden fountain ideas while keeping water routes and electrical safety separate from decorative gravel.
- Join The Garden Edit for consent-based seasonal garden guidance.
Sources
This draft was checked against Extension and government guidance on 2026-07-30:
- Colorado State University Extension: Mulching
- Kansas State University Research and Extension: Rock Mulch, a Solution, or a Problem?
- University of Wisconsin–Madison Extension: Gravel Gardening: Gardens that Rock
- U.S. Environmental Protection Agency: Urbanization and Stormwater Runoff
- City of Bothell, Washington: Safe pressure washing
- Penn State Extension: Manage Poison Ivy Safely — dangers of homemade weed killers
- 811: Call Before You Dig
Editorial note: this article contains no affiliate link, product price, paid-product promotion, or unsupported before-and-after claim.