
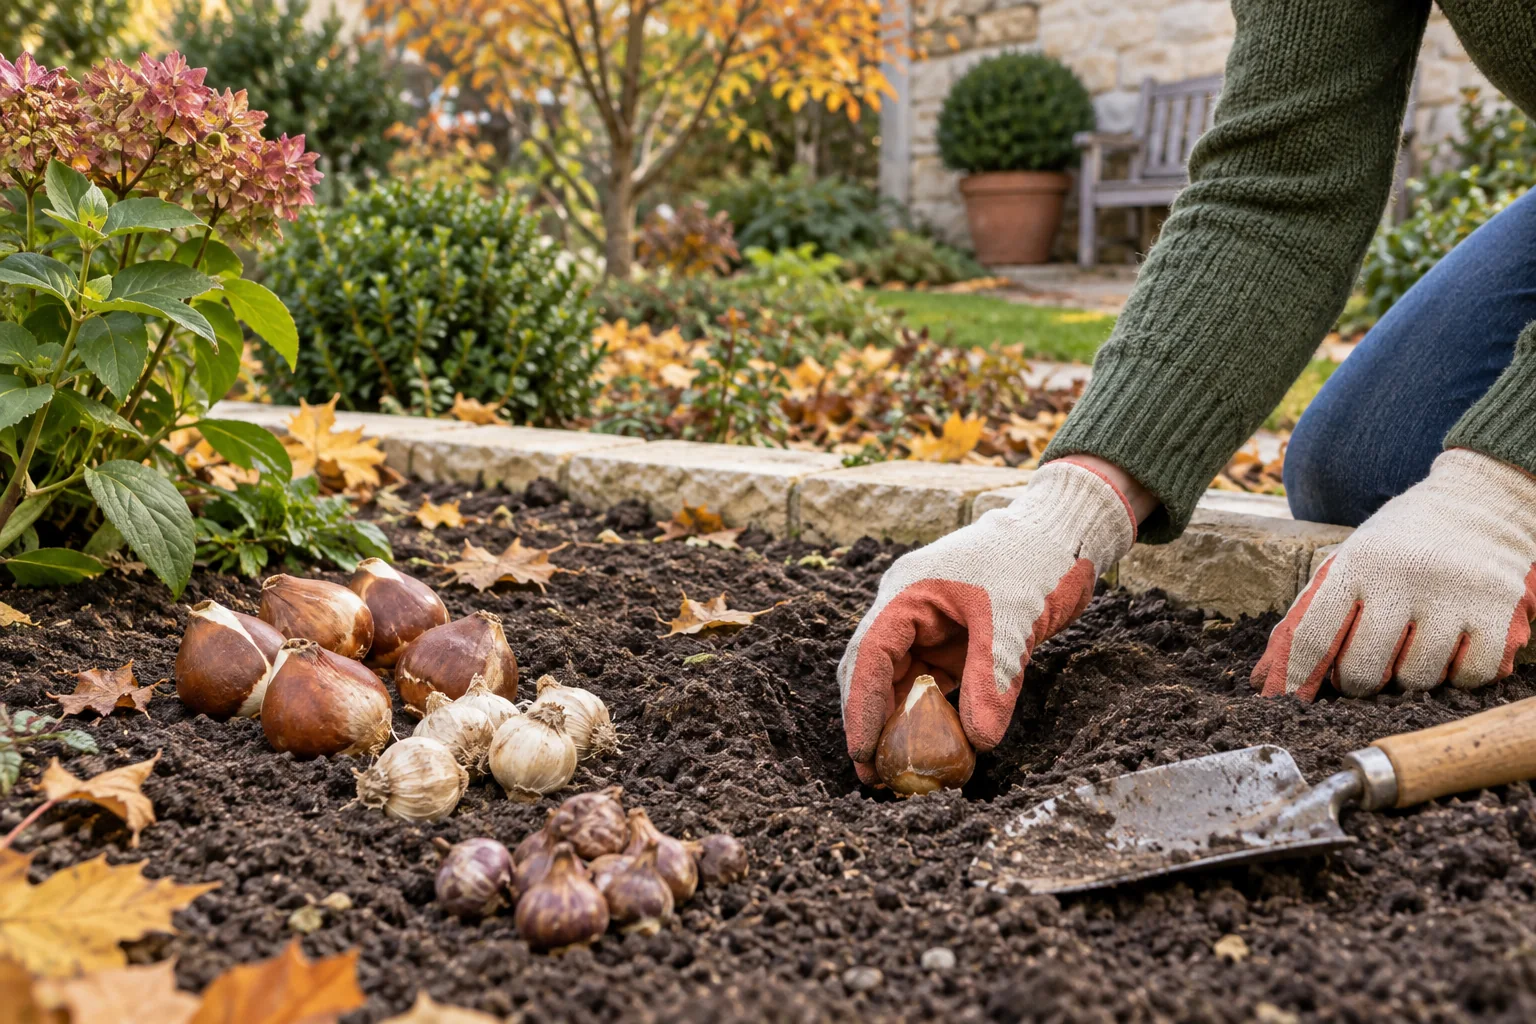
Plant tulips, daffodils, crocuses, and other spring bulbs with the right timing, depth, drainage, and aftercare for your garden or pots.
In this guide
- Check the bulbs before you dig
- Choose a place that will still work in winter
- Decide when to plant
- Plant at the right depth and direction
- Make the display look intentional
- Plant spring bulbs in pots
- Water and protect the planting
- What to do after flowering
- Common planting mistakes
- A simple plan for this weekend
- Frequently asked questions
- Continue planning your garden
Spring bulbs are planted while the garden is slowing down. Choose firm bulbs, place them in soil that drains well, follow the depth on the packet, and water after planting. Tulips, daffodils, crocuses, hyacinths, and many alliums need this cool period before they can flower in spring.[3][4]
The exact planting week depends on your climate and the bulb. Use the packet and local growing advice as your final guide. In colder places, plant early enough for roots to begin growing before the ground freezes. In mild, wet areas, you can often plant later, but drainage matters more.[3]
Start with the soil, not the color scheme. A bulb can cope with winter cold more easily than a waterlogged hole. If rain sits in the chosen spot, improve the drainage or use a container.
Check the bulbs before you dig
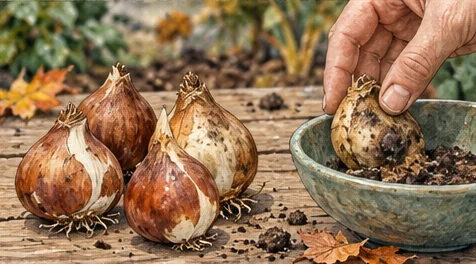
Healthy bulbs feel firm and heavy for their size. A loose papery skin is usually harmless, but soft patches, mold, a sour smell, or deep cuts are reasons to leave a bulb out. Larger bulbs often produce stronger first-year flowers, although variety and growing conditions still matter.[3]
Keep bulbs cool, dry, and out of direct sun until planting day. Do not seal damp bulbs in plastic. If planting has to wait, check them every few days so one rotting bulb does not affect the rest.
A quick bulb check
| What you notice | What it usually means | What to do |
|---|---|---|
| Firm bulb with dry skin | Ready to plant | Keep it cool until planting |
| Small surface mark | Often cosmetic | Plant if the bulb remains firm |
| Soft or wet area | Rot may have started | Discard it |
| Mold between bulbs | Moist storage | Separate and inspect every bulb |
| Long pale shoot | Growth has started | Plant promptly and handle gently |
Choose a place that will still work in winter
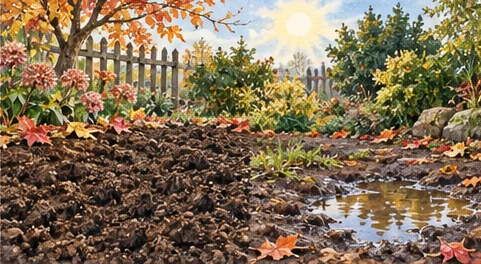
Most common spring bulbs flower best in sun and freely draining soil. A place beneath a deciduous tree can work because the branches are still bare when early bulbs need light. Avoid hollows where winter rain collects and narrow beds that receive roof runoff.[4]
Look at the bed after steady rain. If water disappears within a reasonable time and the soil does not stay slick and saturated, the site may be suitable. If it remains soggy, move the planting to a raised area or a pot. Adding a little compost can improve workable soil, but a layer of gravel at the bottom of a planting hole does not repair poor drainage around it.
Plant where you can see the flowers from a path, doorway, or window. A small group in one visible place usually has more impact than single bulbs scattered across the whole garden.
Decide when to plant
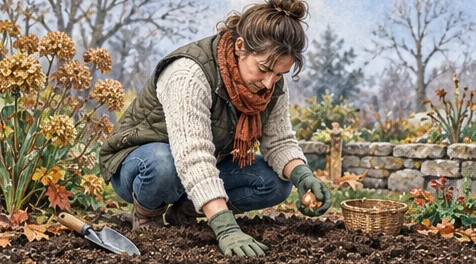
Plant spring-flowering bulbs in fall, before the ground freezes. In many colder regions this falls between late September and October. Milder regions may have a later window. Tulips are often planted later than daffodils because cooler soil can reduce the time they spend in warm, damp ground.[3][4]
The calendar is only a starting point. Use these checks:
- The bulb packet lists the correct season for that variety.
- The soil is cool but still easy to dig.
- The forecast does not show a long spell of saturated ground.
- Your local Extension service or trusted regional garden source confirms the window.
If the ground is already frozen, do not force bulbs into shallow holes. Pot them in a suitable container or follow local advice for late planting.
Plant at the right depth and direction
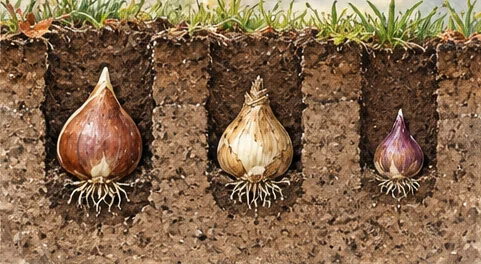
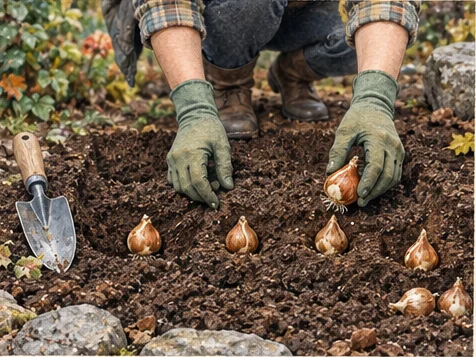
The packet depth is the safest measurement because species differ. A common rule places bulbs about two and a half to three times as deep as the bulb is tall. Measure from the bulb’s base to the soil surface.[3][4]
Set the pointed end upward and the flatter root plate downward. Crocuses and other corms can be less obvious. If you cannot identify the top, place the corm on its side; the shoot can usually find its way upward.
Planting sequence
- Loosen the bed to the full planting depth rather than drilling a narrow hole into compacted soil.
- Set the bulbs with enough space for the size shown on the packet.
- Replace the soil gently and remove large air pockets without pressing it hard.
- Water the area once so soil settles around the bulbs.
- Mark the group discreetly if you may dig there again before spring.
Do not add concentrated fertilizer directly beneath a bulb. It can damage new roots. Use a soil test and the product directions if your soil needs an amendment.
Make the display look intentional
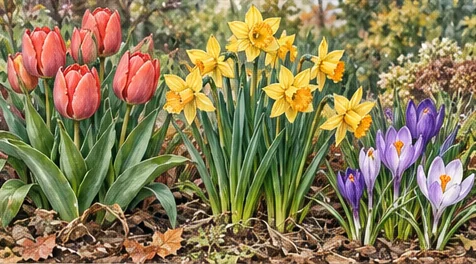
Groups read more clearly than evenly spaced single bulbs. For a natural drift, place a handful on the soil and plant them where they fall, adjusting only bulbs that land too close. For a neater entrance or path, repeat two or three compact groups.
Mixing early, midseason, and late varieties can extend the display. Keep their mature height in mind. Short crocuses need an open front edge, while taller daffodils and alliums can sit behind them. Perennials that emerge later can hide fading bulb leaves without blocking spring light.[3]
Choose fewer varieties if the bed is small. One color repeated in several groups often looks calmer than a little of everything.
Plant spring bulbs in pots
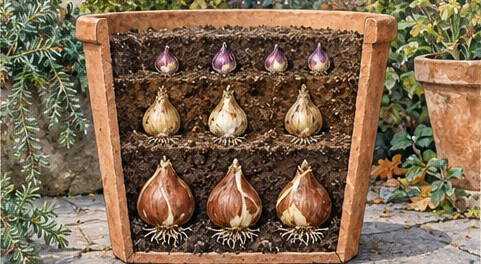
A container is useful when garden soil drains poorly or when you want flowers close to a door. Use a pot with drainage holes and fresh, free-draining potting mix. Bulbs can be placed closer in pots than in beds, but they should not touch each other or the container wall.[5]
Large pots are less likely to freeze solid than small ones. In very cold weather, move the pot to a protected unheated place if local guidance recommends it. The bulbs still need a cold period, so a warm living room is not a suitable winter home.[5]
You can layer bulbs with the largest and latest-flowering types lower in the pot and smaller early bulbs above them. Keep the layers separated by potting mix. This works best in a deep container that can hold every bulb at its proper depth.
Water and protect the planting
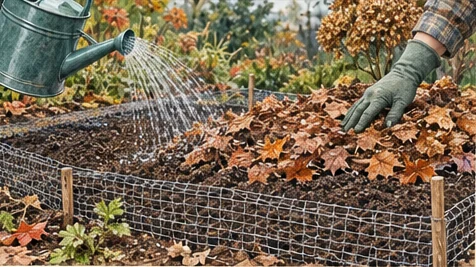
Water after planting, then let normal autumn rain do most of the work unless the season is unusually dry. Bulbs should not sit in constantly wet soil. In cold regions, mulch can reduce repeated freezing and thawing after the ground becomes cold, but it should not form a wet mat over the bed.[3][4]
Animals may dig freshly disturbed soil. A temporary mesh laid flat over the surface can discourage digging if it is secured and removed before shoots become tangled. Avoid remedies that could harm pets or wildlife.
What to do after flowering
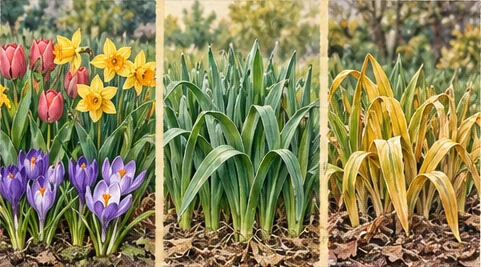
Remove spent flowers if you do not want the plant to spend energy on seed. Leave the green foliage until it yellows and dies back naturally. The leaves feed the bulb for the following year’s growth.[3][5]
Do not braid or tie the leaves. If fading foliage bothers you, place bulbs among later-emerging perennials or use pots that can be moved to a less prominent spot.
Some bulbs return reliably for years, while others lose strength or behave like short-lived displays in certain climates. Drainage, local winter conditions, variety, and summer watering all affect their return.
Common planting mistakes
- Buying soft bulbs because the outer skin still looks tidy.
- Choosing a low spot that holds winter rain.
- Planting every bulb at the same depth.
- Adding strong fertilizer where the bulb touches it.
- Watering containers without checking that excess water can escape.
- Cutting green leaves immediately after flowering.
- Relying on one universal planting date for every climate.
A simple plan for this weekend
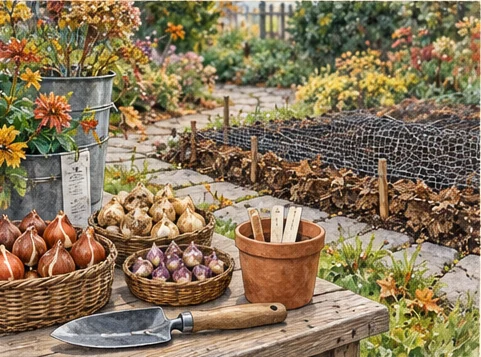
Measure one bed or choose one pot. Check how it drains, select two or three bulb types that share similar needs, and arrange them before digging. Take a quick photo after planting so you remember where each group sits.
Frequently asked questions
Can I plant bulbs after the first frost?
Often yes, if the ground is still workable and regional guidance supports it. Frozen or waterlogged soil is a stopping point.
How deep should tulip and daffodil bulbs go?
Follow the packet. Many are planted about two and a half to three times the bulb’s height, but recommended depths vary by species and climate.[3][4]
Do I need to water bulbs all winter?
Usually not in a rainy climate. Water after planting and check containers or unusually dry beds. The soil should be lightly moist, not constantly wet.
Can I plant bulbs in shade?
Some spring bulbs grow beneath deciduous trees because they flower before the canopy fills. Match the variety to the actual light and soil conditions.
Continue planning your garden
- Use the fall garden checklist before cold weather settles in.
- Plan a low-maintenance garden around plants you can care for consistently.
- Build your free garden starter plan.
Sources
[3] Oregon State University Extension: Plant spring-blooming bulbs in fall [4] Penn State Extension: Plant Bulbs in the Fall for a Spring Celebration [5] Oregon State University Extension: Plant bulbs in pots
Editorial note: external sources are included for evidence and reader verification. This article contains no affiliate link, product price, or paid-product promotion.
Leave a Reply